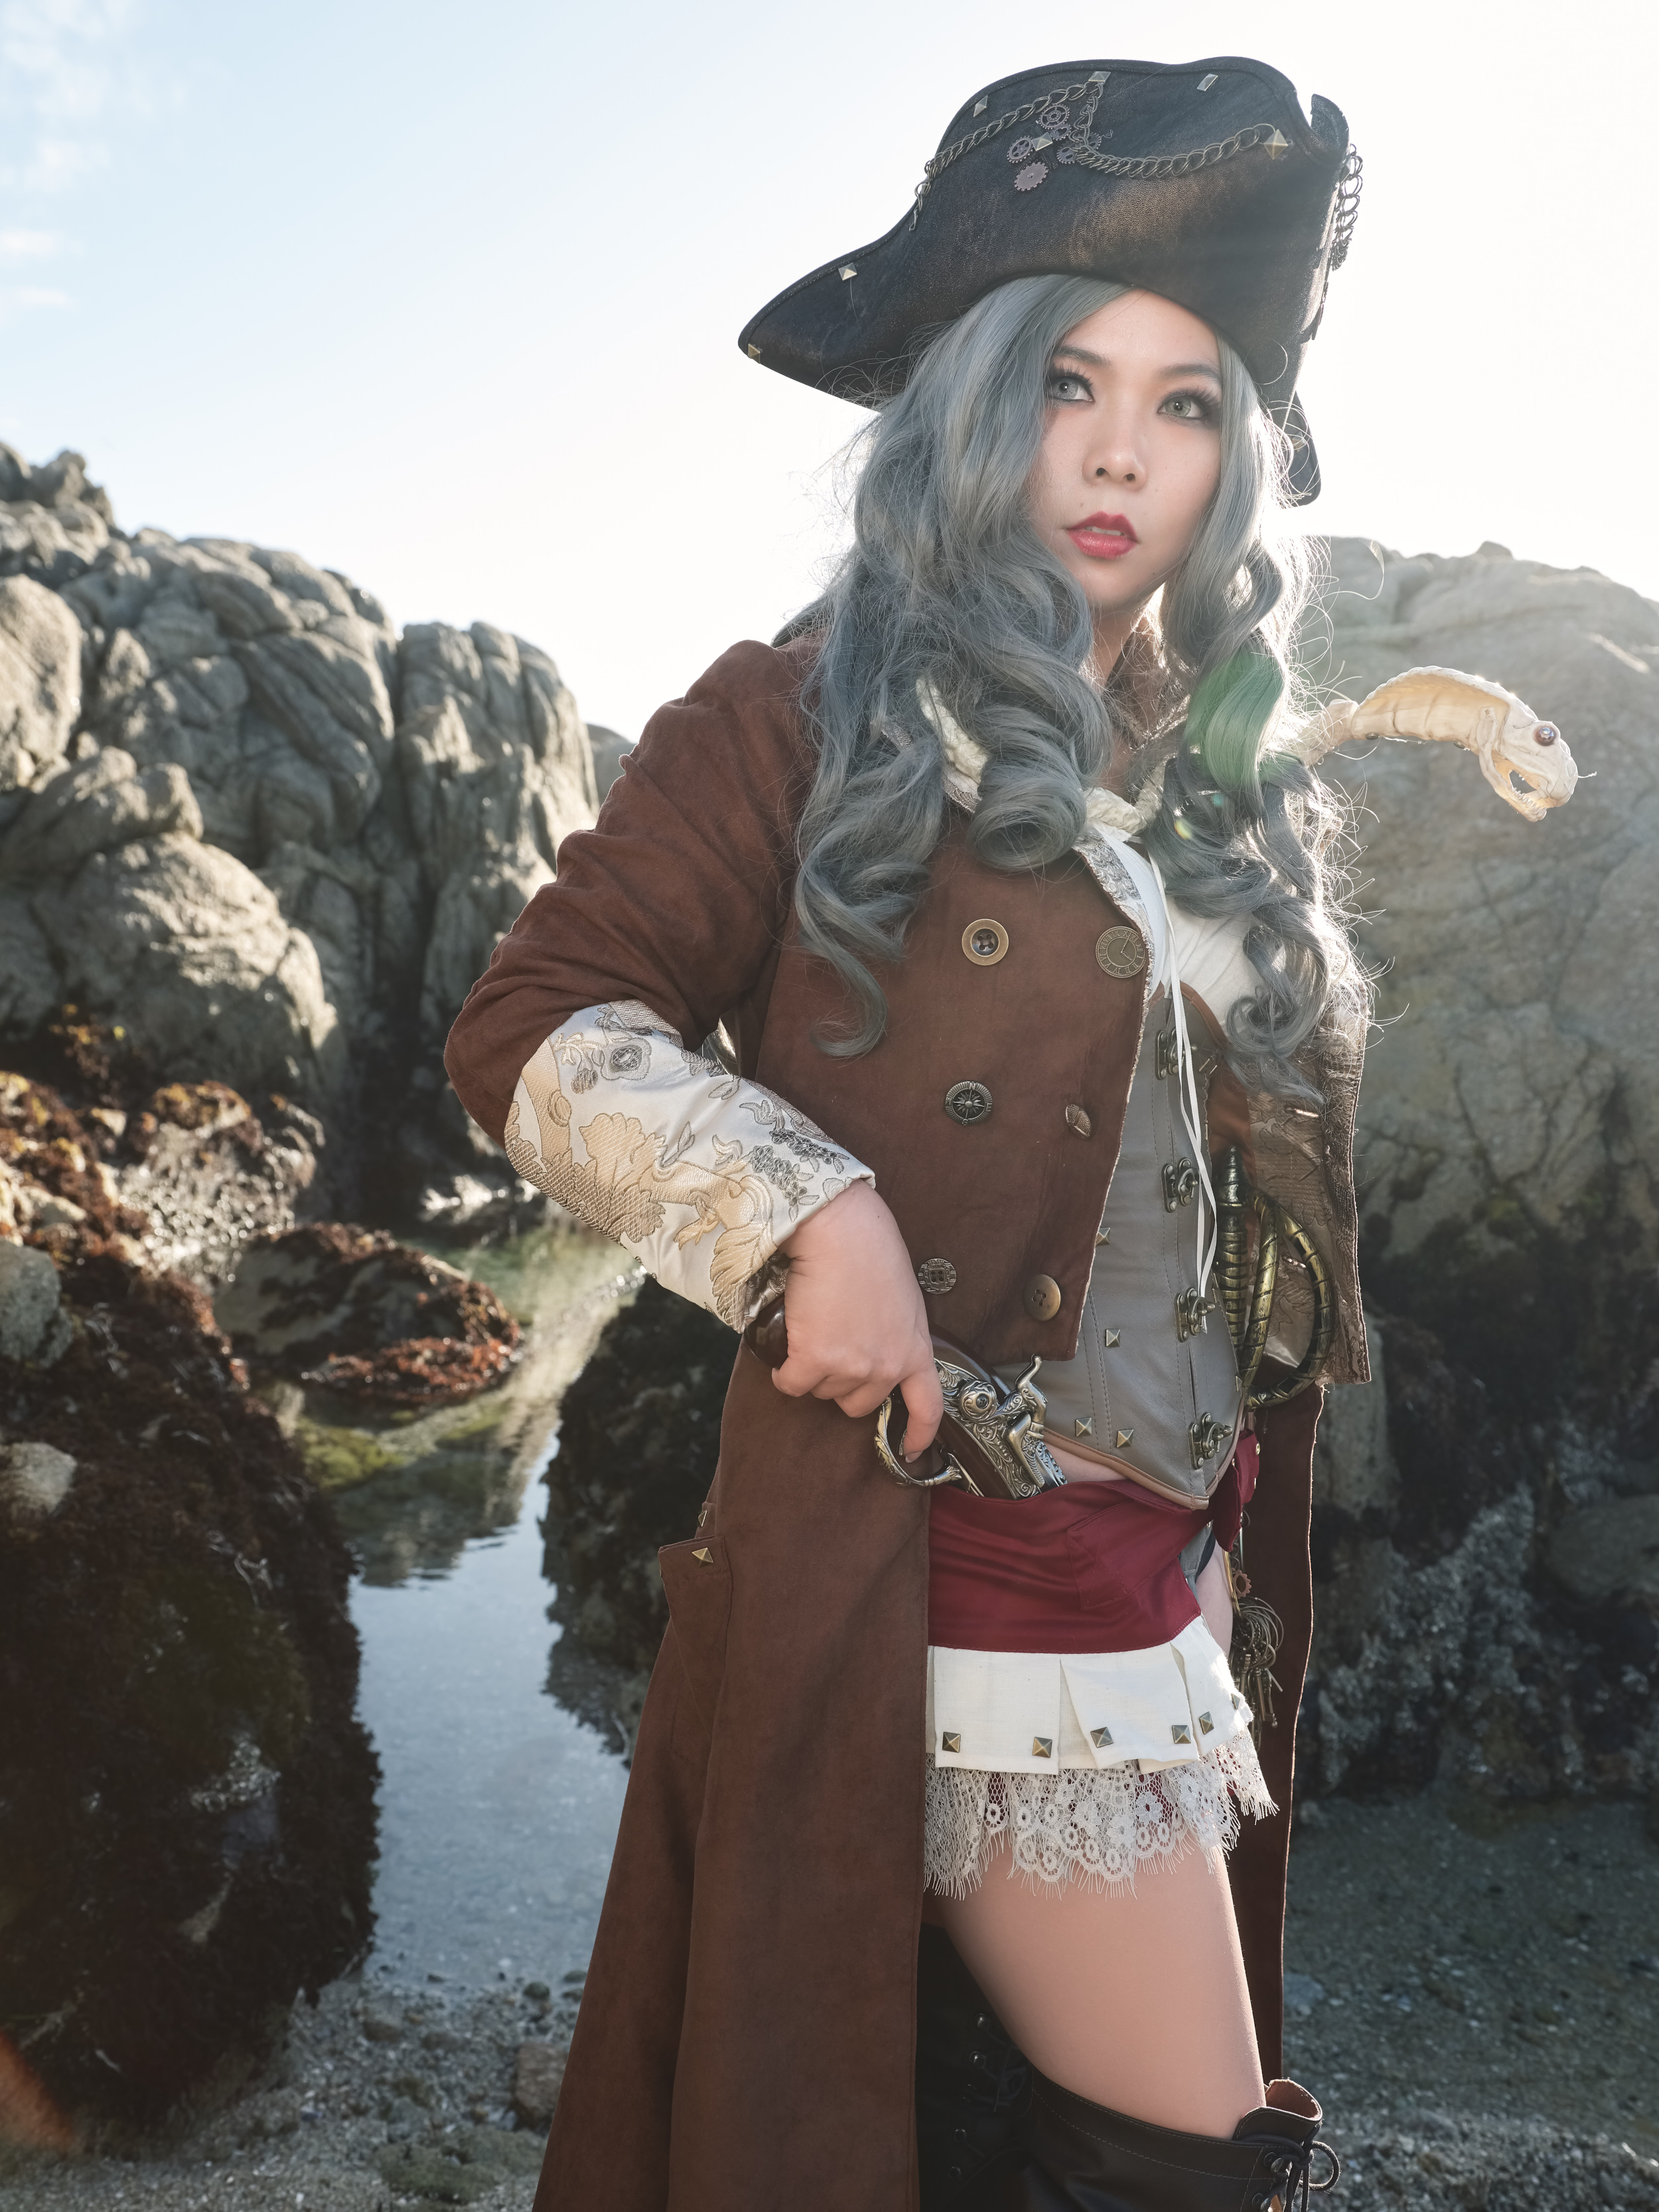
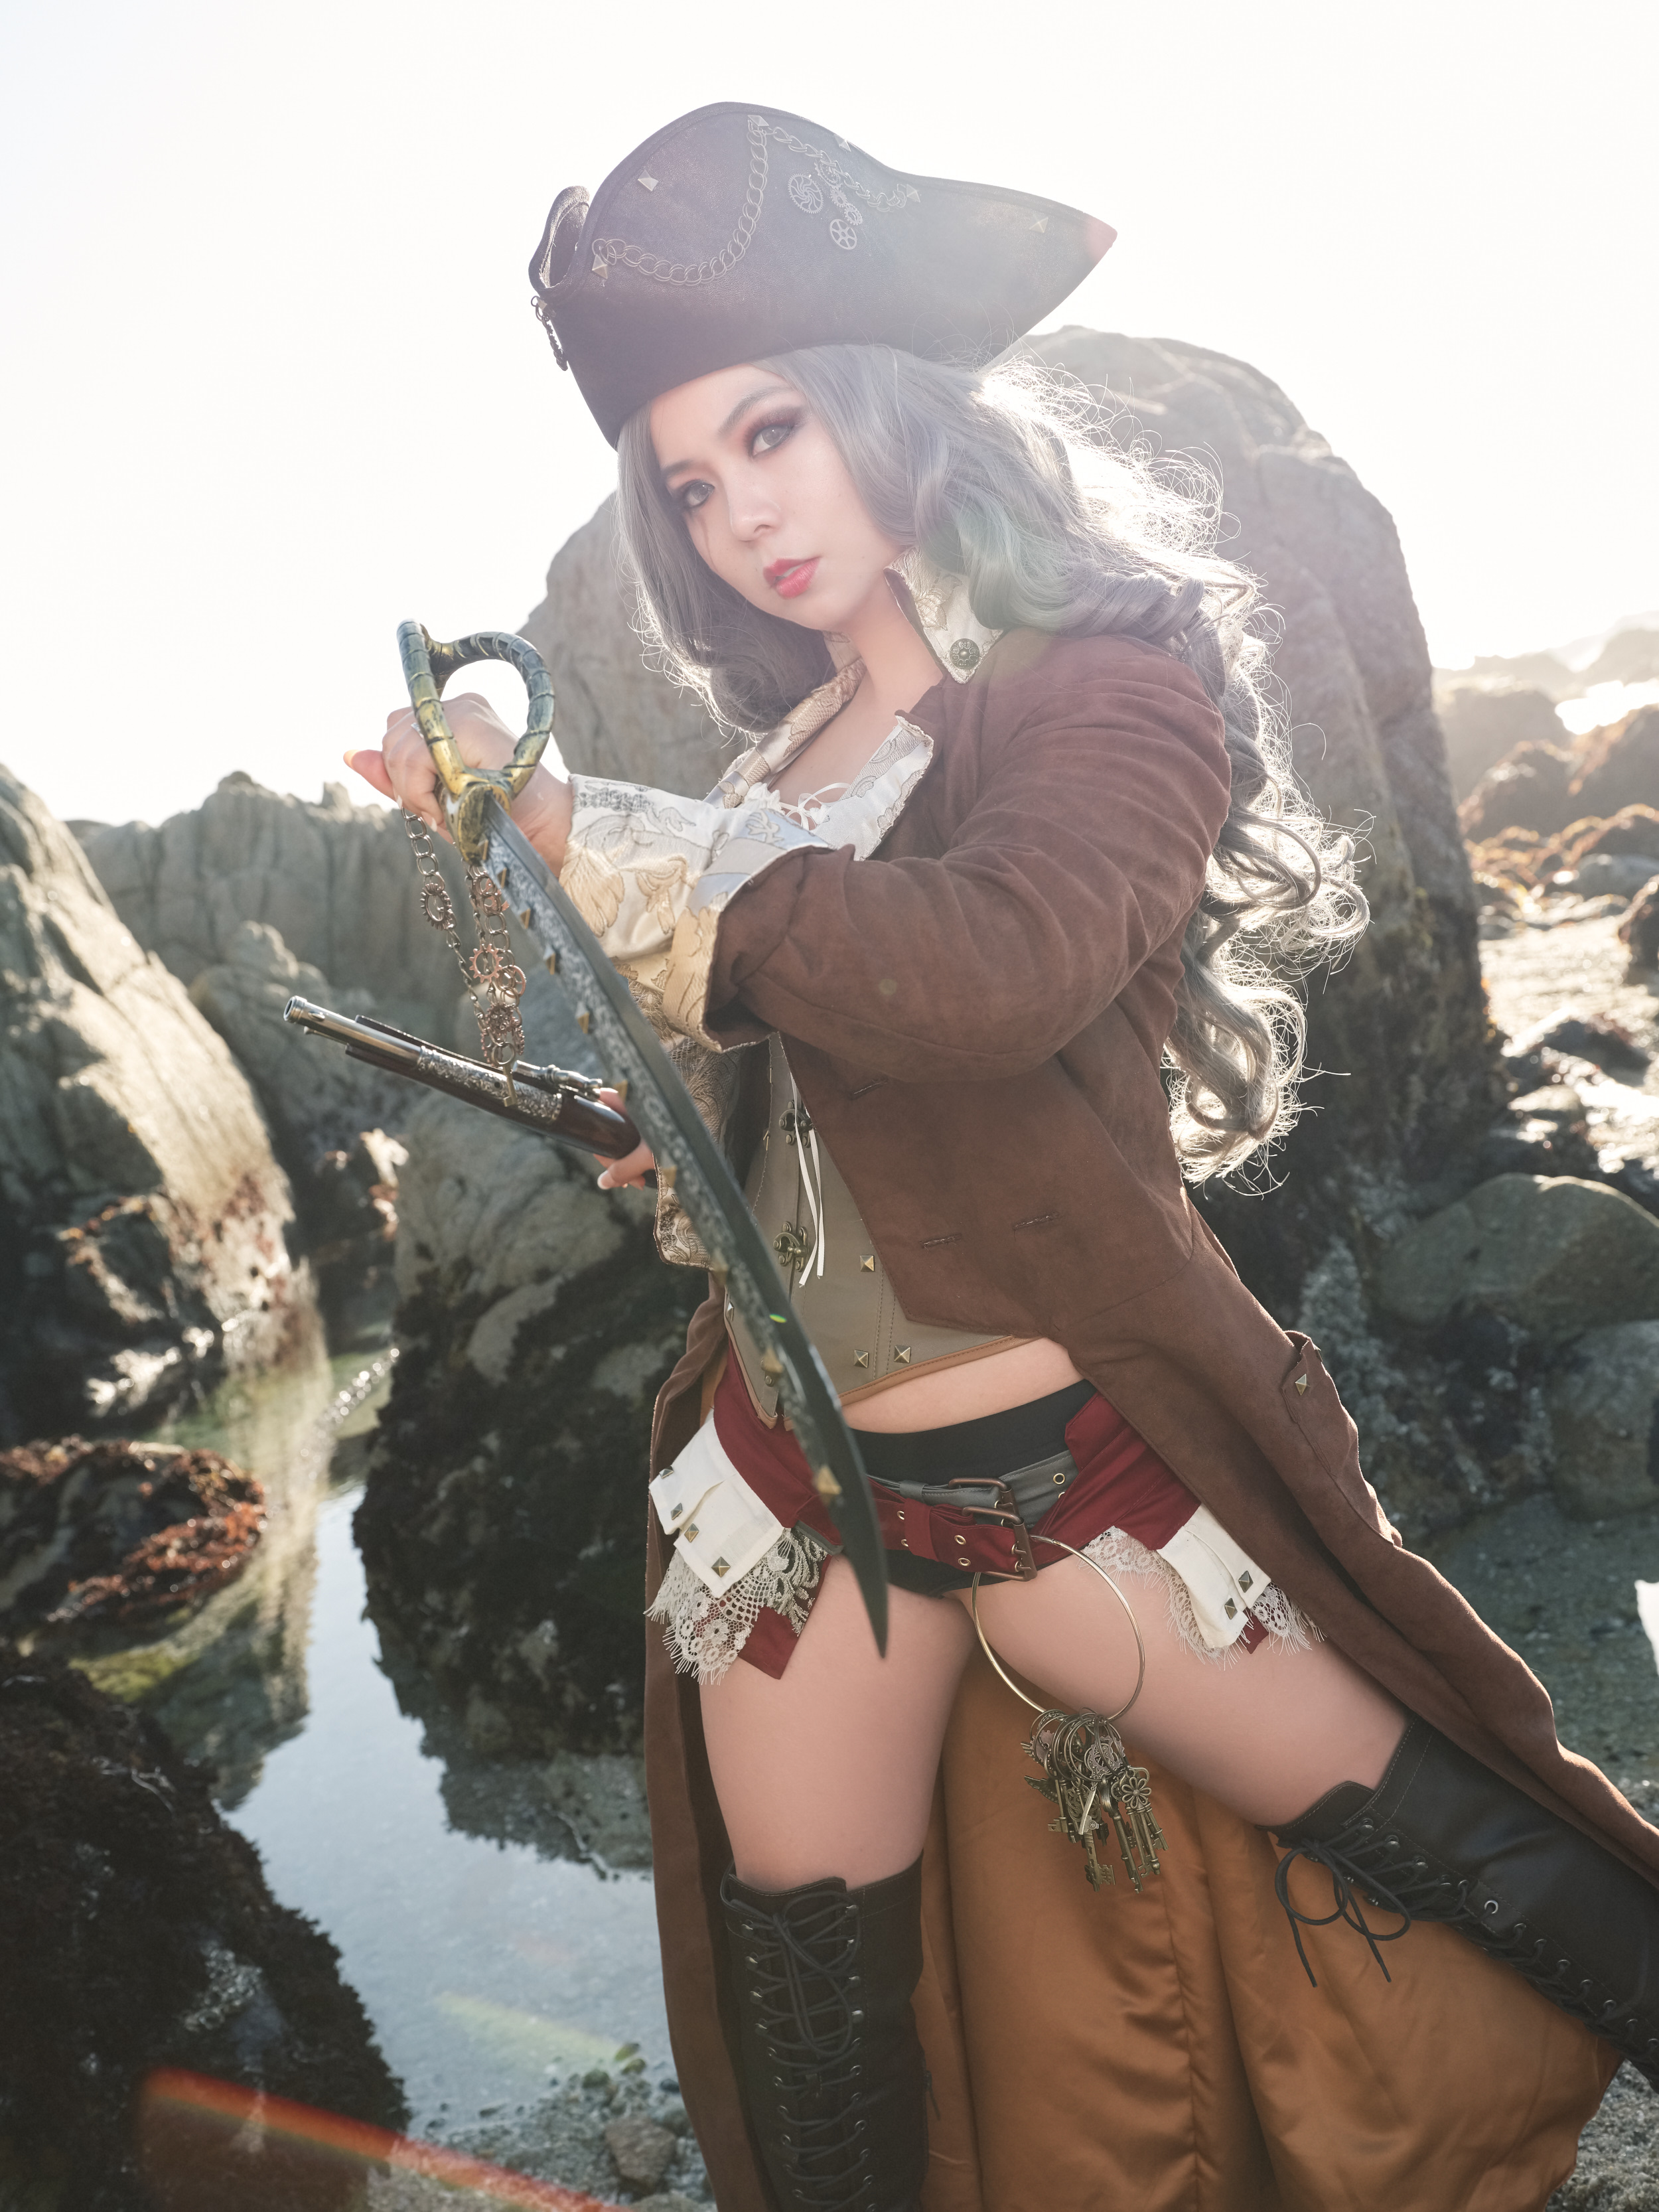
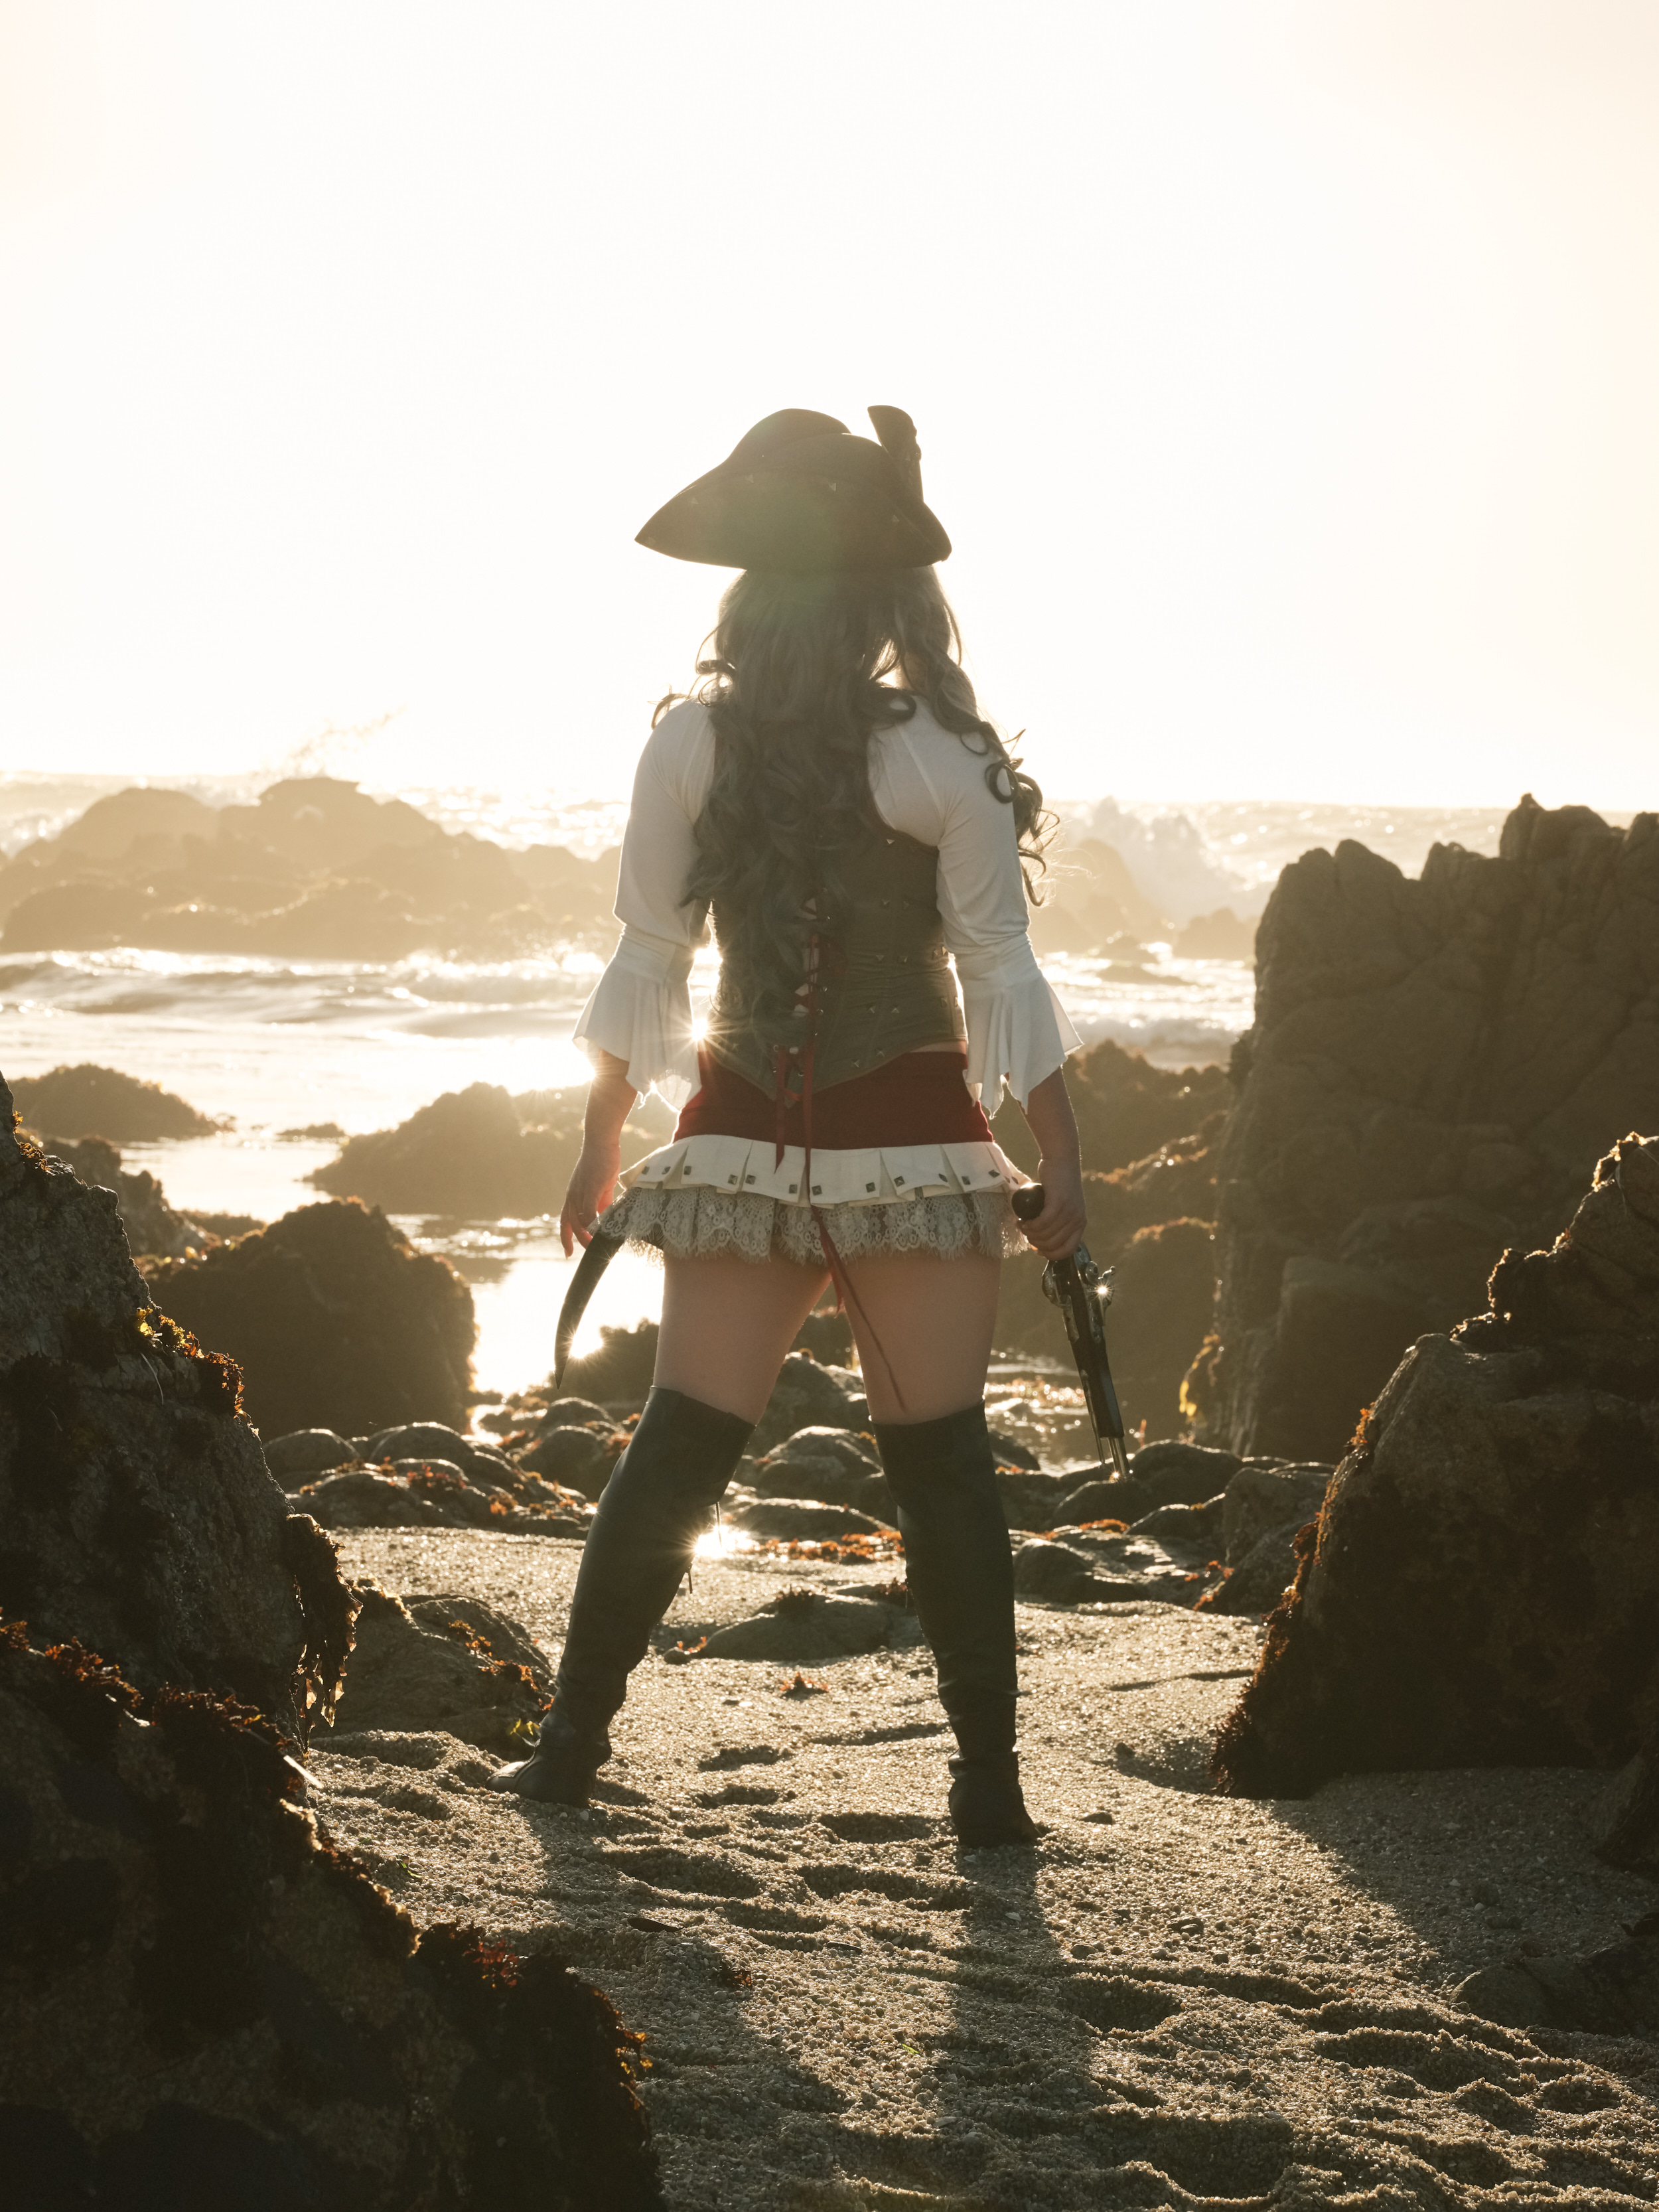
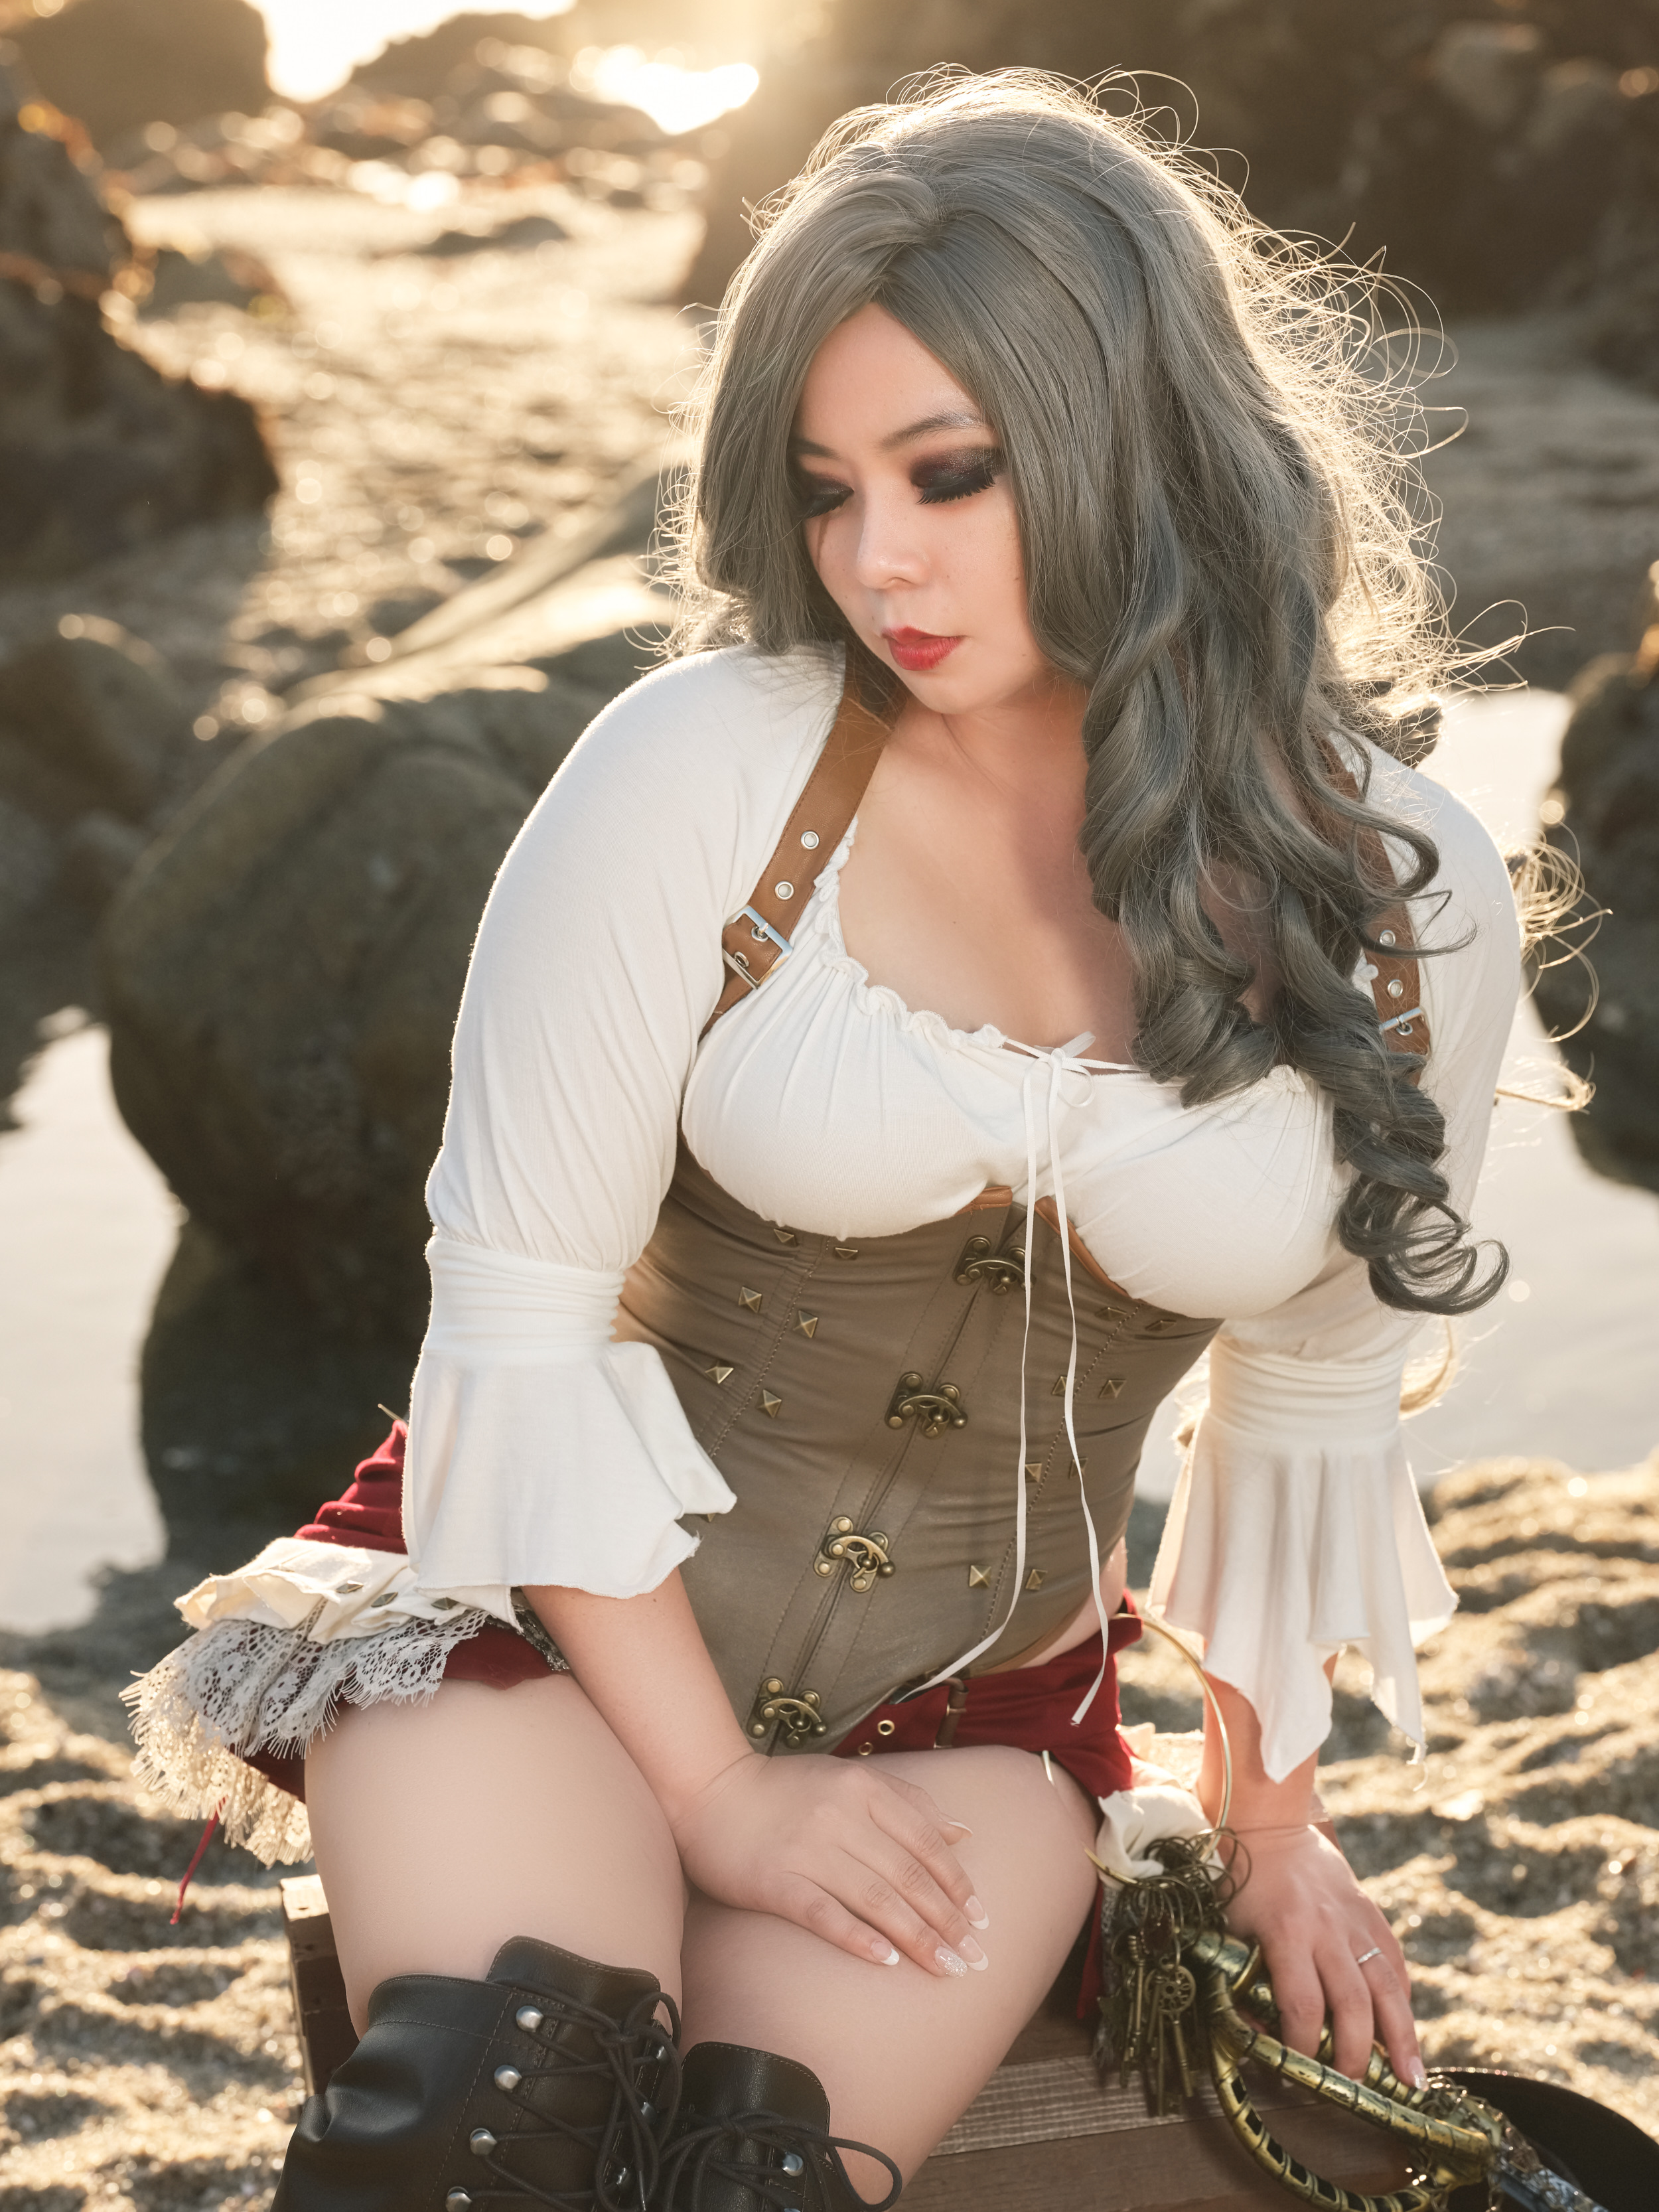
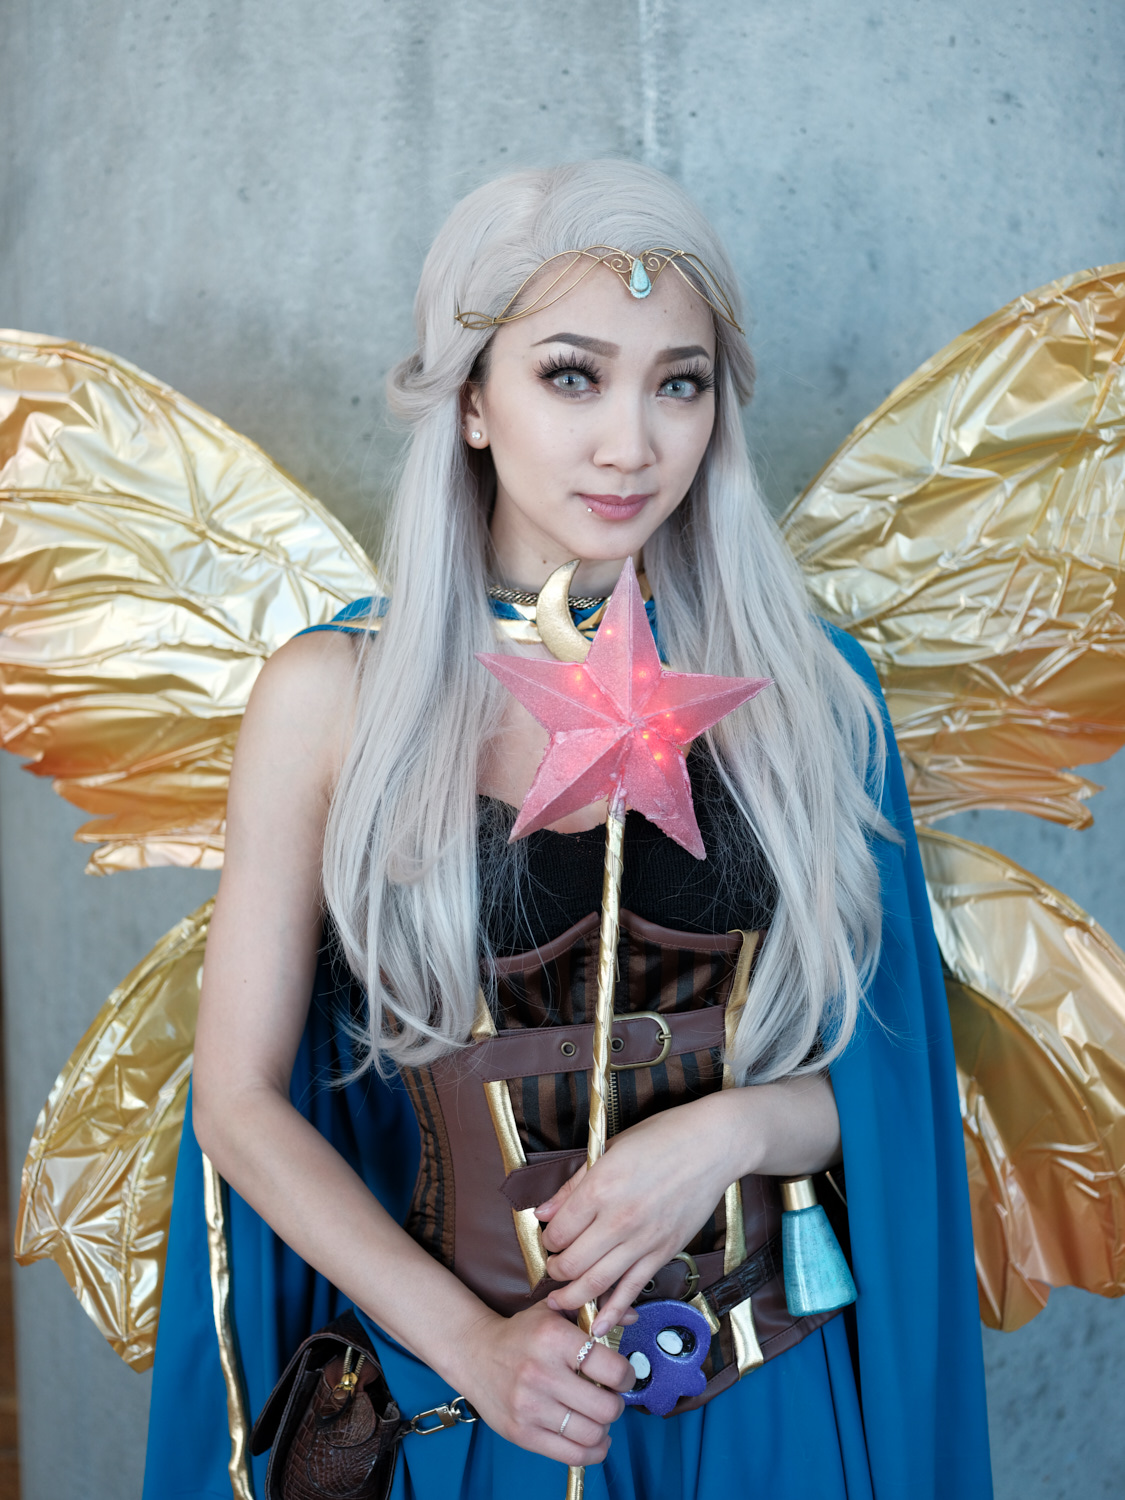
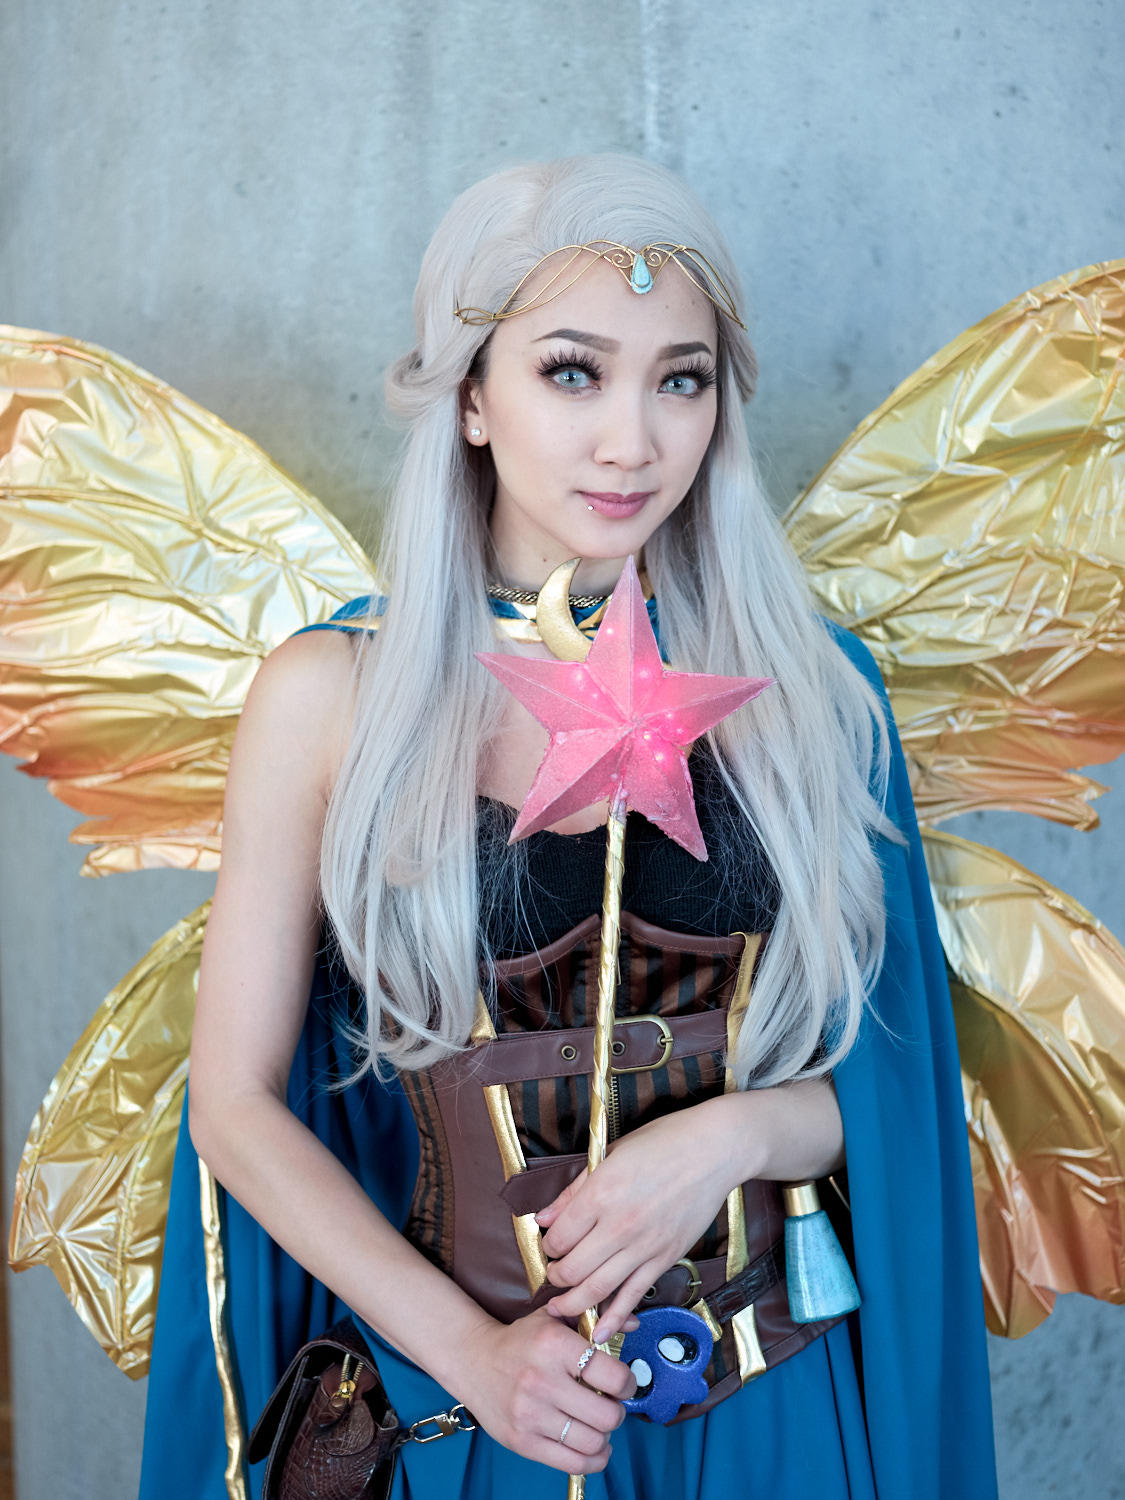
Steam;Sea: Steampunk-Inspired Fashion

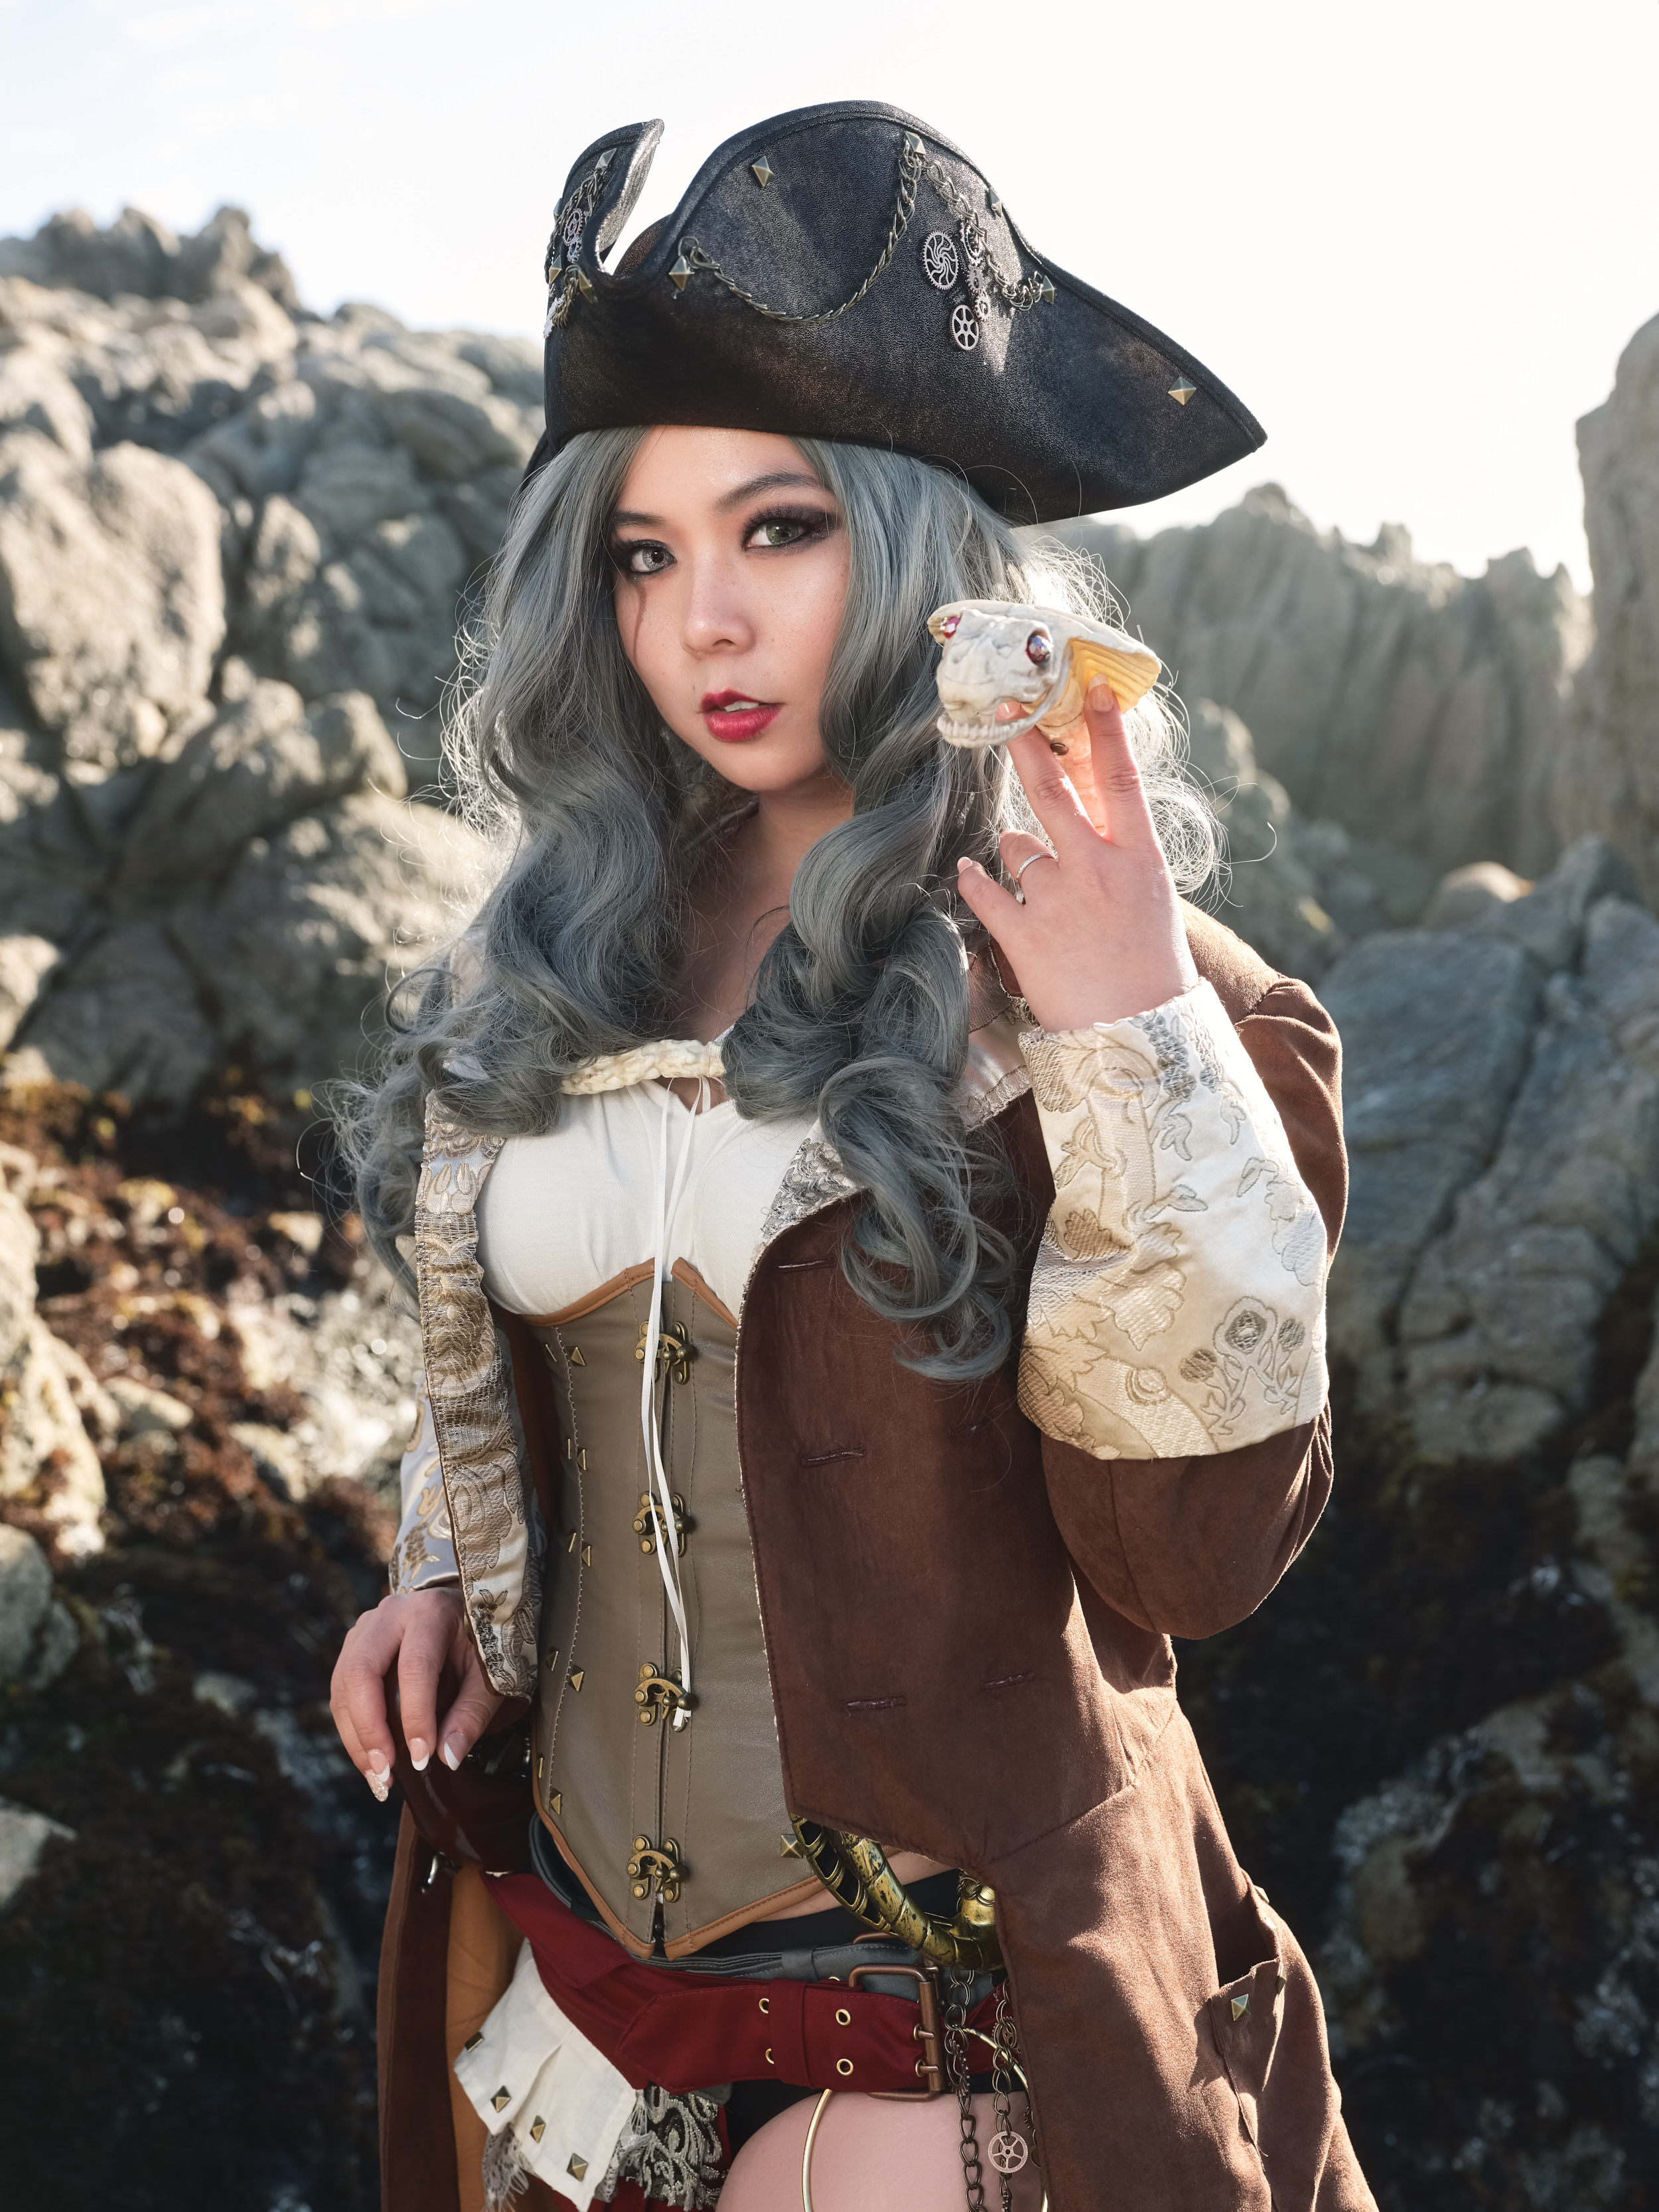
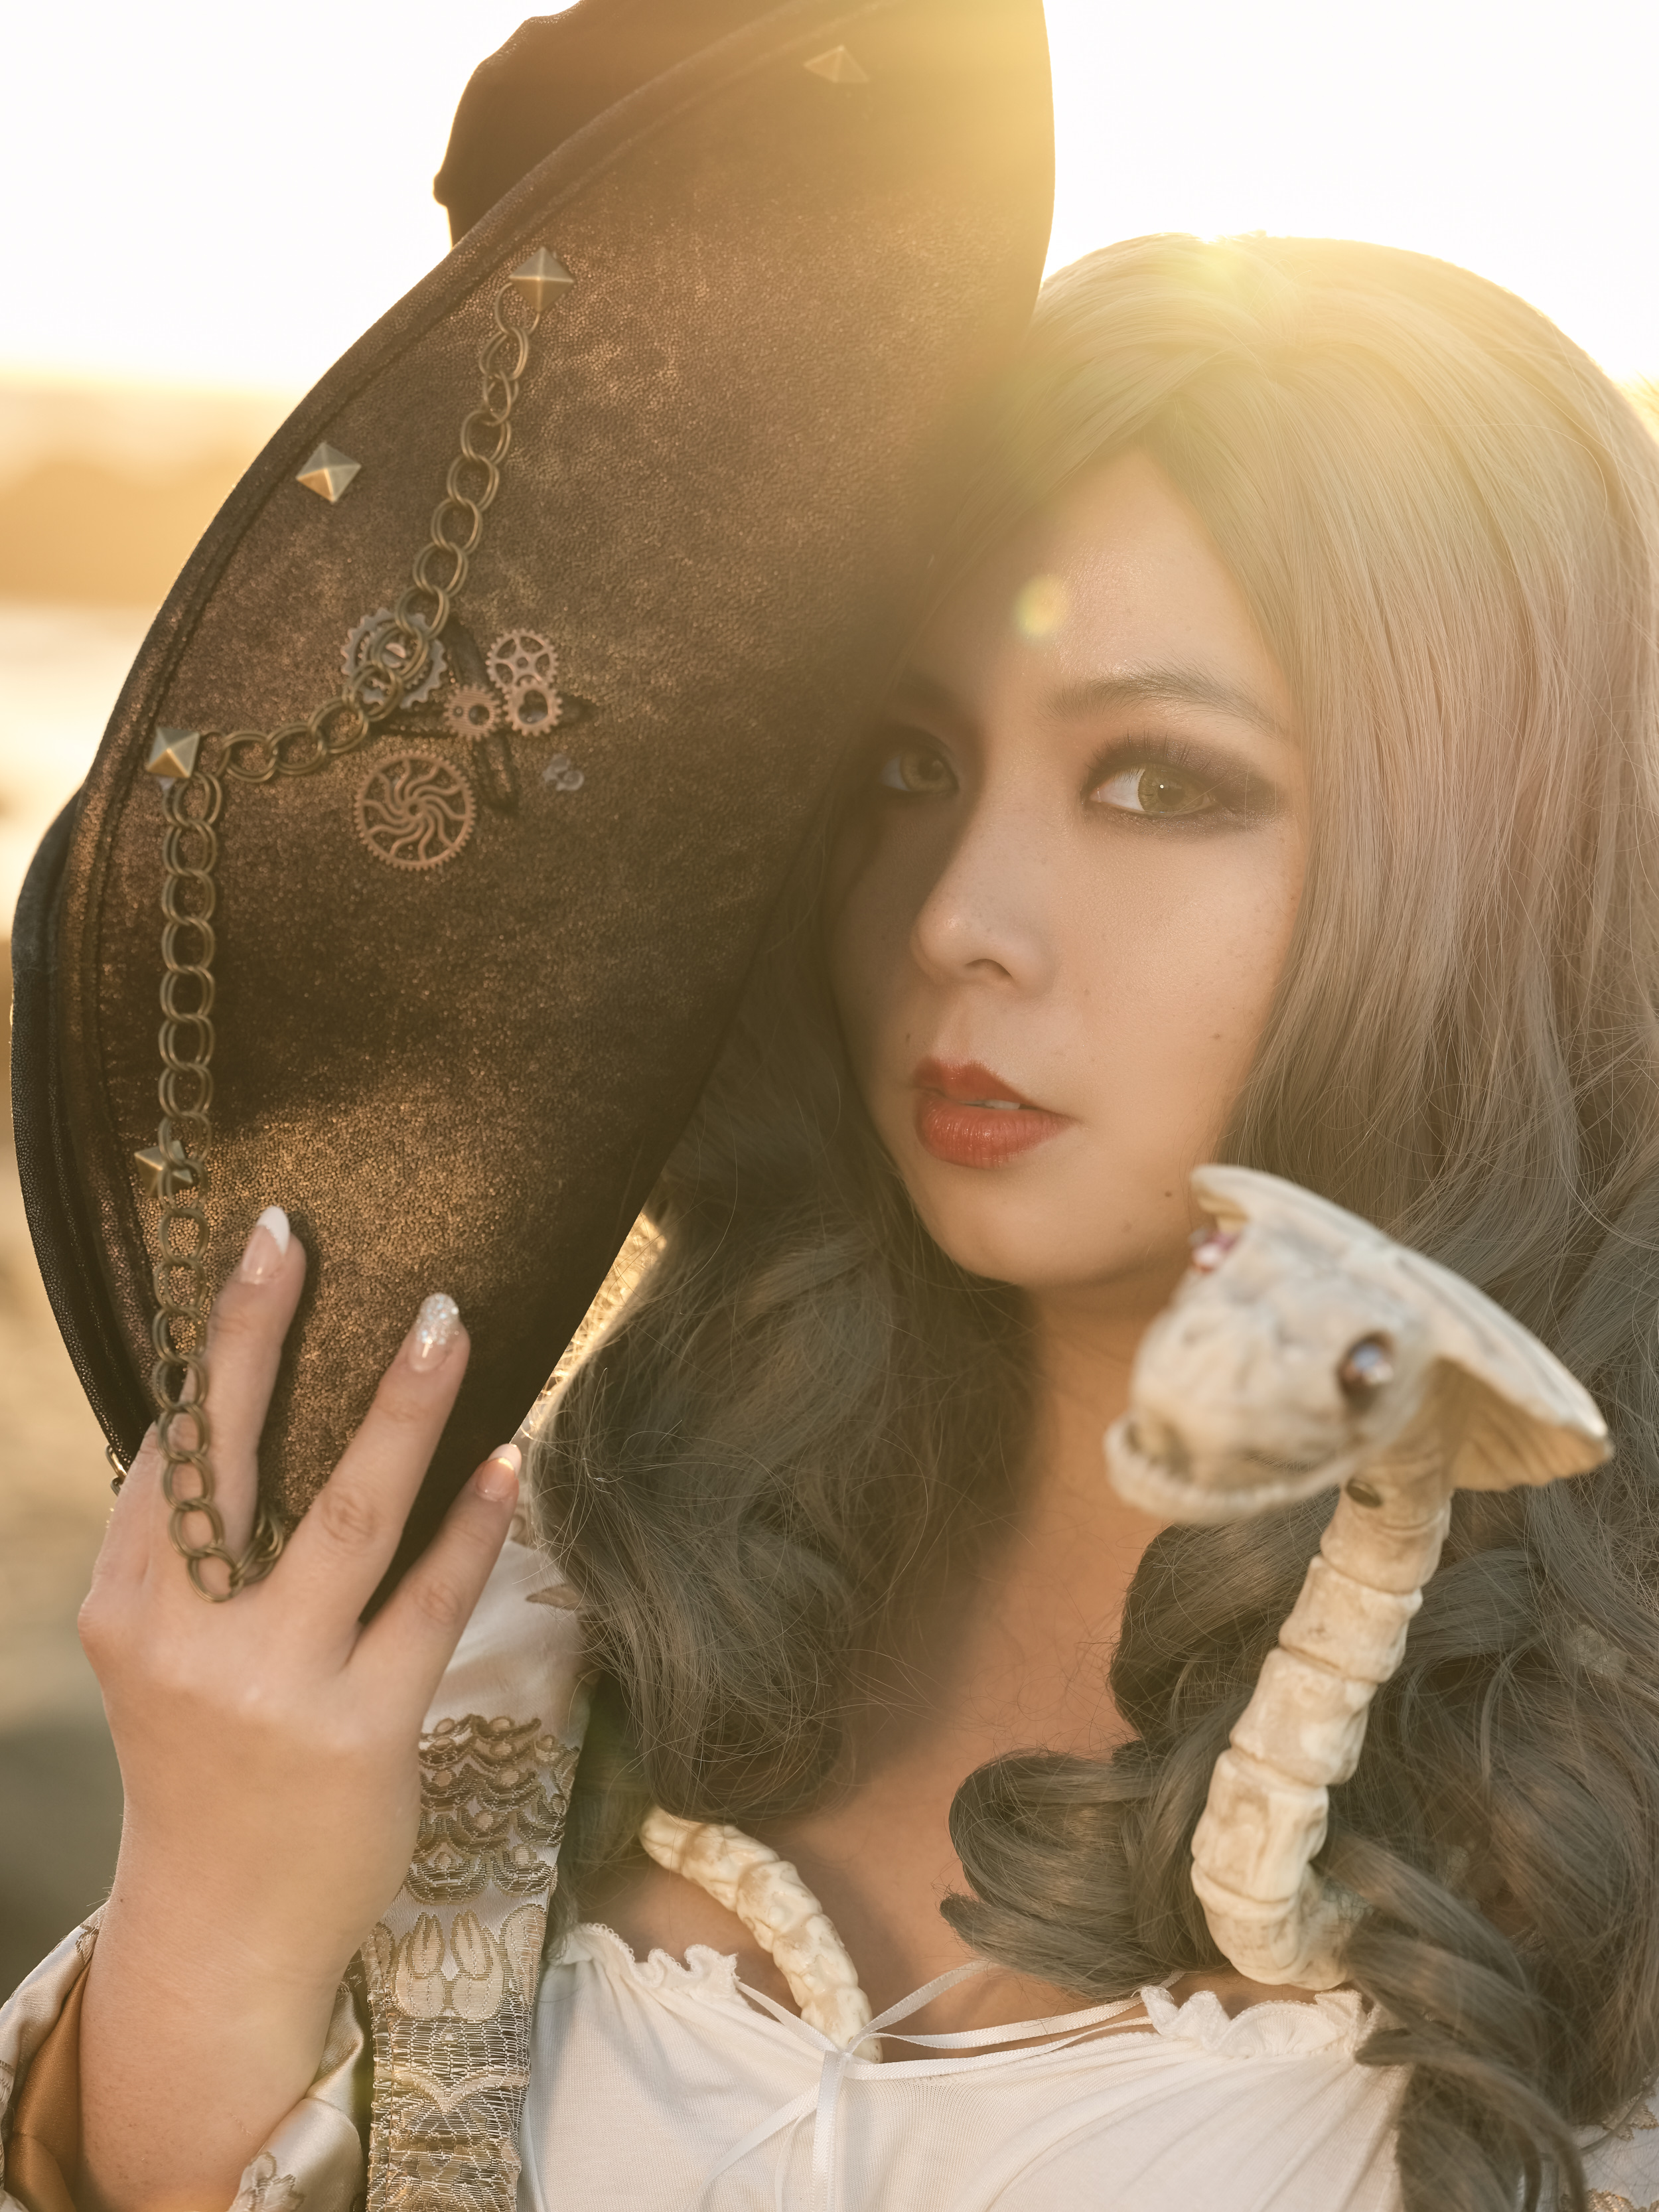
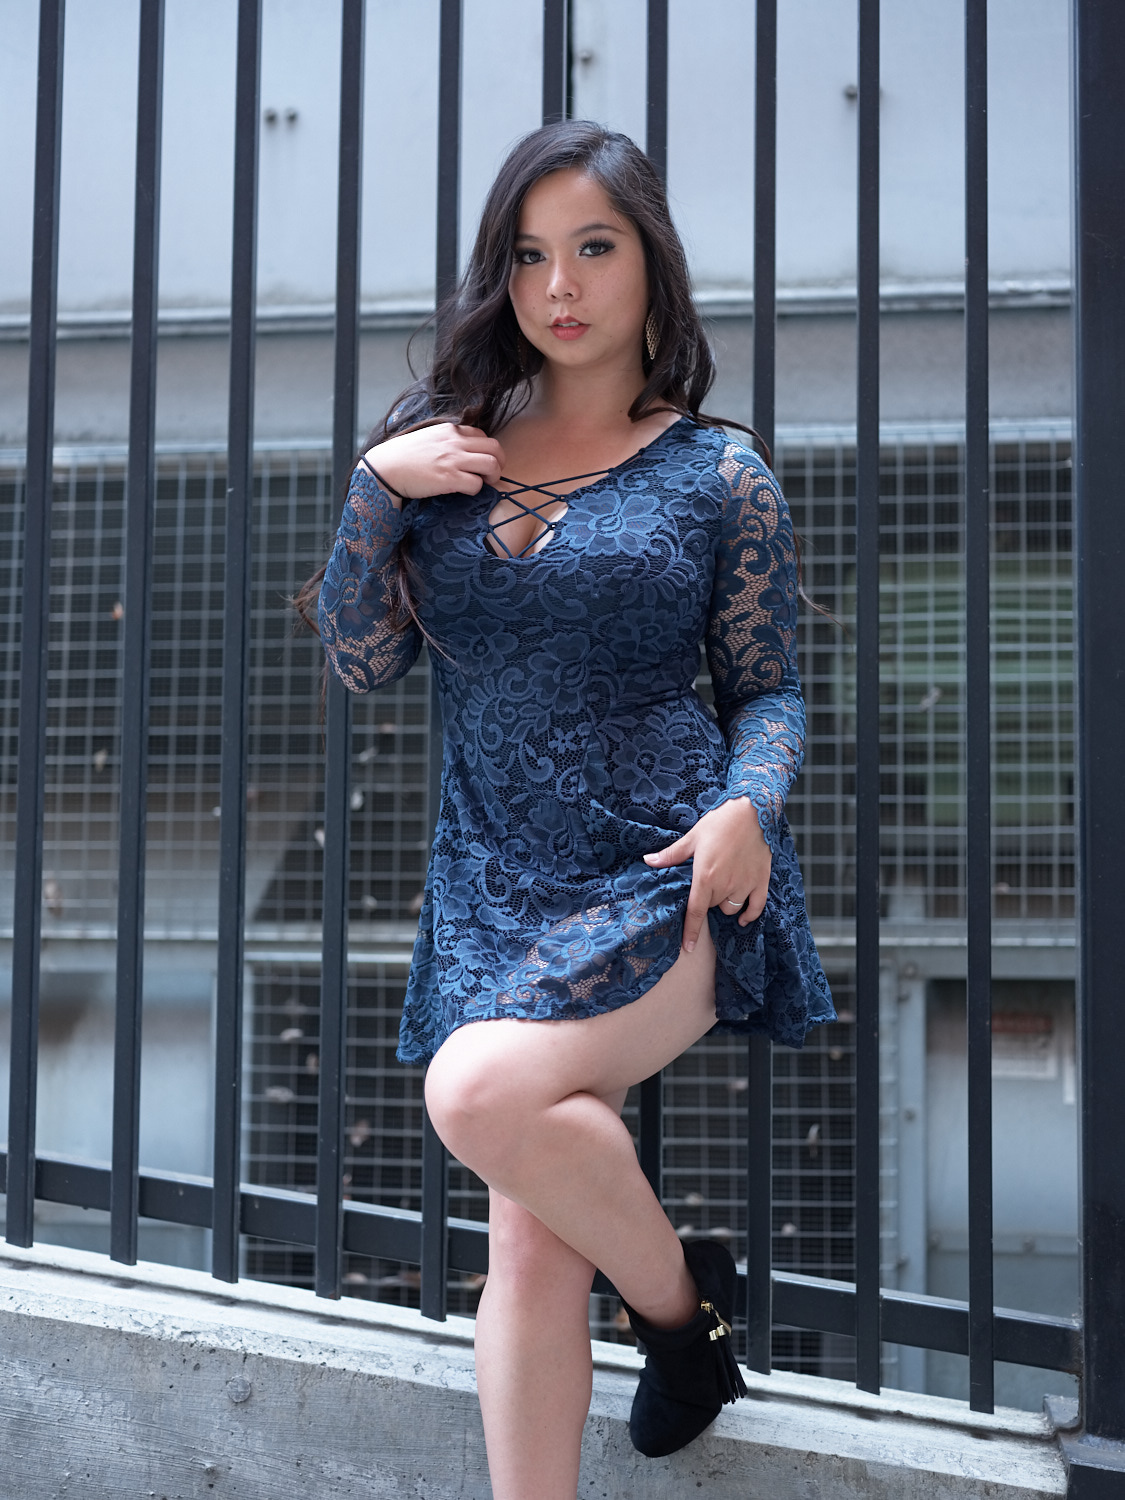
Steam;Sea is a project collaboration with Lady Aurora featuring a steampunk-inspired pirate design that she created and coordinated.

I'm a big fan of steampunk and Victorian fantasy designs. I love the mishmash of metal and leather, wood and steam, low tech and seemingly impossible high tech, elegance and grit, and the making of the fanciful real. Needless to say, I was all onboard for a steampunk collaboration withe Lady Aurora!

I won't rehash the original design concept, as Lady Aurora already has a nice write-up about it here. What I will talk about is my process from concept to photo.

On the Road Again

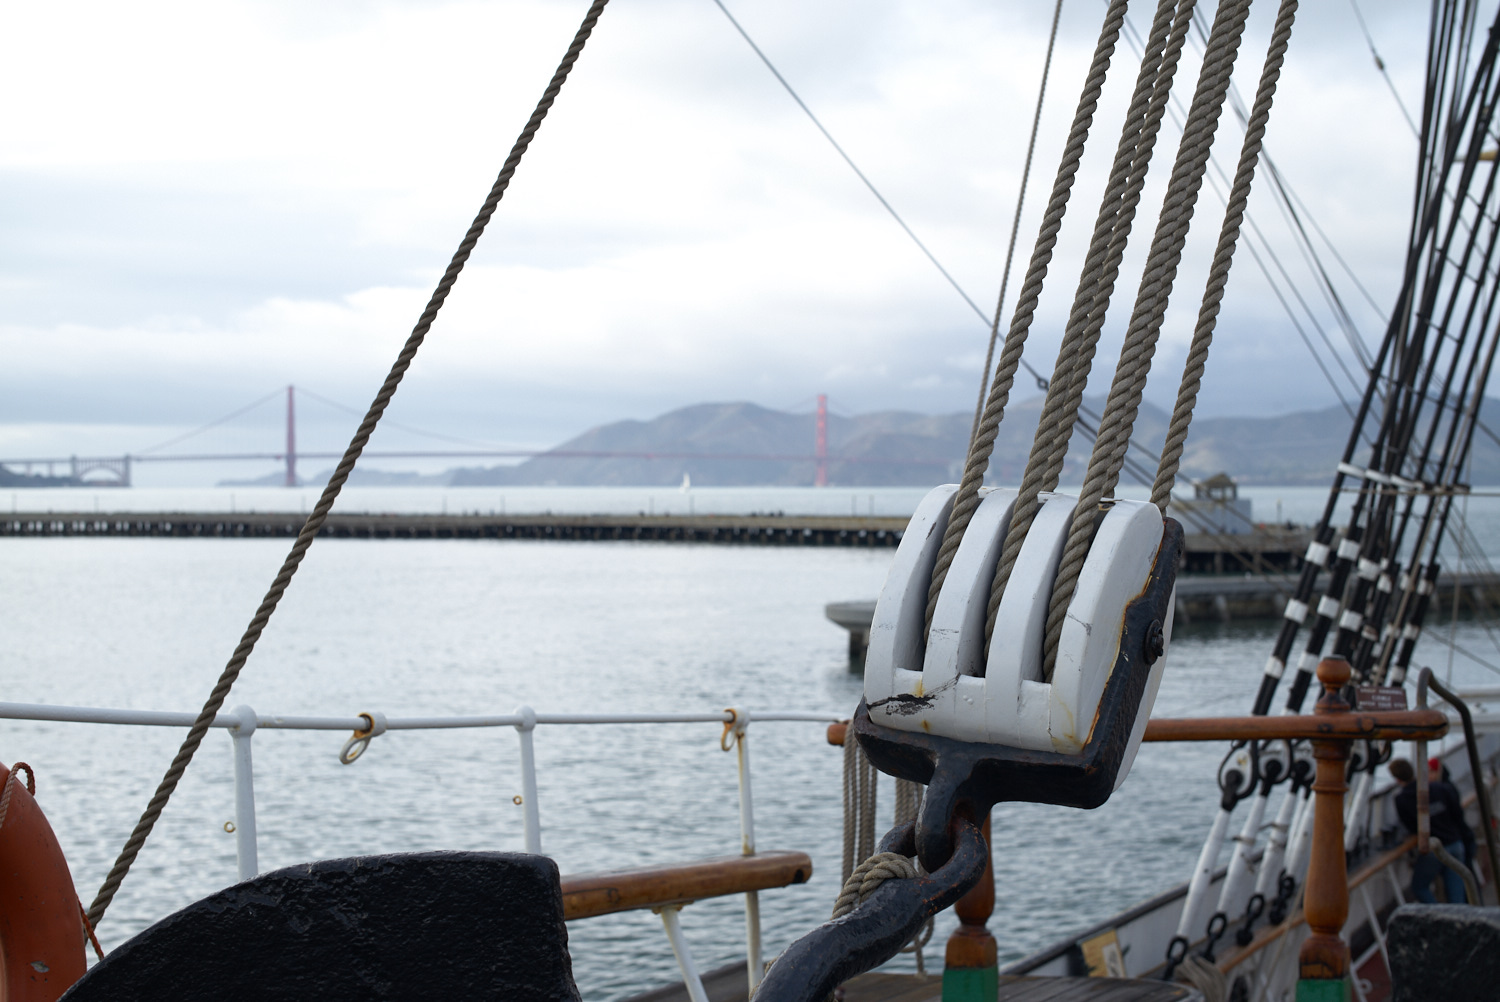
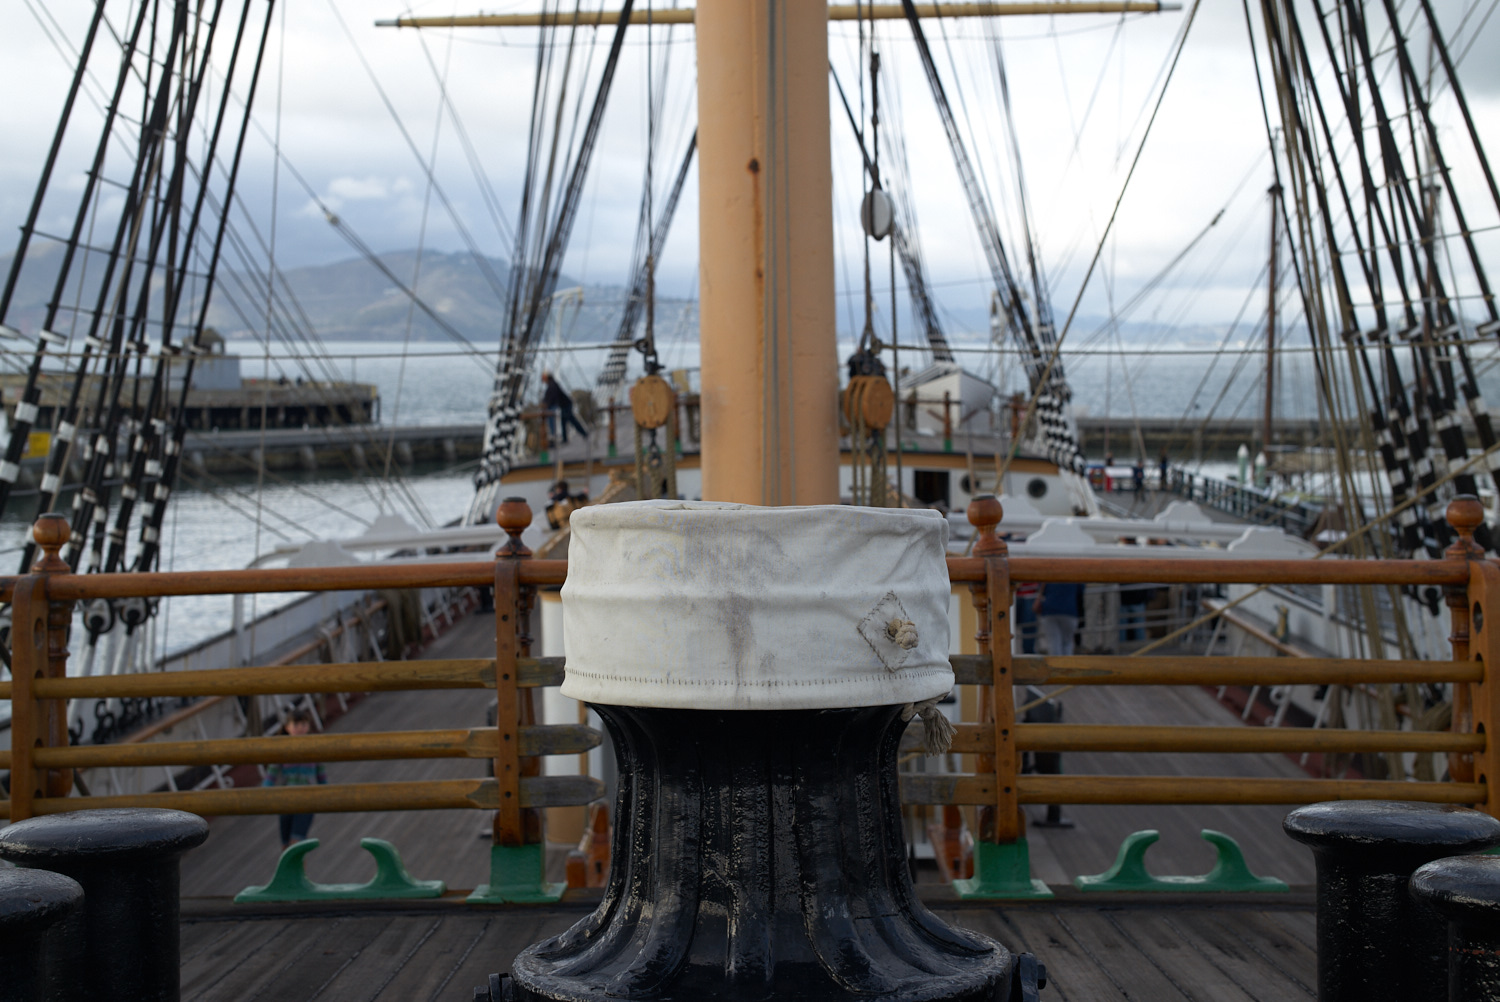
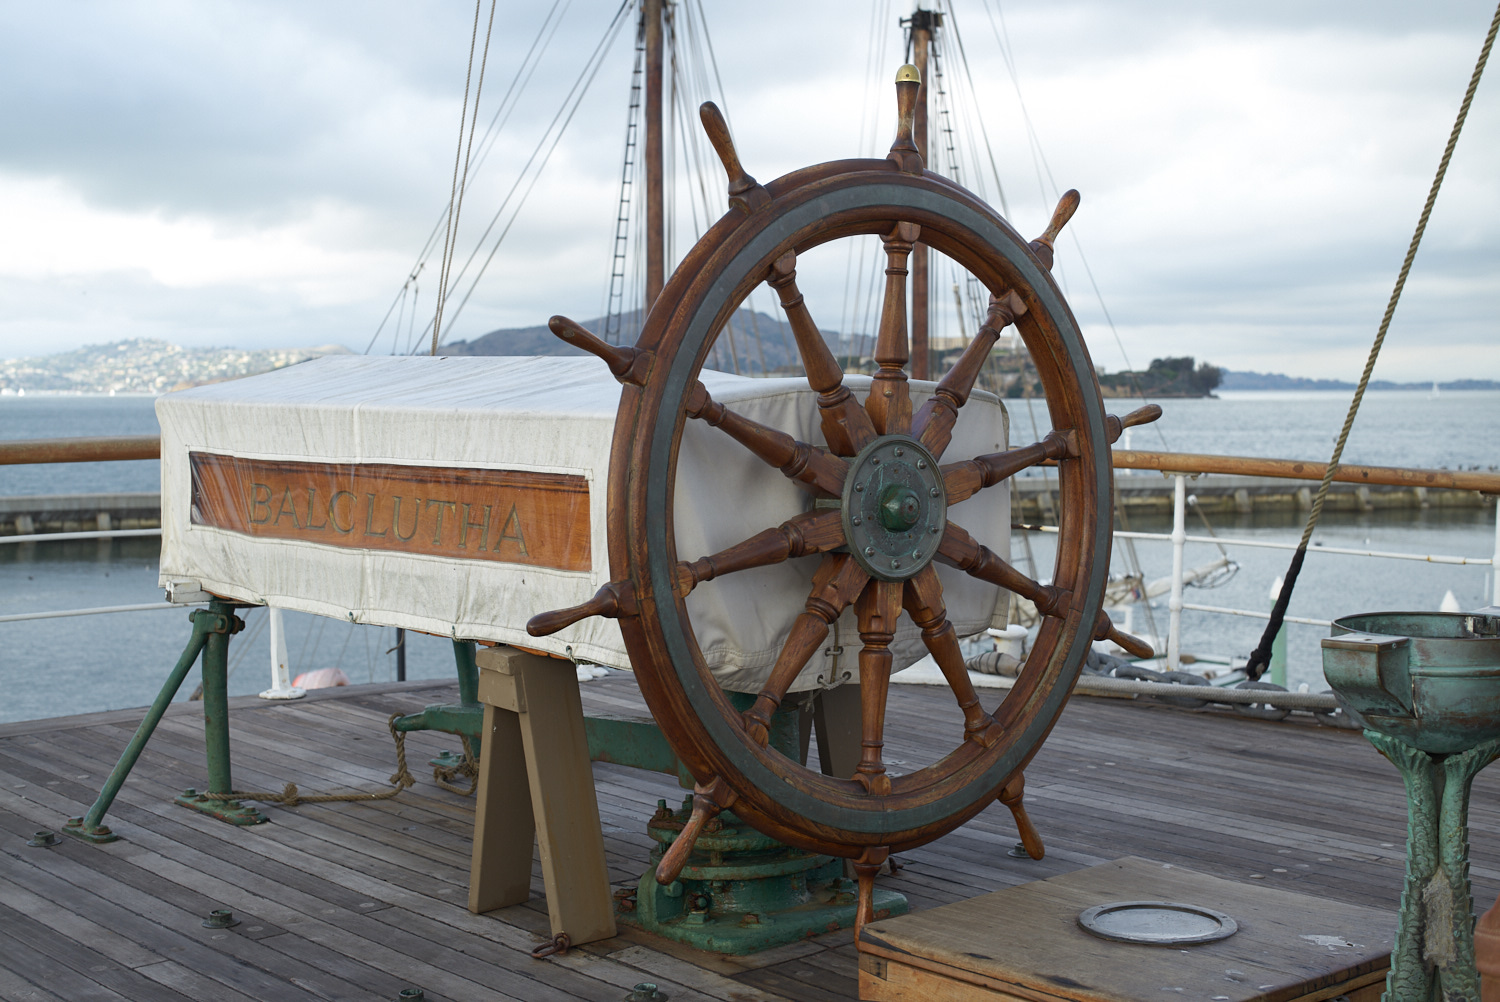
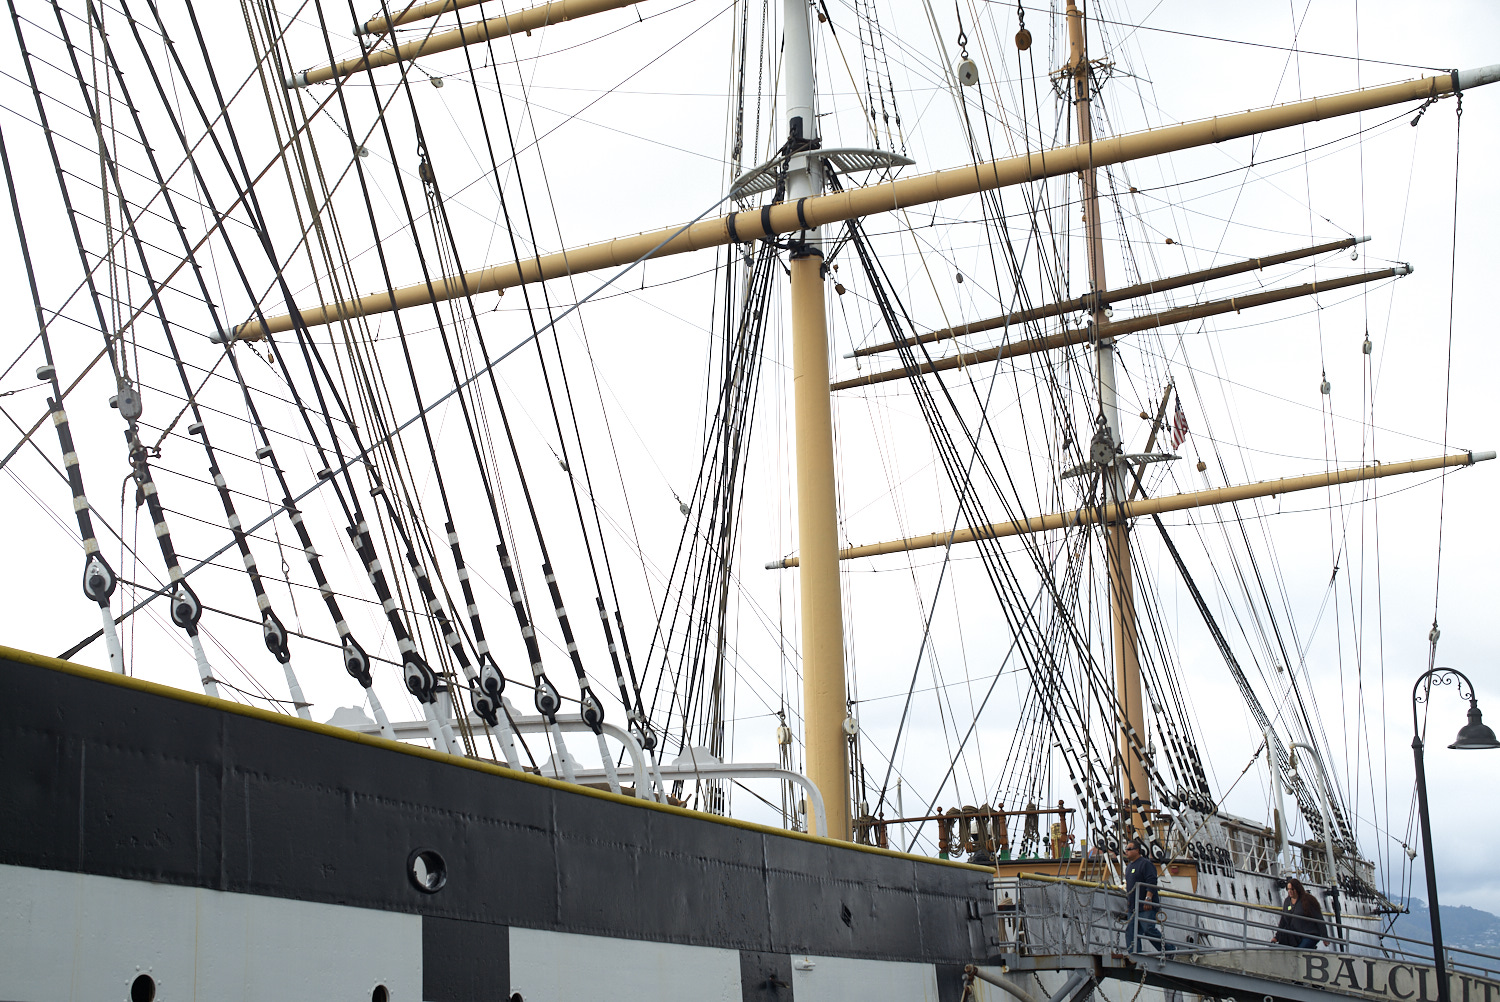
Being a pirate design, I really wanted to be on a boat! I had previously shot on the Balclutha, but I wasn't quite satisfied with the look. Twas a fine ship, but not for steampunk. One of the largest factors in passing on the Balclutha is the steady influx of tourists and people in general. It is a National Historic Park after all. The second reason, although more minor, is I didn't want to see San Francisco-specific landmarks in the background.

The second location I had in mind was Grays Harbor Historical Seaport; specifically the Hawaiian Chieftain. The boat looked great in the photos. However, it looks like the main tours are actual sailing tours. A photo shoot is definitely not happening there unless I booked the entire boat. Maybe one day I will revisit this spot.

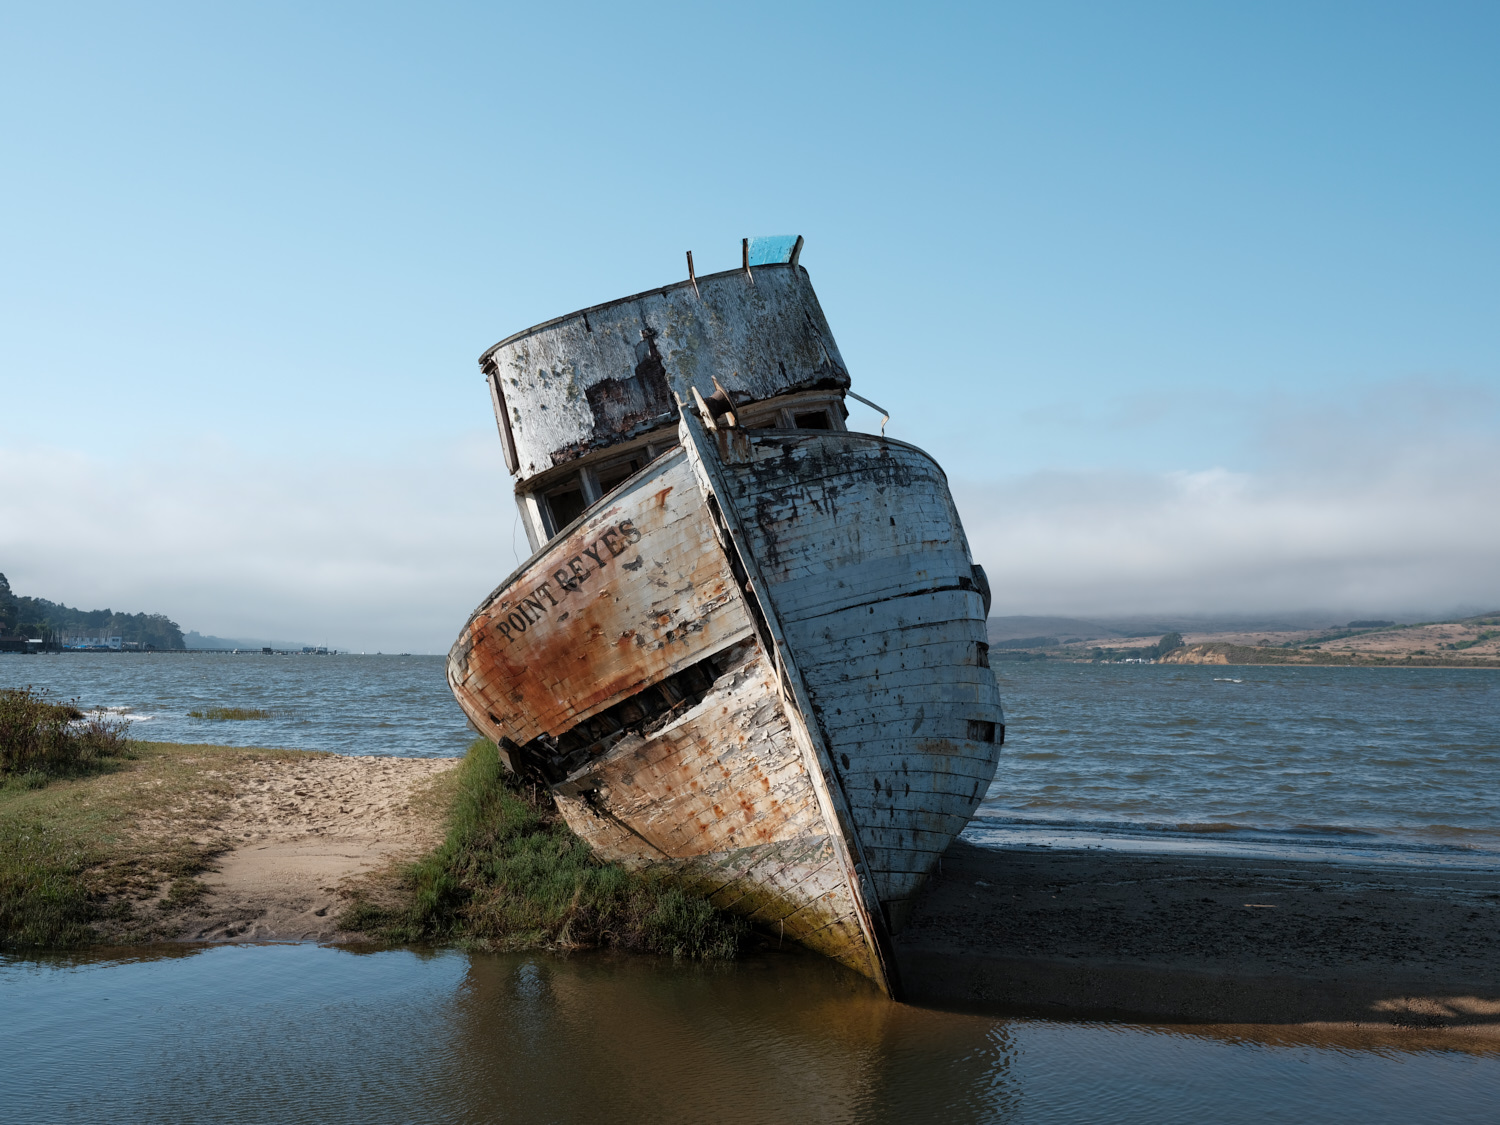
The last boat location that came to mind was the Point Reyes Shipwreck. It was a boat. Check. It was decidedly neither steampunk not pirate. Could it still work? Not really. When we went out to scout the location, it was low tide and it was already pretty tricky to get near the boat without a bit a wading through the water. Combine that with the limited angles I could achieve at the location, it was a pass.

Road Trip Part 2

At this point, I gave up on the idea of having a boat. I shifted my concept from being on a boat to being on a rocky shore. Something dramatic; with waves crashing violently on the rocks just behind the model. Maybe gloomy weather too since we were at the tail end of Fall.

For the first rocky location, we decided to scout the rocky outcropping into the Pacific near Pacifica State Beach. Half way there we were summarily greeted with failure. Aside from being fenced off, because that has never really stopped me before, getting down to the location was a very steep and narrow path. This prevented not only me from bringing down the light, it also made it near impossible for the model to get down without getting dirty or falling (because of heeled boots). Well as they say, it's better to fail fast.

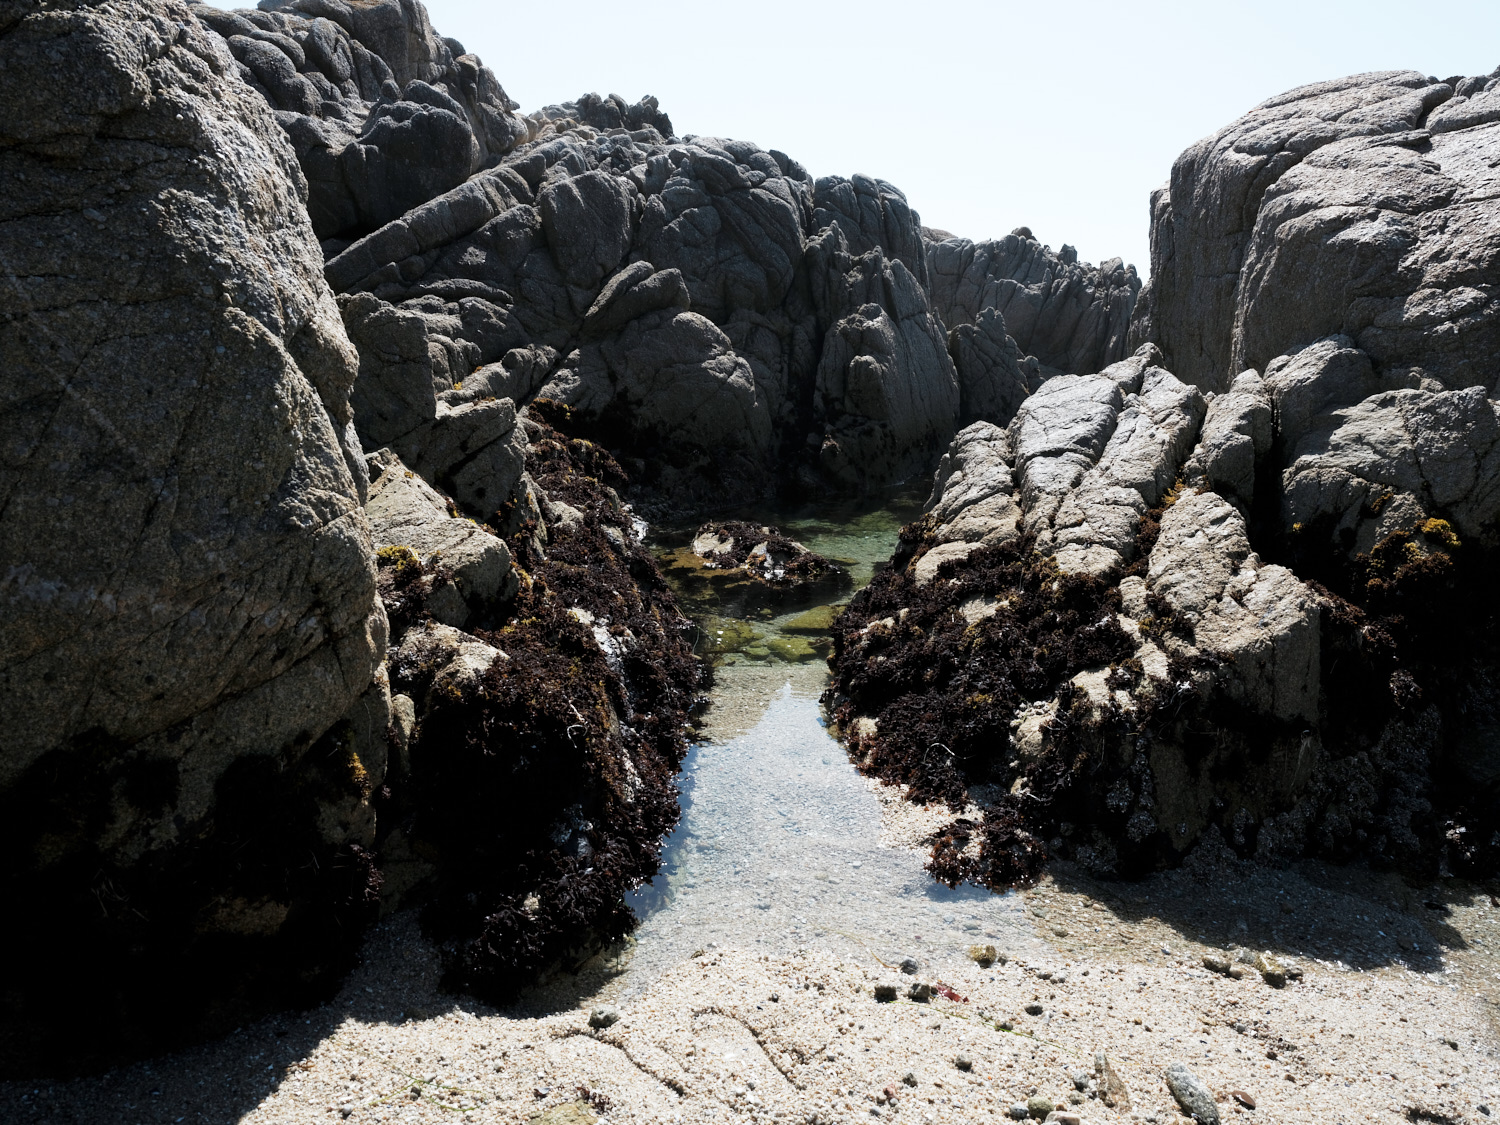
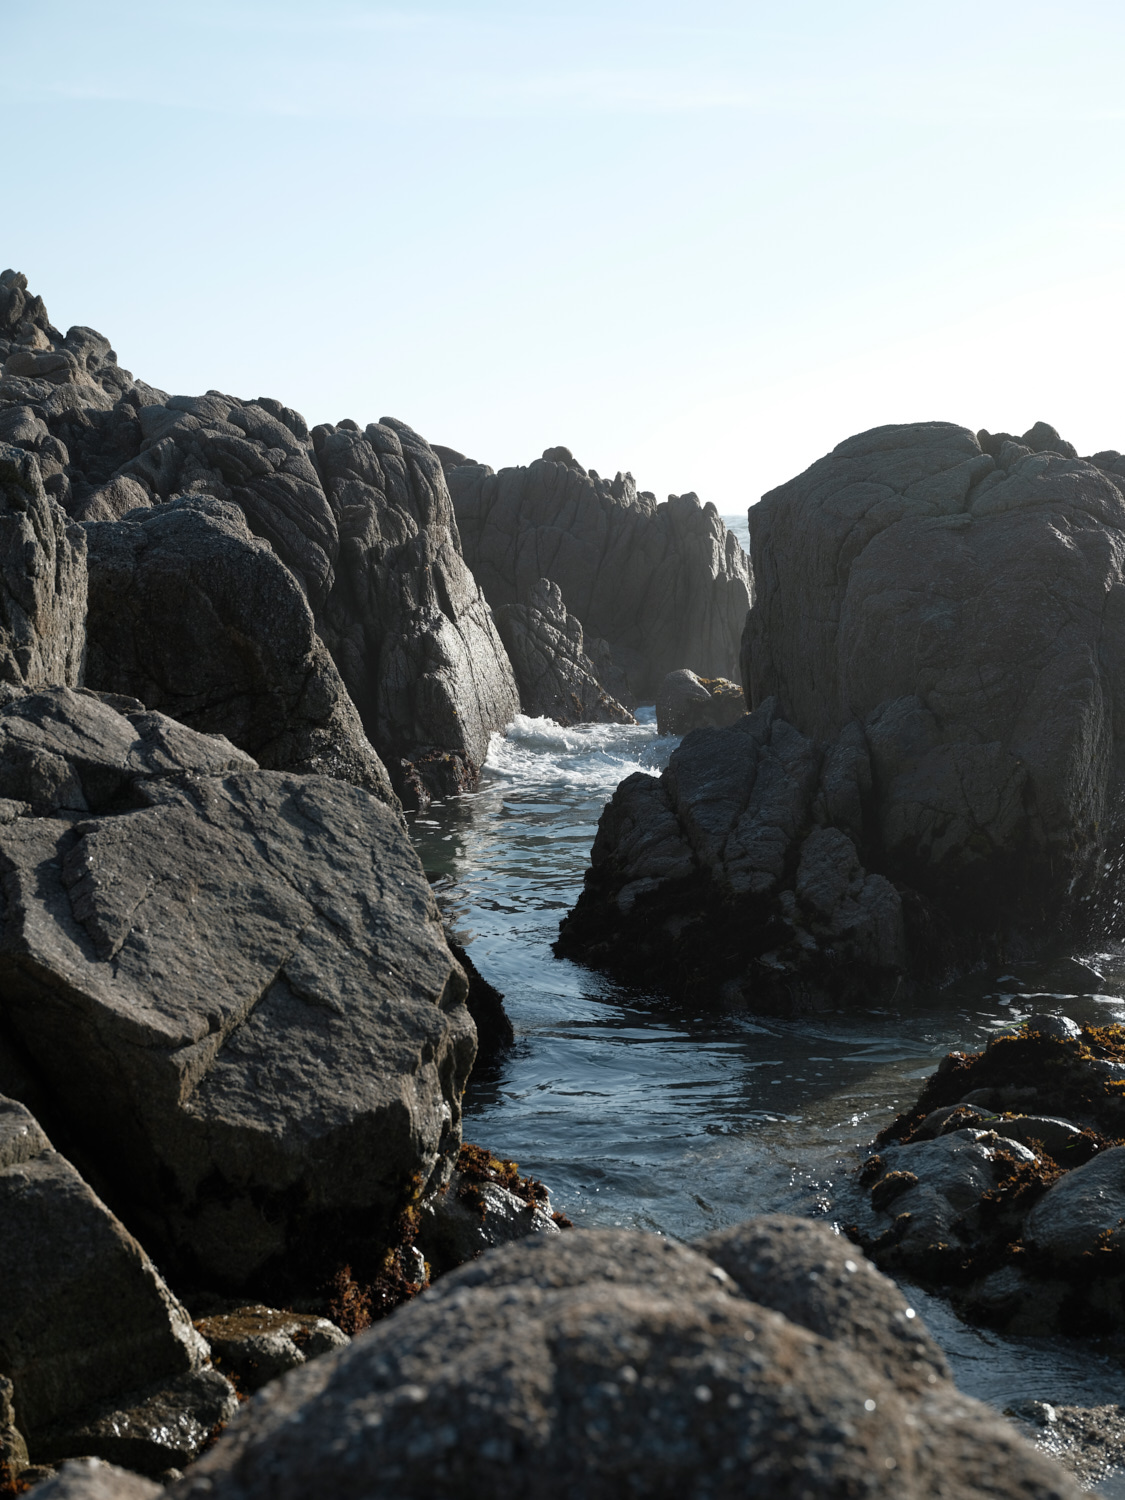
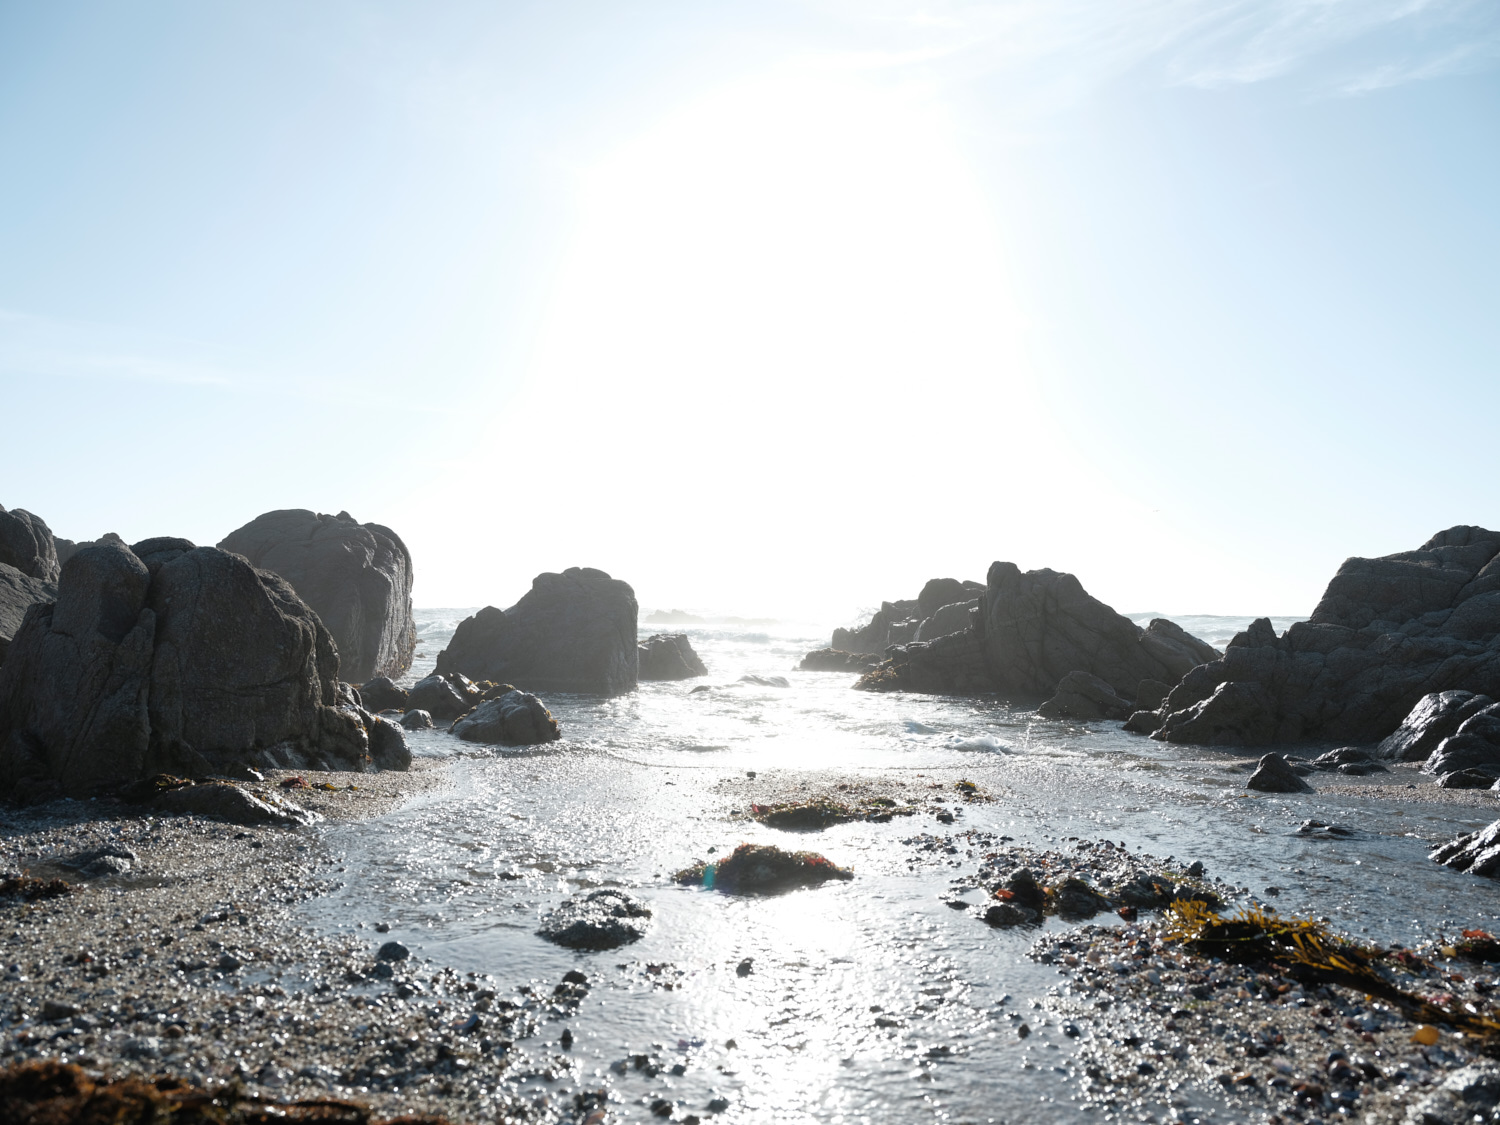
We continued our tour of the Pacific coastline looking for interesting rocky formations and the like. Eventually we ended up at Asilomar State Beach in Pacific Grove, CA. It had rocks and crashing waves! Yes! This will work! We trekked around looking for the perfect spots to shoot; specifically lots of rocks, a nice patch of beach, and not in the direct path of the sun.

Since we found a workable spot, I wanted to stick around to see how the landscape changed as the sun went down. The spots that looked great earlier in the afternoon were completely submerged by the time golden hour rolled around.

The locations still looked great, but they had a different feel for them. As for the crashing waves, we simply couldn't get to the furthest rocks without a boat. Oh well, I'll concede that point.

With a final shoot location set, we were ready to go. While this location scouting journey was fraught with failures, it was a good reminder to always stay flexible and adapt the concept to what can be done.

On Location

For the day of the shoot, we enlisted the help of our friends Dan and Jon as assistants. One of them would hold the light to make sure it was pointing in the direction of the model and to keep the power cord and battery pack out of the water. Many thanks to both for assisting!

We arrived just before 5:00pm, which was about 30 minutes before golden hour started. Luckily it was low tide at the time we arrived, so the original shooting plan was followed. There was a 2 hour shooting window that I could use before the sun set below the horizon. Conditions were clear, and the model and assistants were ready. It was time to shoot!

The lighting setup was pretty simple: a single Paul C Buff Einstein E640 strobe with Kacey dish attached. I opted for a beauty dish instead of an umbrella or softbox for durability's sake. The Kacey dish is plastic; so it can handle wind, sand, rocks, and water just fine. No worries about it turning into a sail or breaking on location.

lighting-diagram-1511319438.png

Since the sun will set behind the model, I positioned the light on the opposite side to form a clamshell type of lighting effect.

After an hour of shooting, an orange color correction gel was added to the beauty dish to compensate for the warmer color of the setting sun.

Wrap Up

In the end, two hours flew right by. As it was getting darker and colder, we called it a day. Overall the shoot went extremely smoothly thanks to a lot of preparation and a good crew.

Thanks for reading!
Revisiting Iridient X-Transformer and the Fujifilm GFX 50S

As a Capture One user, I am disappointed that it does not support the Fujifilm GFX 50S raw files. In my previous posts (part1, part2, and part3) where I shared my search for an effective workflow for using the GFX with Capture One, I briefly touched on the usage of Iridient X-Transformer. Since then Iridient has updated X-Transformer to 1.0 beta 4, so I gave it another spin.

What's New in Beta 4?

The complete release notes for X-Transformer is here, but I listed out the version 1.0 beta 4 changes below:

  • New Features:

    • A new Lightroom scripting plug-in is now available for sending images to Iridient X-Transformer for conversion which avoids some of the limitations and disadvantages of using Lightroom's external editing functionality (or "Edit In").

    • A new option has been added to set the default DNG camera profile to either Iridient Standard or Adobe Standard. Iridient Standard should be a closer match to Iridient Developer, however due to inherent differences in the camera profile formats (ICC versus Adobe DCP) the default color rendering will still not be identical.

    • There is now an option to make the exported DNG file read only (or "locked"). This will prevent Lightroom from automatically writing metadata edits back to the DNG and will force use of sidecars for metadata storage.

    • There is a new option to translate the Fujifilm film style metadata into a Lightroom camera profile setting. This causes the DNG by default to load into Lightroom with an Adobe film emulation profile matching the camera settings for the RAF.

    • Fujifilm proprietary star rating metadata is now automatically converted to standard XMP metadata if the RAF does not have an XMP sidecar with a newer star rating value.

    • Improvements:

      • When working with an Edit In intermediate file from Lightroom with the "Preserve File Date" option enabled only the creation date will now be preserved. The modification date will be updated to the current time. This prevents Lightroom's caching from becoming confused about the state of edits with the Edit In file.

      • Updated camera calibration and profile information for models newly supported in Adobe's latest DNG Converter 9.10.1 updates (X-T20, X100F, X-A10 and GFX 50S).

      • Bug Fixes:

        • Fixed a Mac specific issue with setting the Save to Folder to a custom folder location.

        • Fixed some Mac specific crashing issues effecting older versions of macOS including 10.7, 10.8 and 10.9.

        • Fixed an issue with handling of automatic lens corrections metadata for vignetting where some lenses, particularly IS zooms, could show a notable under correction for vignetting. The results now should match up much more closely to the camera JPEGs and Lightroom as well.

        • Fixed a multi-threading issue with the sequence number based file naming when batch processing. Multiple images could be given the same sequence number and one would fail to be saved.

A lot of good stuff, but there one item that really made a world of difference for the GFX 50S which I highlighted in bold. The new feature is the ability to use Iridient Standard as the default camera profile.

With this one change, the DNGs that are imported into Capture One no longer require a change to the ICC profile!

As a proud as I am that I managed to make an ICC profile to correct the DNG colors, I am honestly the least qualified to do so. So having a better out-of-box solution is greatly preferred.

To change the default profile:

  1. Go to the "DNG Options" tab in X-Transformer

  2. In the "Default camera profile" dropdown box, select "Iridient Standard"

  3. You're done!

Screen-Shot-2017-09-21-at-8.25.10-PM-1200x1105.png

Trade Offs

Nothing is without cost, but thankfully this one is easier to swallow. Below I list out the trade-offs between using Iridient X-Transformer and Adobe DNG Converter with respect to my existing Capture One workflow for the GFX 50S.

Pros

  • Good colors out of the box

Cons

  • One time cost of $29.99 + tax

  • Compressed DNG files are 2x to 3x the size of the equivalent Adobe compressed DNG files

So at the end of the day, it's trading file space for better color. I can live with that. Disk space is cheap.

Sample Images

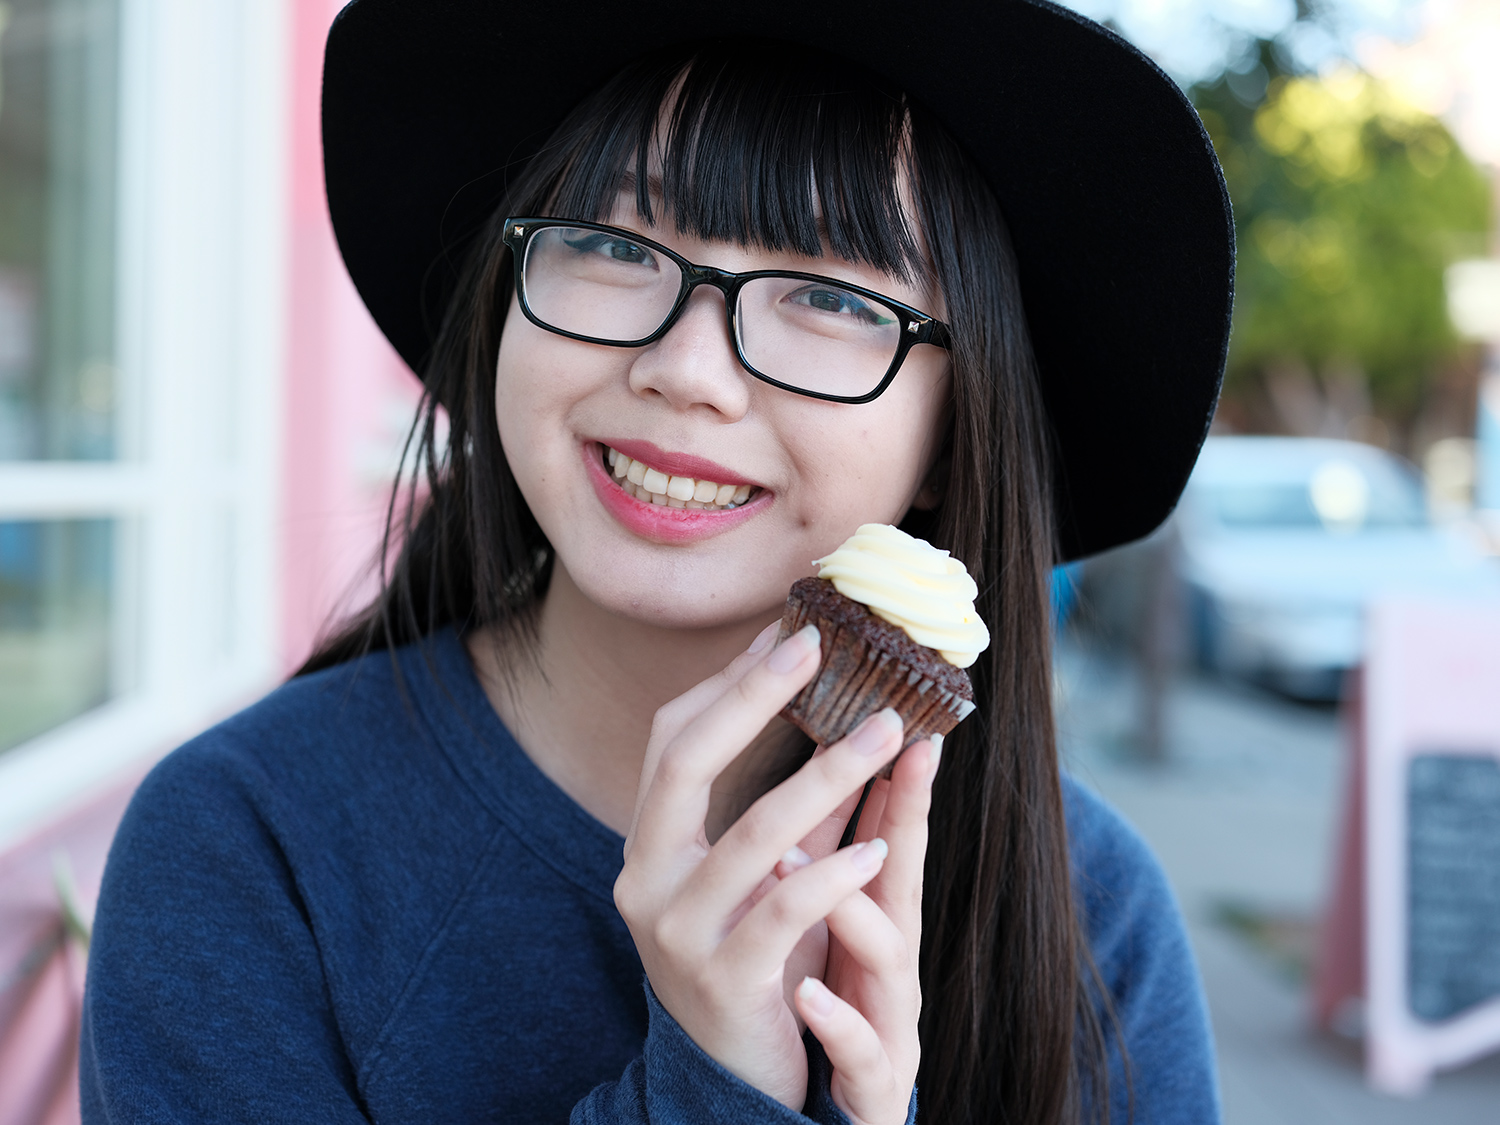
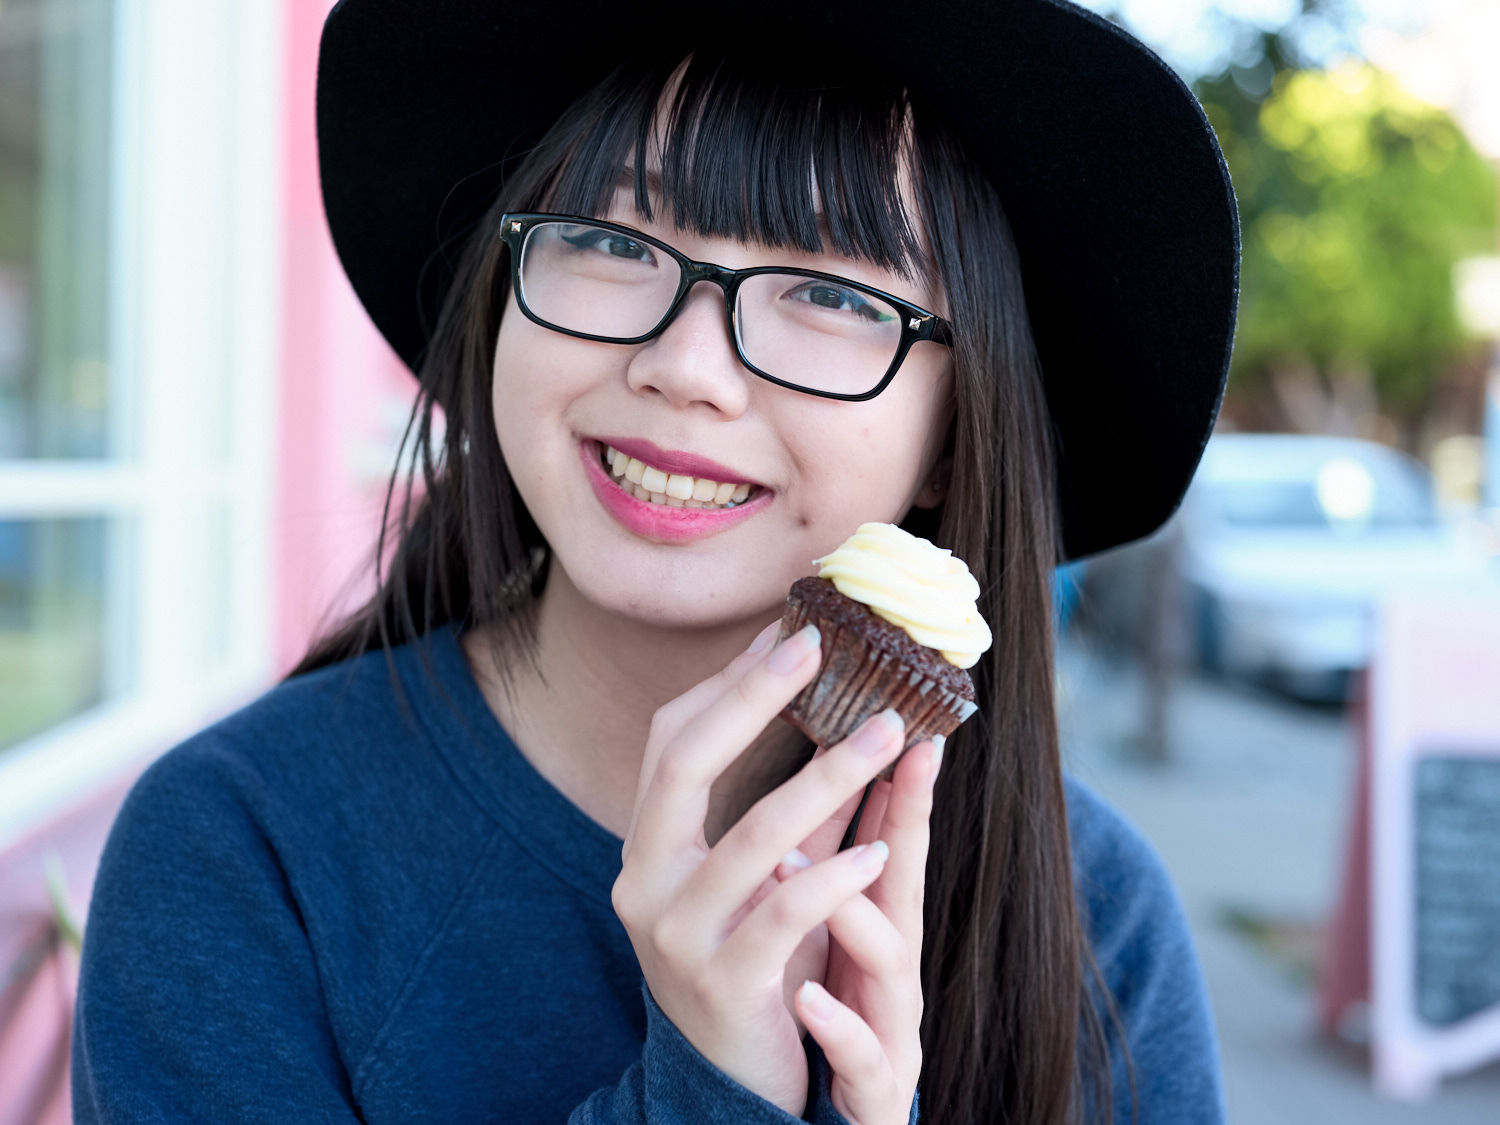
Below are some un-retouched images using Iridient X-Transformer as the raw converter.

DSF3451.jpg
DSF3698.jpg
DSF3753.jpg
DSF3808-1200x900.jpg
DSF3819-1200x900.jpg

Capture One and the Fujifilm GFX 50S (Part 3)

Over 2000 processed GFX 50S raw photos later, this workflow still holds up.

In part 2, I described a workflow using Adobe DNG Converter and EXIFTool to finagle the GFX 50S raw files into Capture One and correct the colors by applying my custom ICC profile. My initial impression was the processing overhead is fairly minimal and a small price to pay for continuing to use Capture One. I'm happy to report that this remains true even after running thousands of photos through the workflow!

So that's it. We're done, right?

Well, not quite. The last two points on color that I want to touch on are: using other ICC profiles and reproducing film simulation colors.

Using Other ICC Profiles

The ICC profile that I created in part 2 is general purpose and works for most of my shooting situations. Though I do find that sometimes it is a bit on the colder side. Nothing that a tweak to white balance can't fix, but I became curious after seeing other people on the Fujifilm GFX Facebook group use different ICC profiles.

Many were using the Phase One IQ250 ICC profile since it uses a similarly-sized sensor as the Fujifilm GFX 50S. Whether they use the exact same sensor is unclear. However even if they use the same sensor, each manufacturer is likely to tweak the sensors to their in house specifications. Regardless, let's give it a go!

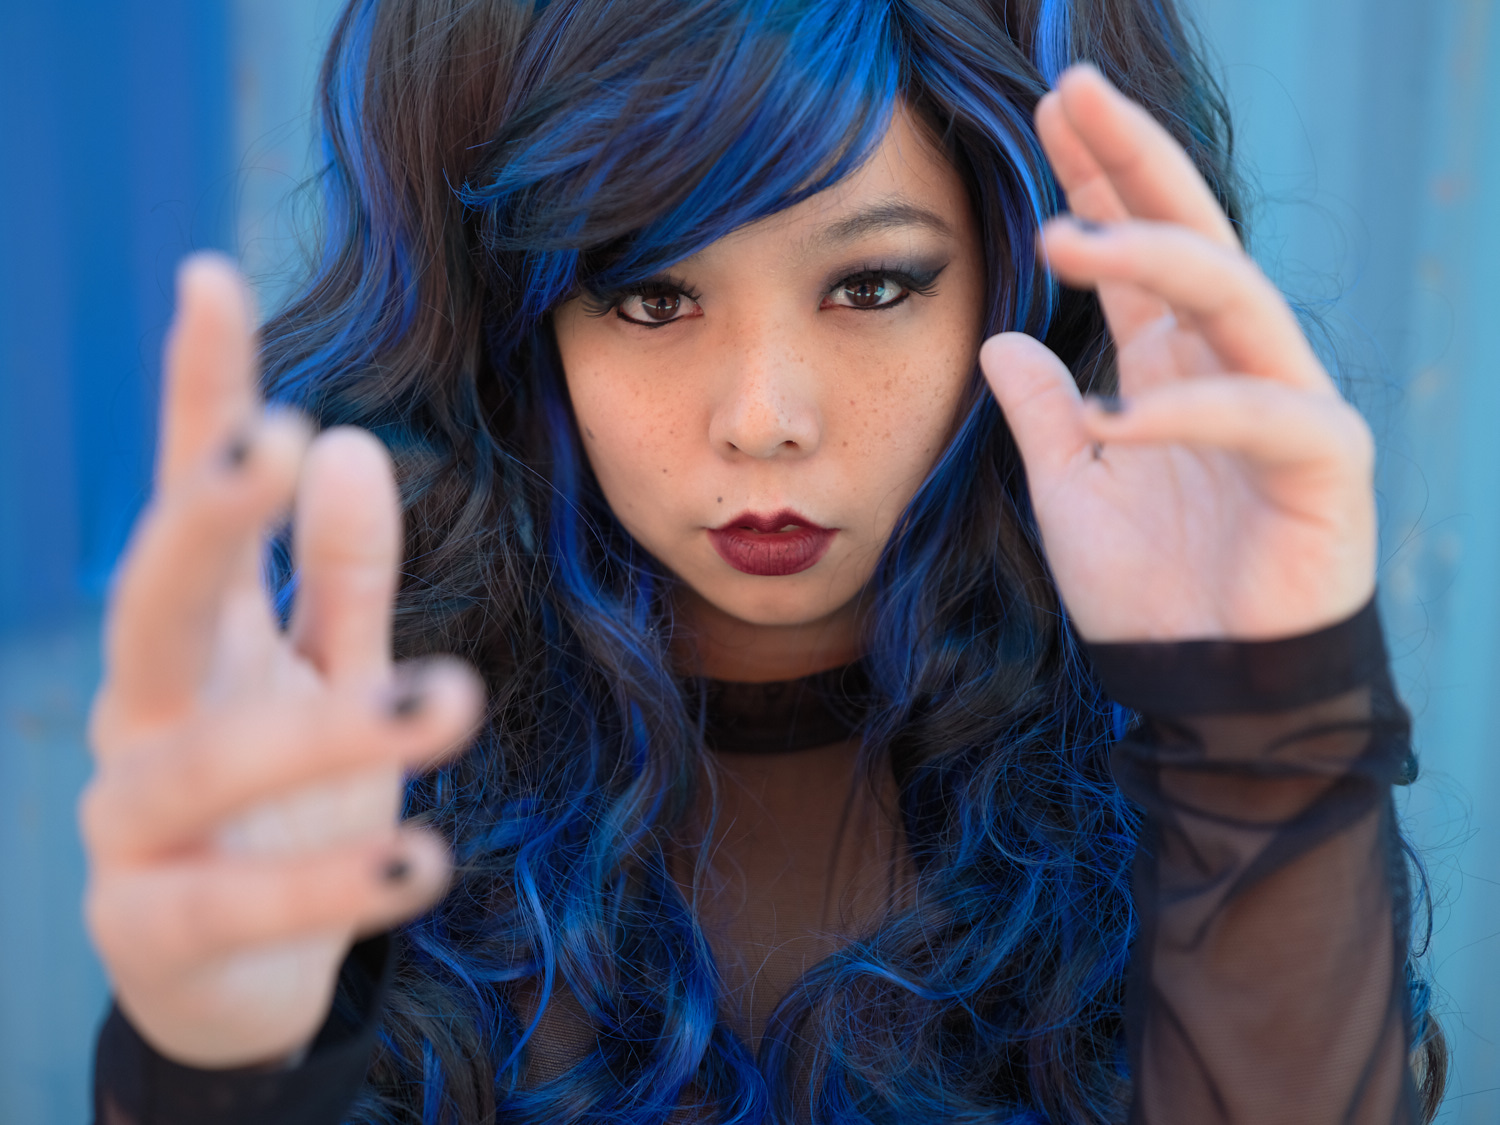
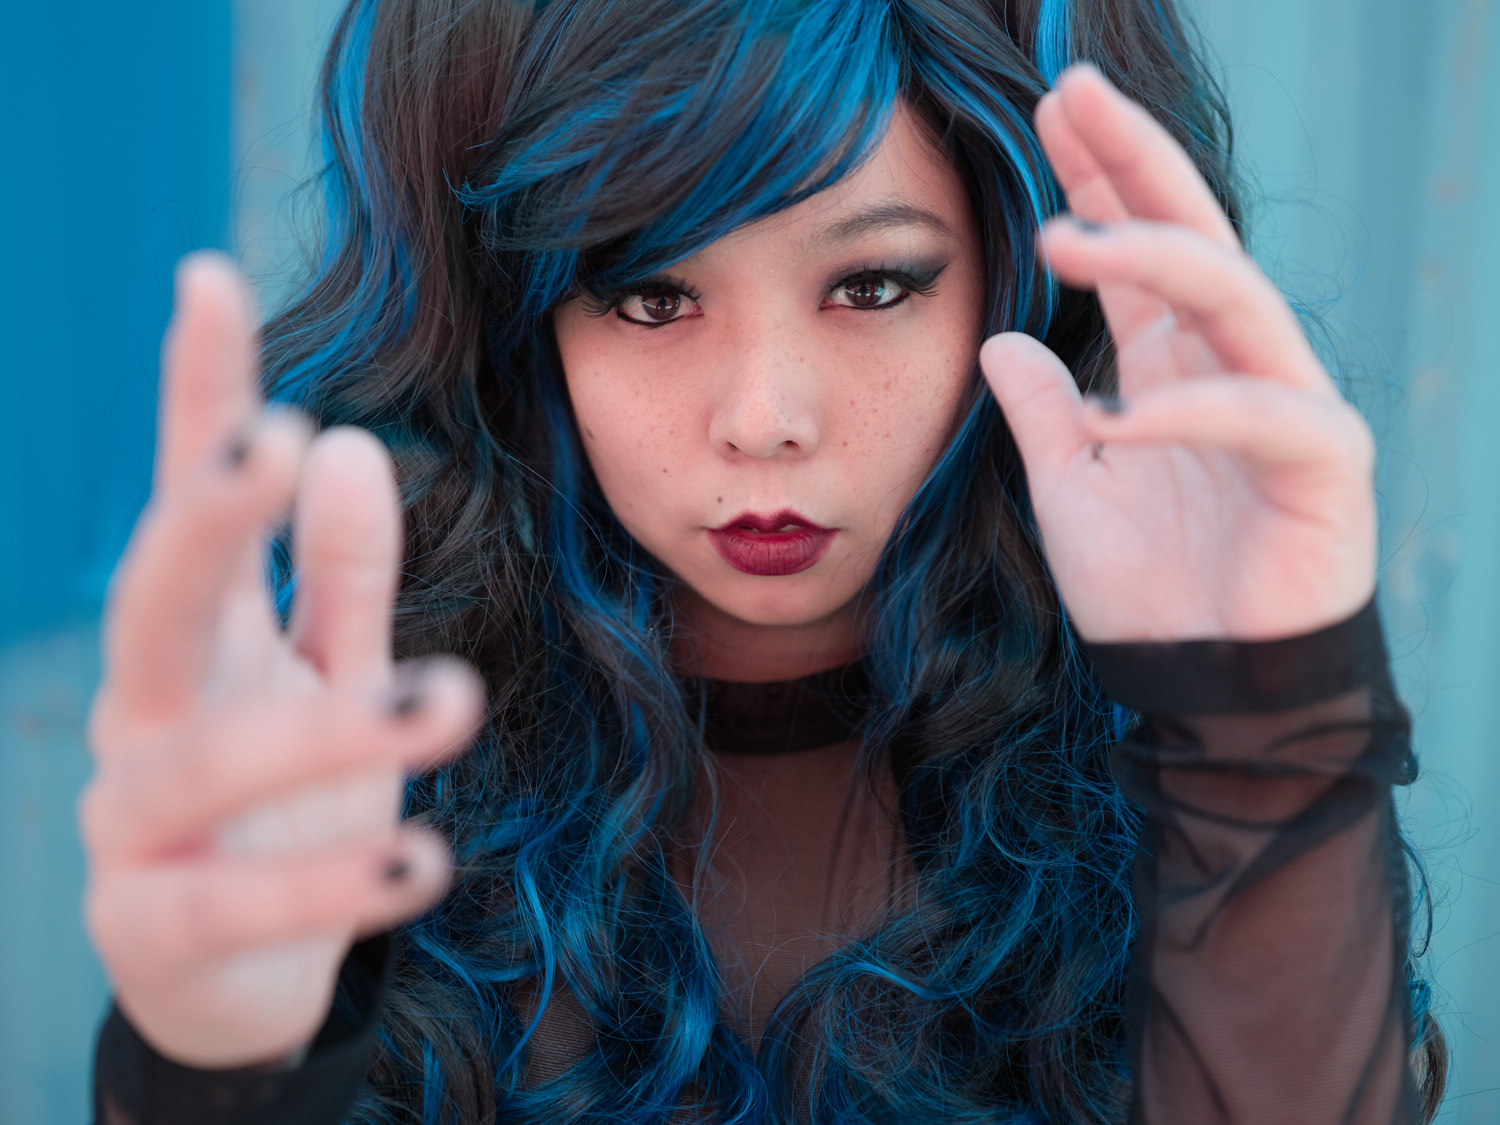
Here's another ICC profile comparison. This time with the Leaf Credo 50, which is also a Sony 50MP 44x33mm CMOS sensor.

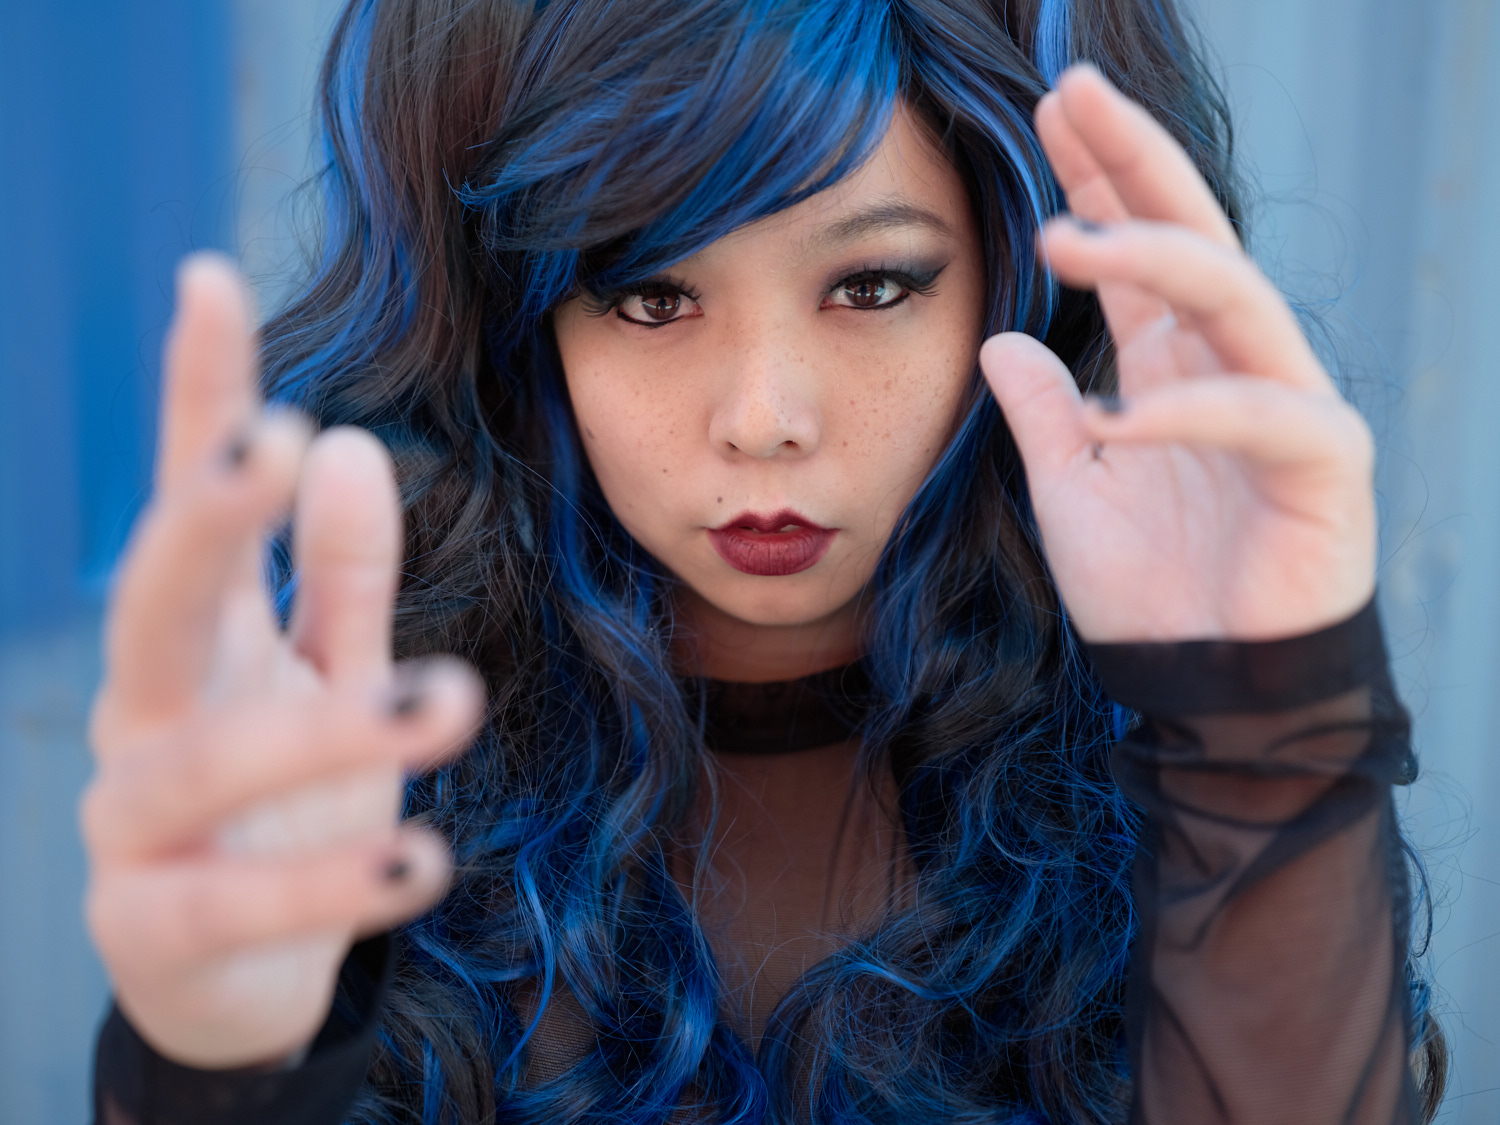
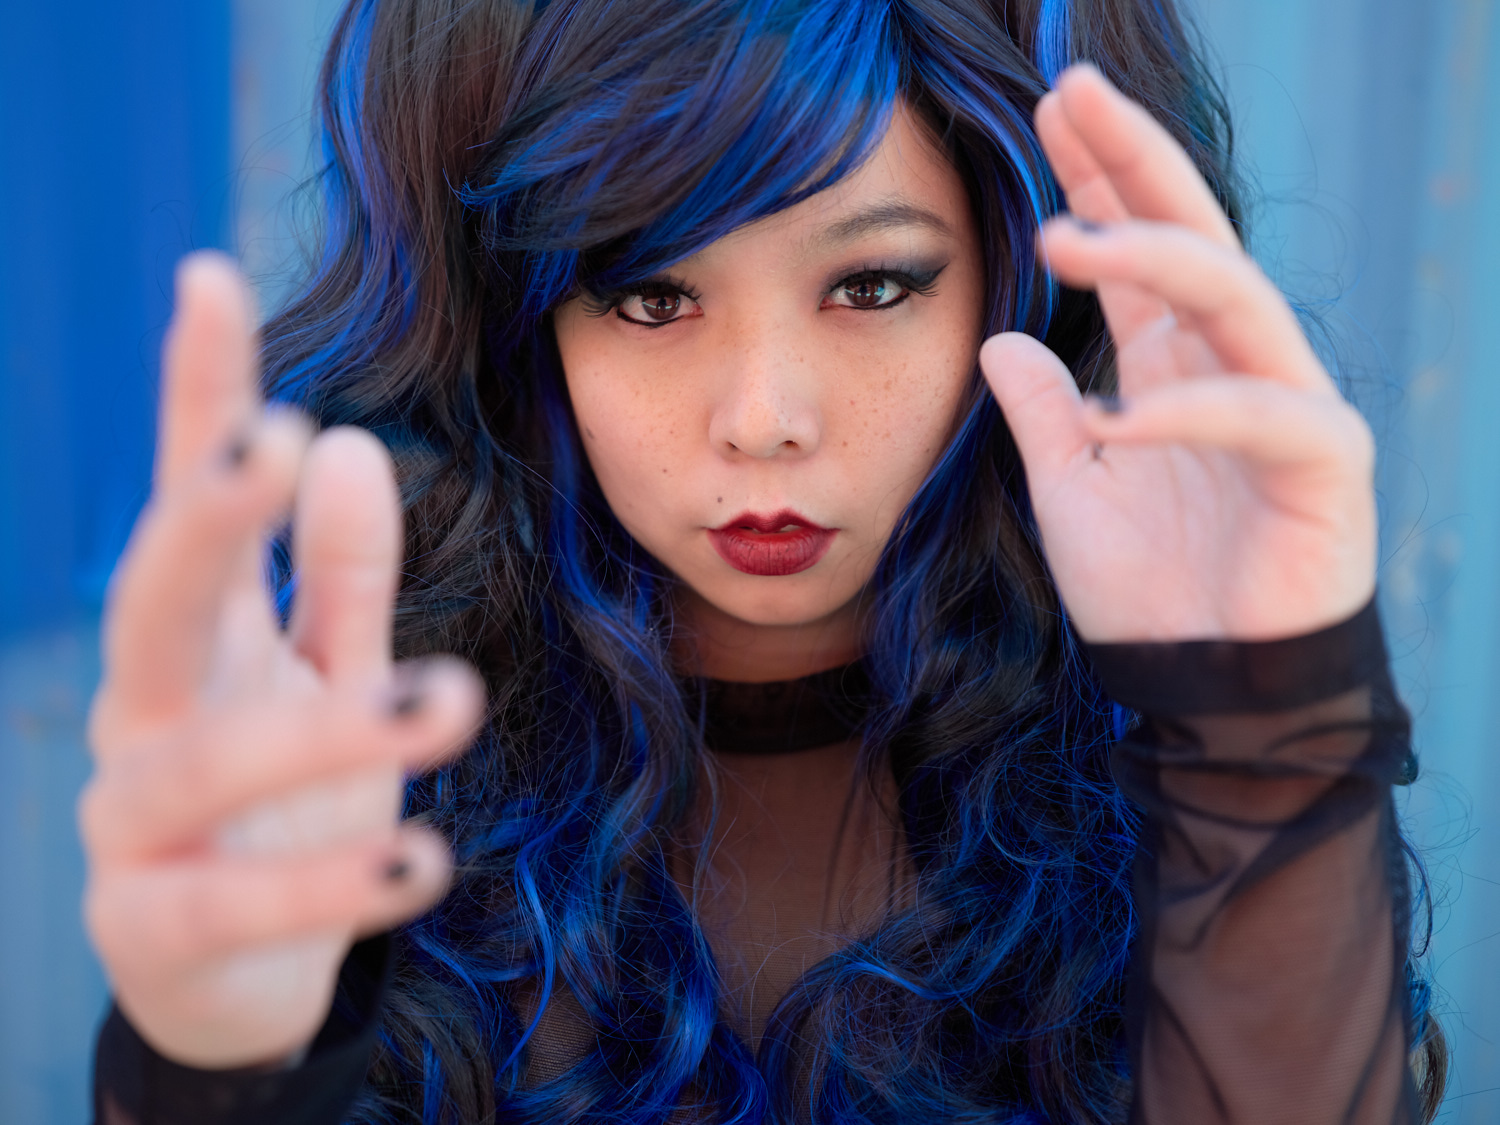
It's worth noting that this photo was taken under difficult lighting conditions as far as colors go. While shot in the shade provided by the shipping containers, the blue and orange containers did cast their colors fairly strongly. Obtaining a good white balance by eye was a tough endeavor.

The comparisons show that there really is no right or correct color profile to use; each profile is merely different. Whether that difference adds to the photo's mood or just looks better is all subjective. If the aim is to have perfect color rendition every time, I would use a color checker periodically during a shoot.

Reproducing Film Simulation Colors

I wish that Fujifilm cooked the GFX 50S raw files with the film simulation parameters. The out of camera renders are extremely good and sometimes makes me question why I even bother working with raw files.

DSF1052.OOC_-1200x900.jpg

At the end of the day though, all I really care about is the Classic Chrome look. I have Alien Skin Exposure X2, which has me covered for Acros, Provia, Astia, and Velvia film simulations. VSCO doesn't appear to have a Classic Chrome preset either when I looked (and I wouldn't want to use Lightroom for it anyways). So with my eyeballs and a trial and error, I created a Capture One style that roughly approximates the Classic Chrome look.

For the Classic Chrome style, I used the following settings:

Exposure

  • +10 Contrast
  • +10 Brightness
  • -15 Saturation

High Dynamic Range

  • +10 Shadow

Curve

  • (10, 0) Input, Output

Color Editor

  • -15 Blue Hue
  • -10 Blue Saturation
  • -10 Red Hue
  • +5  Red Lightness

To save the modifications as a user style, Capture One has online documentation for creating the style. Note that creating styles is only available for the Pro versions of Capture One.

The style I created is a tad brighter and a little pinker. Also noticeable in the comparison is lens correction is performed on the JPG. It's not perfect, but it's close enough for me.

Parting Thoughts

I'm pleased that this workflow works for me. Of course I would prefer if Capture One had official support for the GFX 50S RAF files, lens corrections, and film simulations, but this will do.

Color profiles are still a tricky thing to get right and I'll continue to experiment more with ICC profiles under different lighting conditions. At the very least any odd colorations can be corrected in Capture One by adjusting white balance or curves.

Now that it's all settled, I can focus more on shooting and less on experimenting. Thanks for reading along!