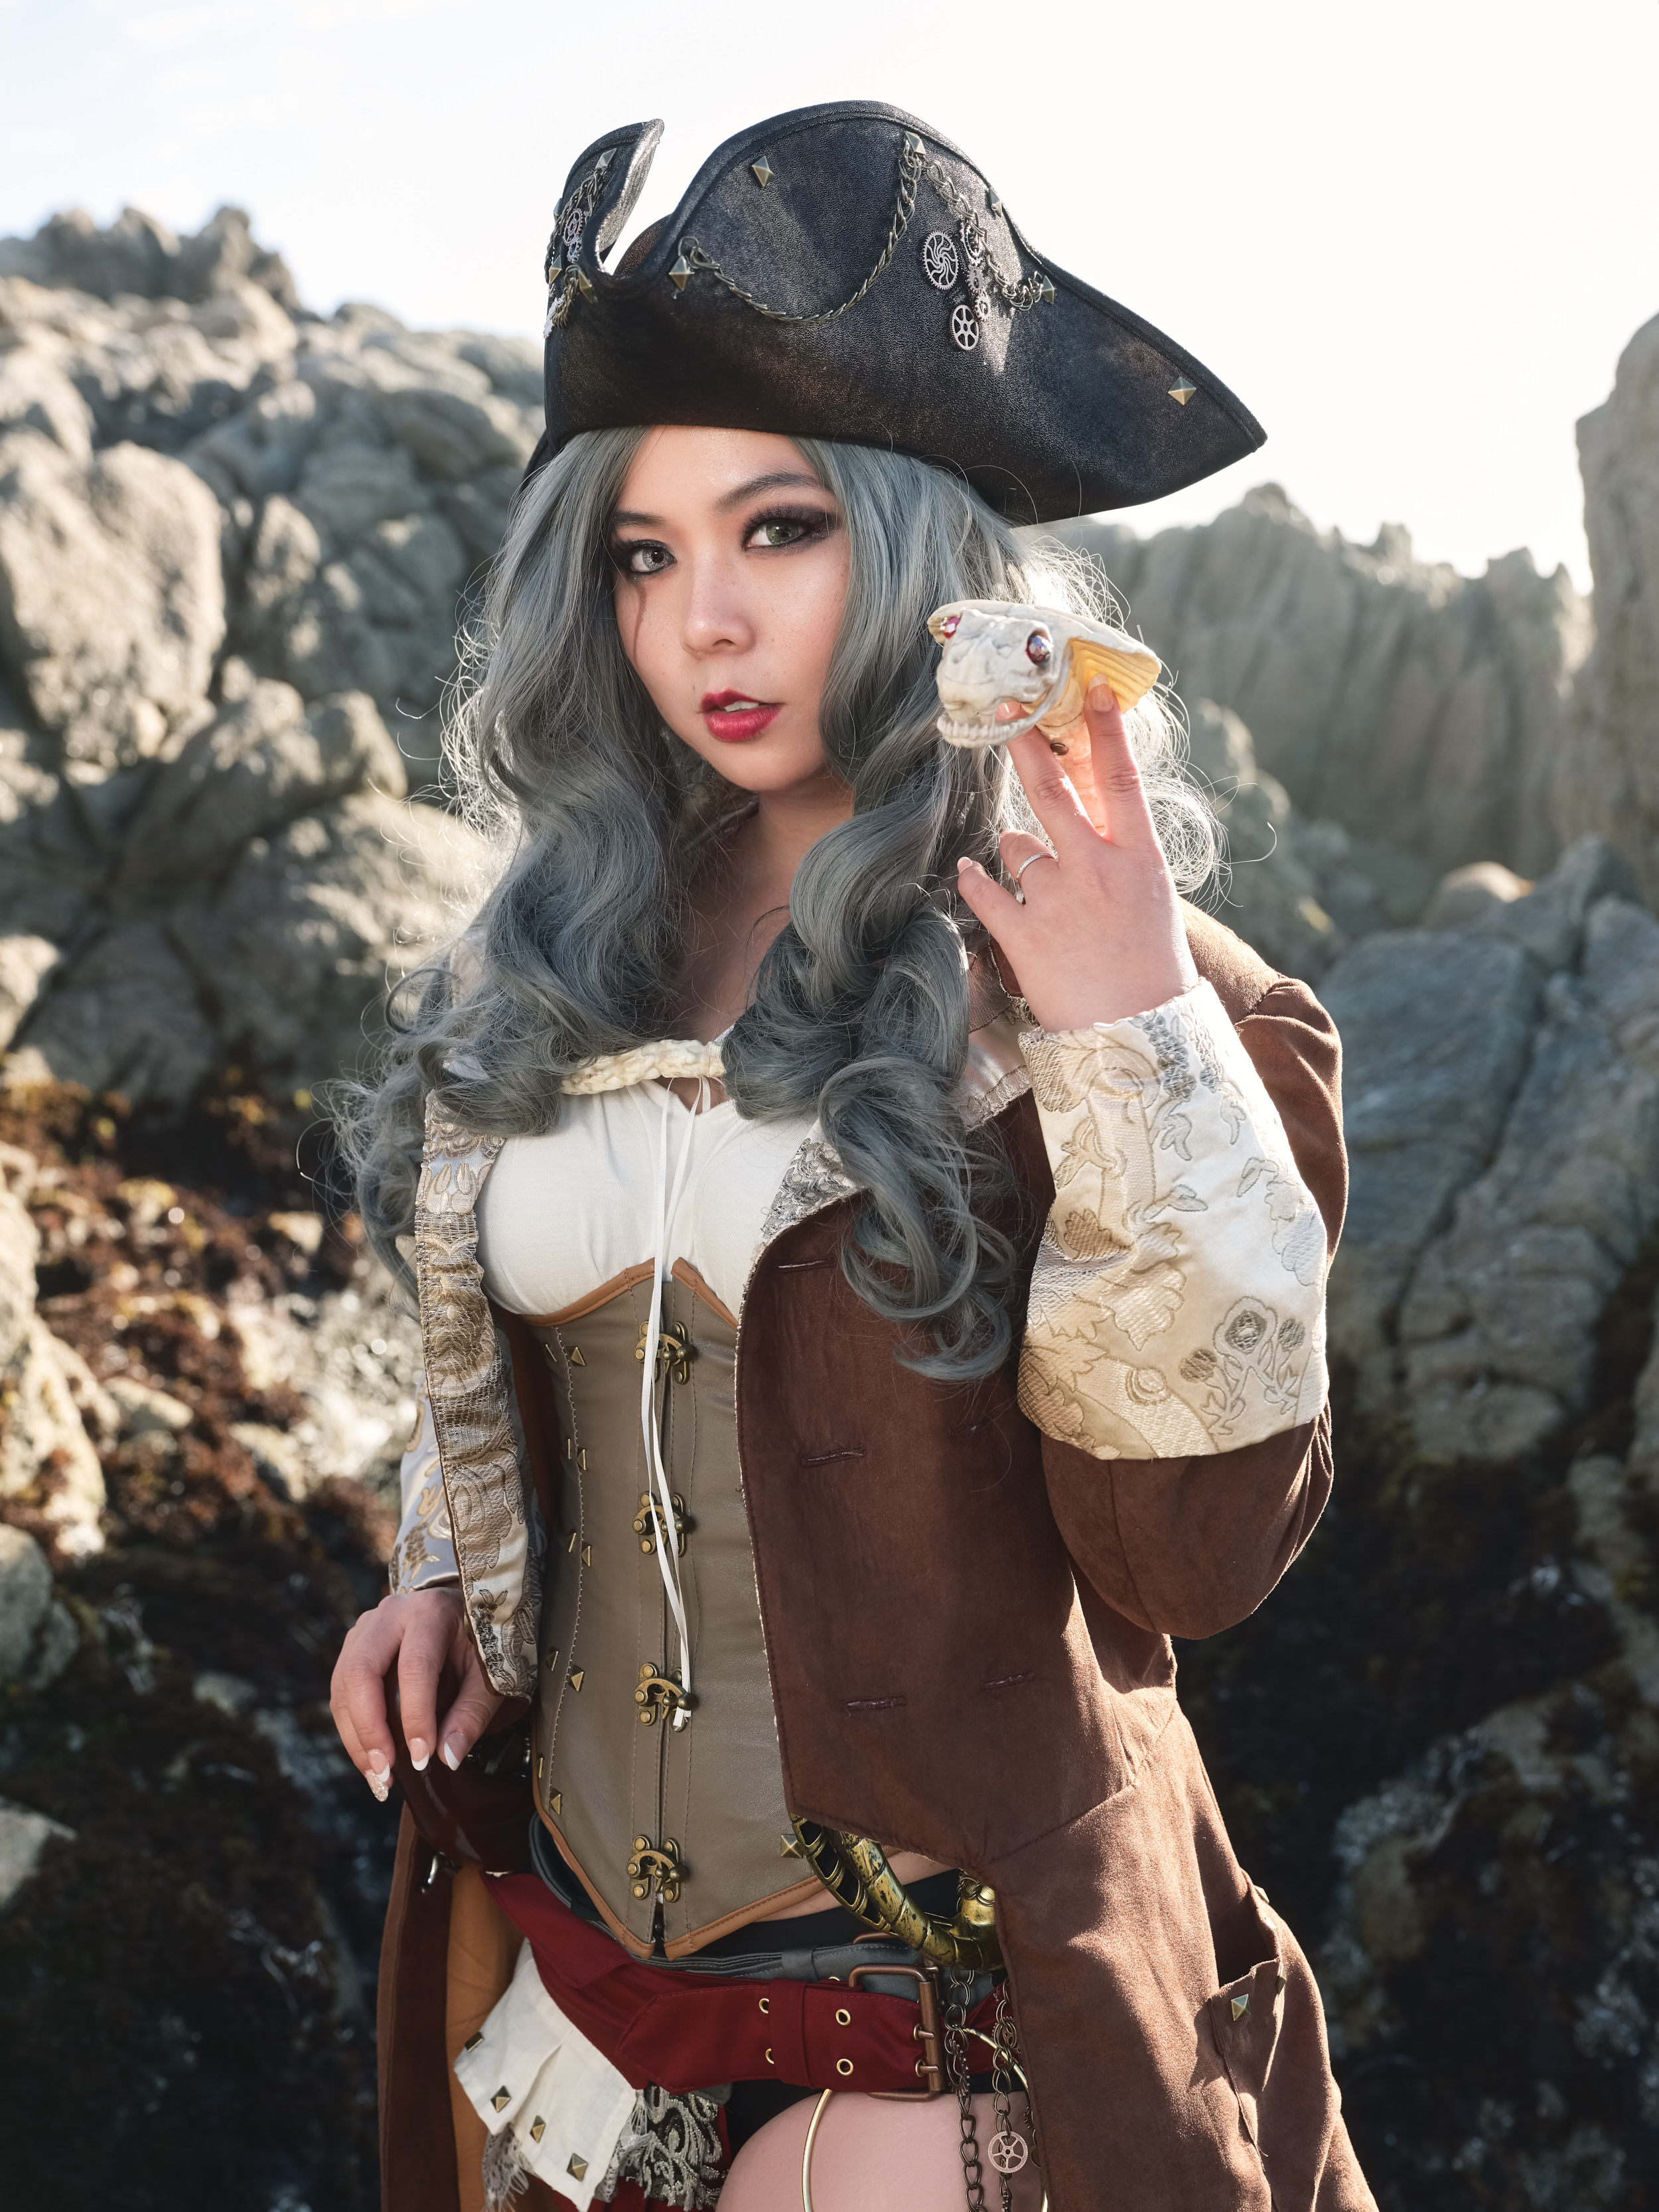
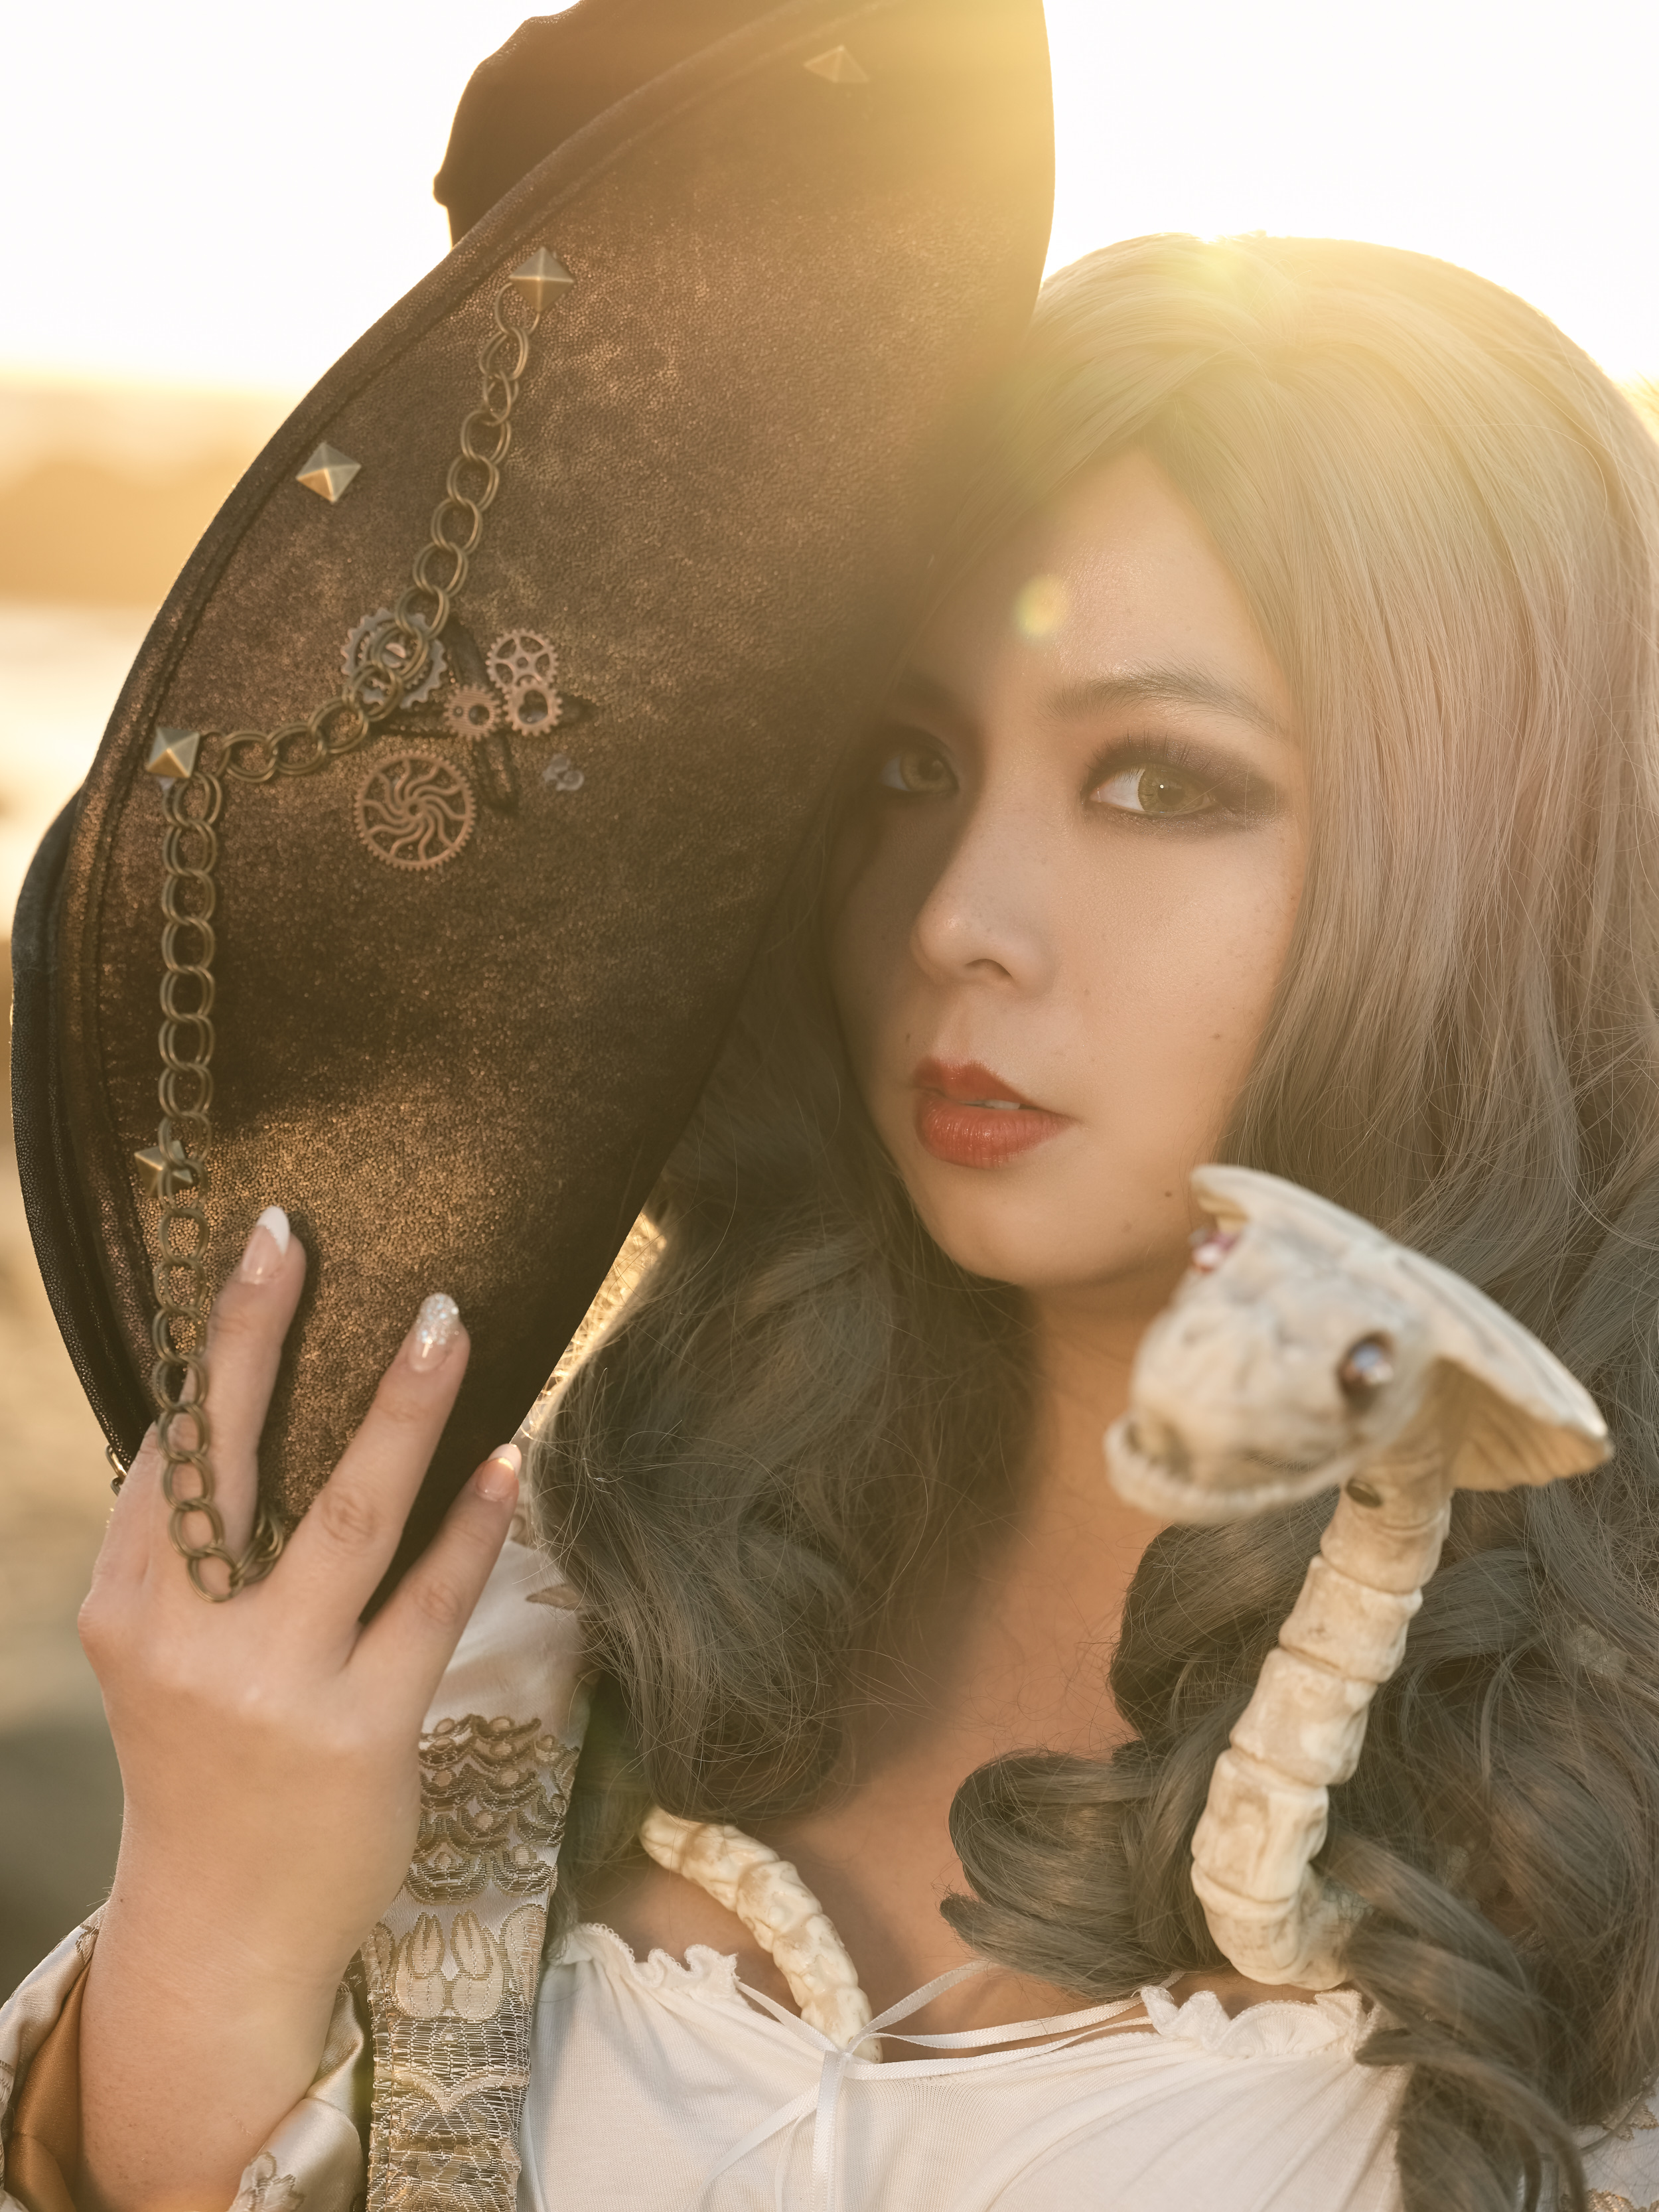
Steam;Sea is a project collaboration with Lady Aurora featuring a steampunk-inspired pirate design that she created and coordinated.
I'm a big fan of steampunk and Victorian fantasy designs. I love the mishmash of metal and leather, wood and steam, low tech and seemingly impossible high tech, elegance and grit, and the making of the fanciful real. Needless to say, I was all onboard for a steampunk collaboration withe Lady Aurora!
I won't rehash the original design concept, as Lady Aurora already has a nice write-up about it here. What I will talk about is my process from concept to photo.
On the Road Again
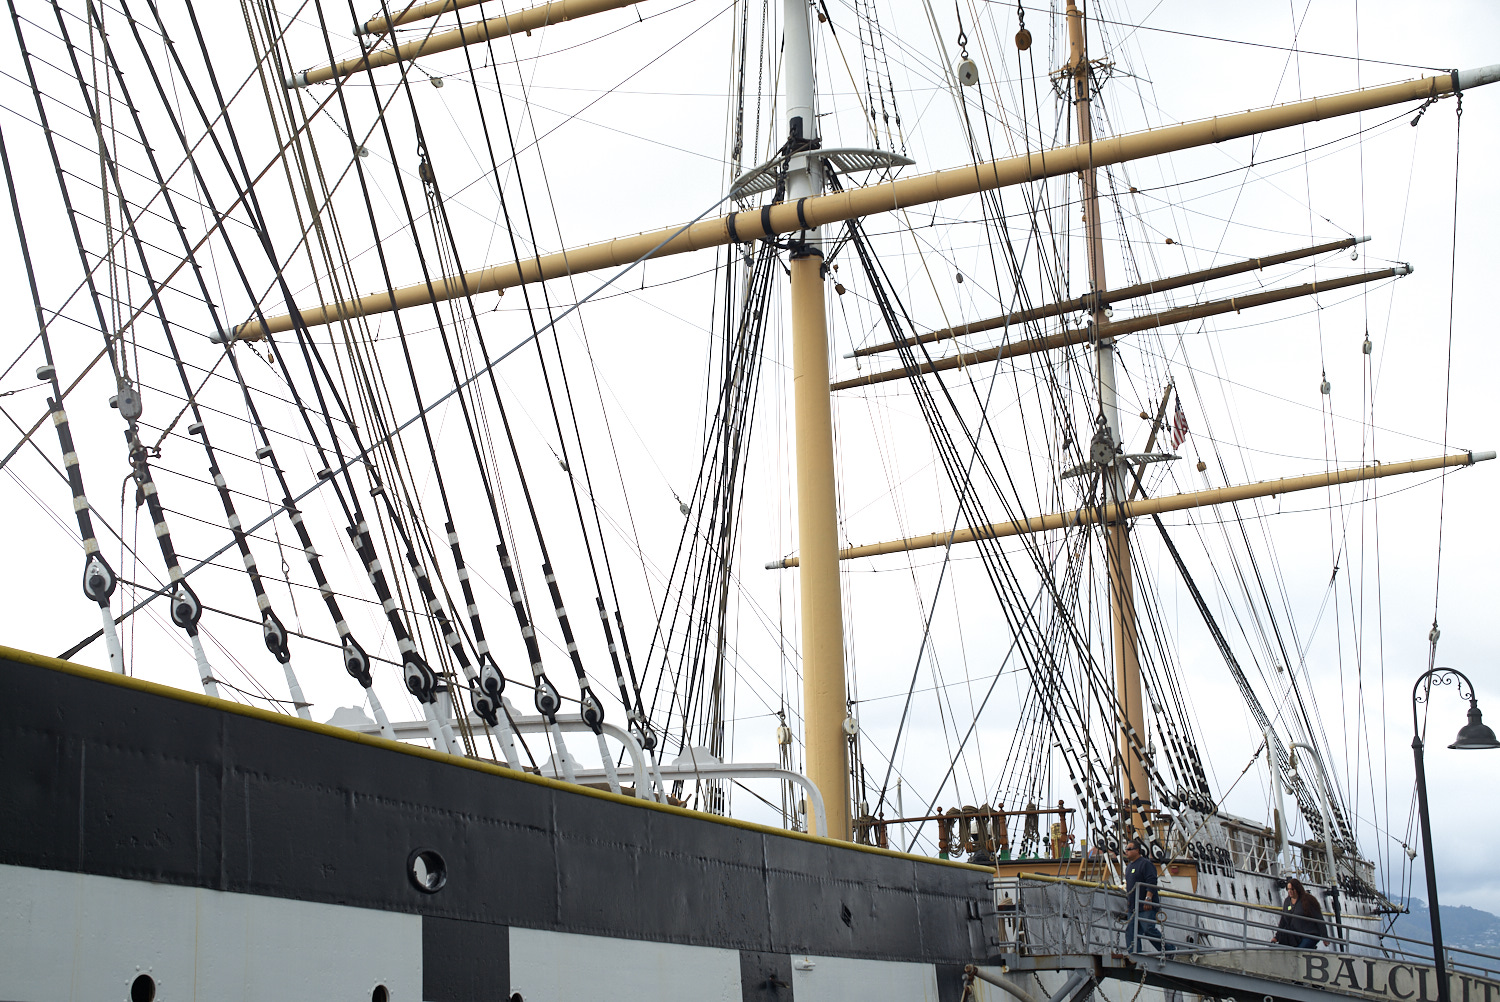
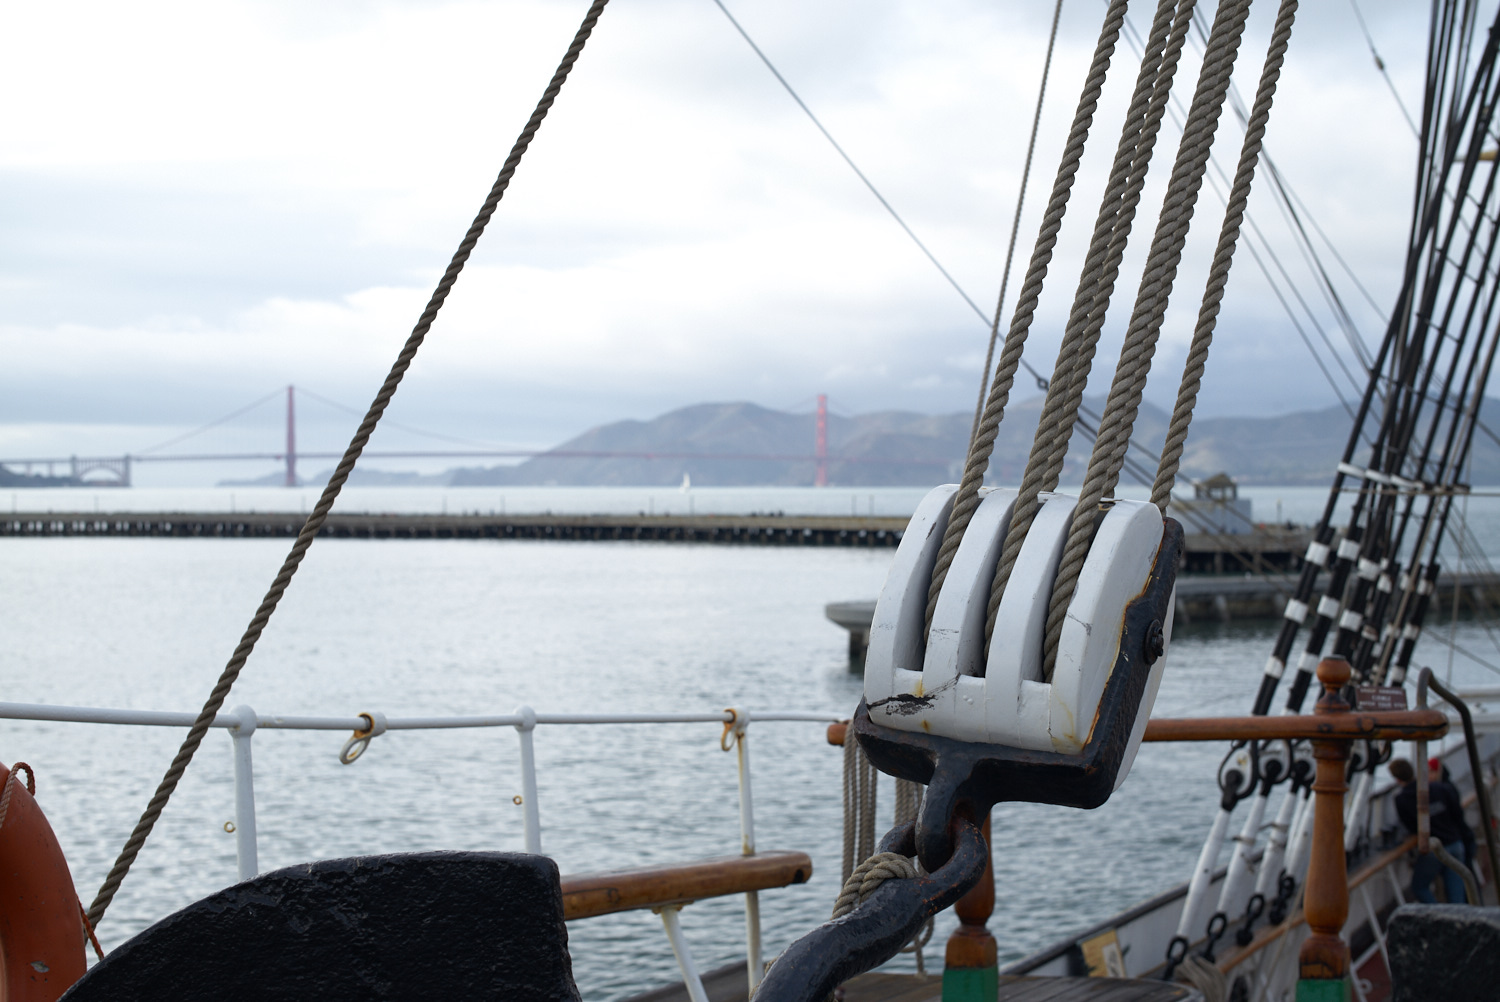
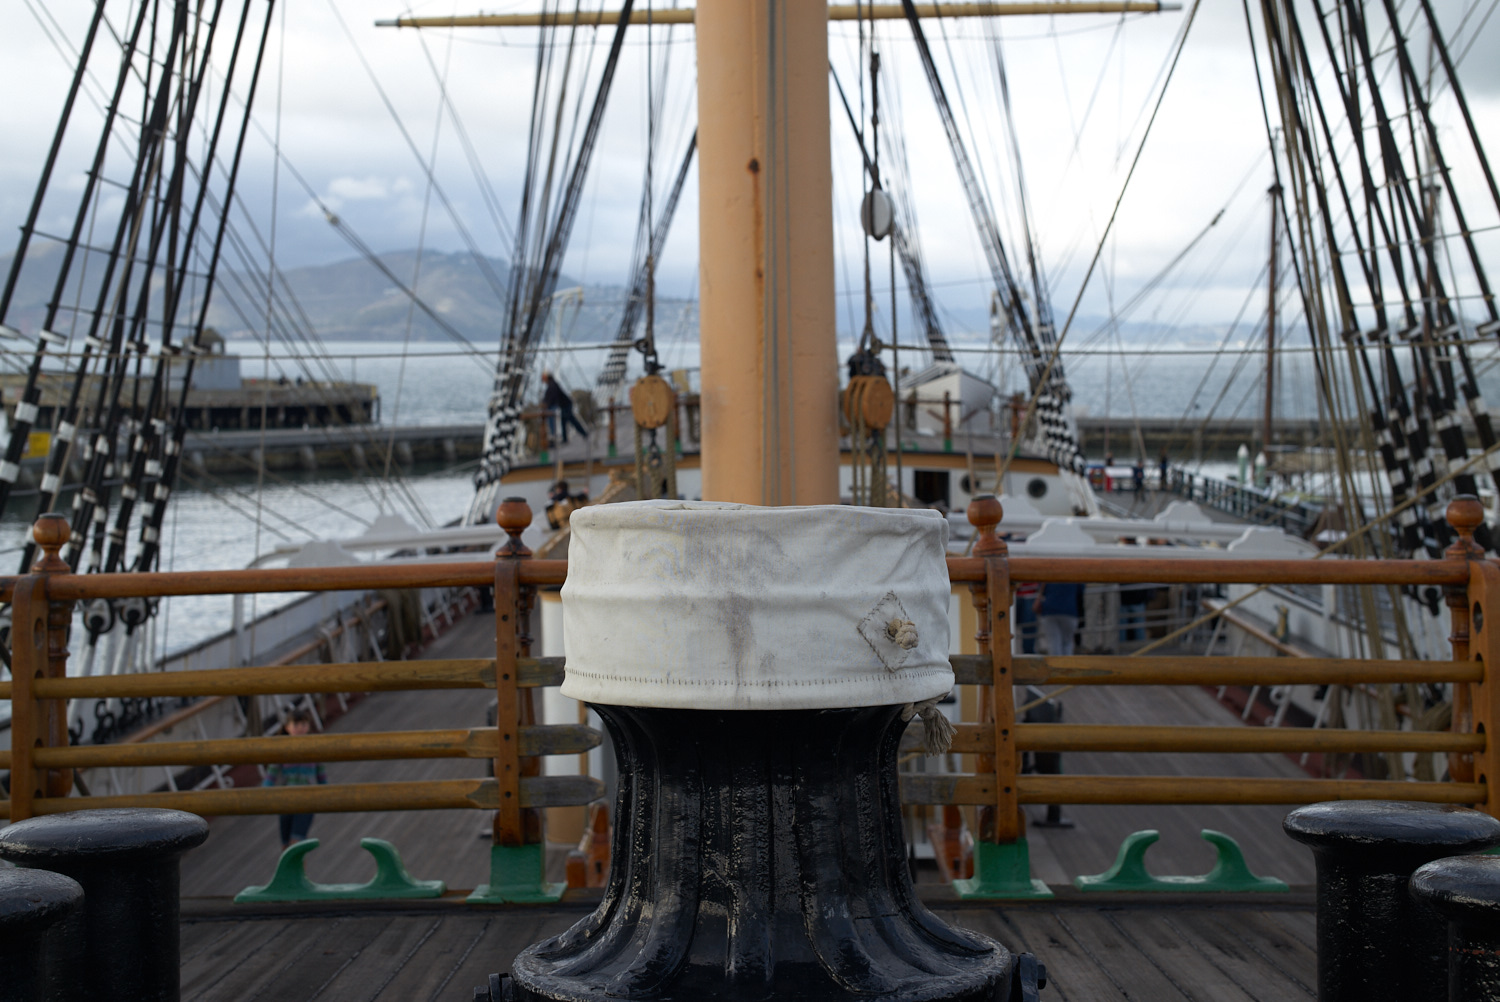
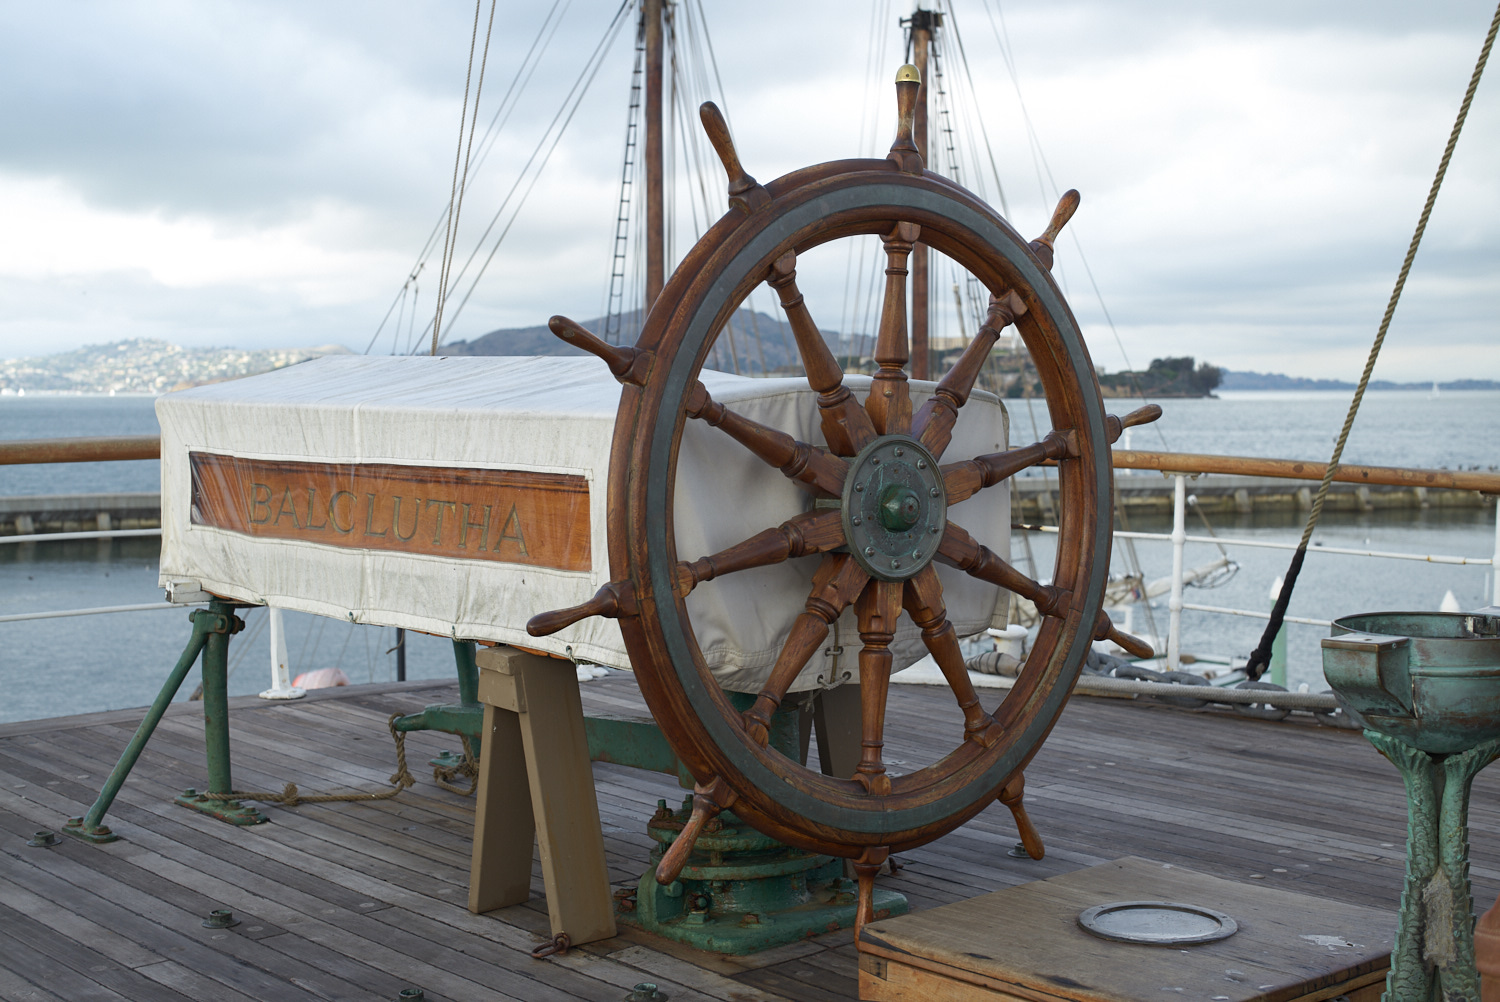
Being a pirate design, I really wanted to be on a boat! I had previously shot on the Balclutha, but I wasn't quite satisfied with the look. Twas a fine ship, but not for steampunk. One of the largest factors in passing on the Balclutha is the steady influx of tourists and people in general. It is a National Historic Park after all. The second reason, although more minor, is I didn't want to see San Francisco-specific landmarks in the background.
The second location I had in mind was Grays Harbor Historical Seaport; specifically the Hawaiian Chieftain. The boat looked great in the photos. However, it looks like the main tours are actual sailing tours. A photo shoot is definitely not happening there unless I booked the entire boat. Maybe one day I will revisit this spot.
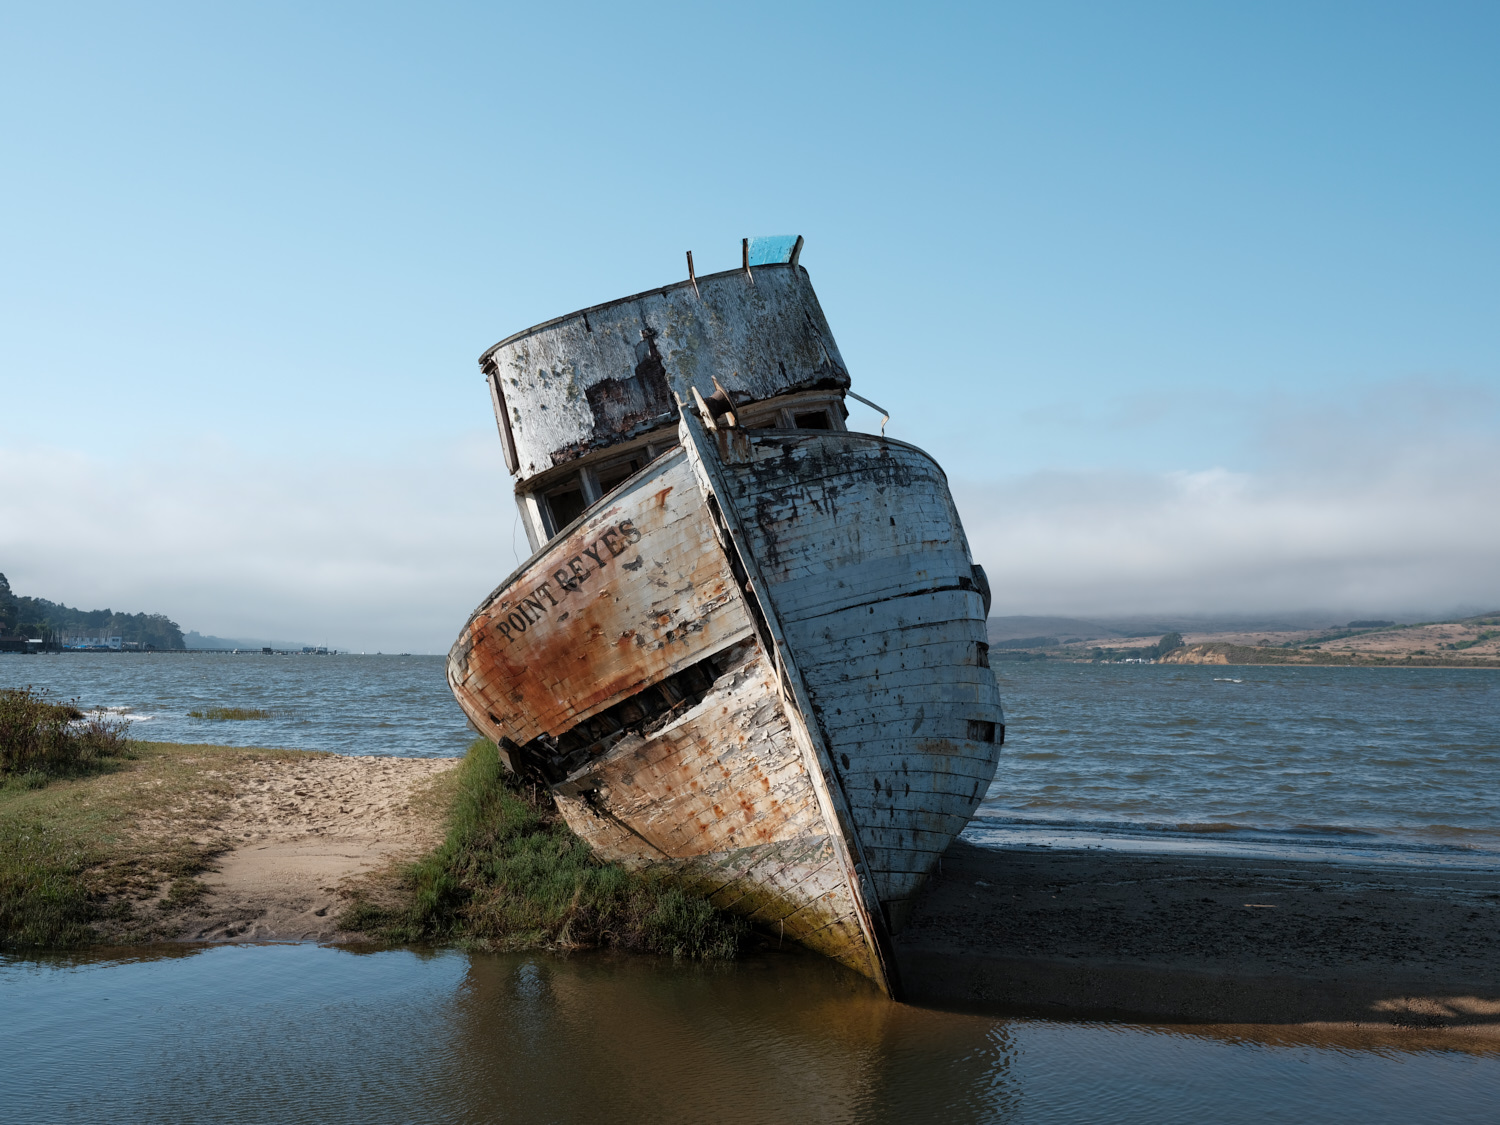
The last boat location that came to mind was the Point Reyes Shipwreck. It was a boat. Check. It was decidedly neither steampunk not pirate. Could it still work? Not really. When we went out to scout the location, it was low tide and it was already pretty tricky to get near the boat without a bit a wading through the water. Combine that with the limited angles I could achieve at the location, it was a pass.

Road Trip Part 2
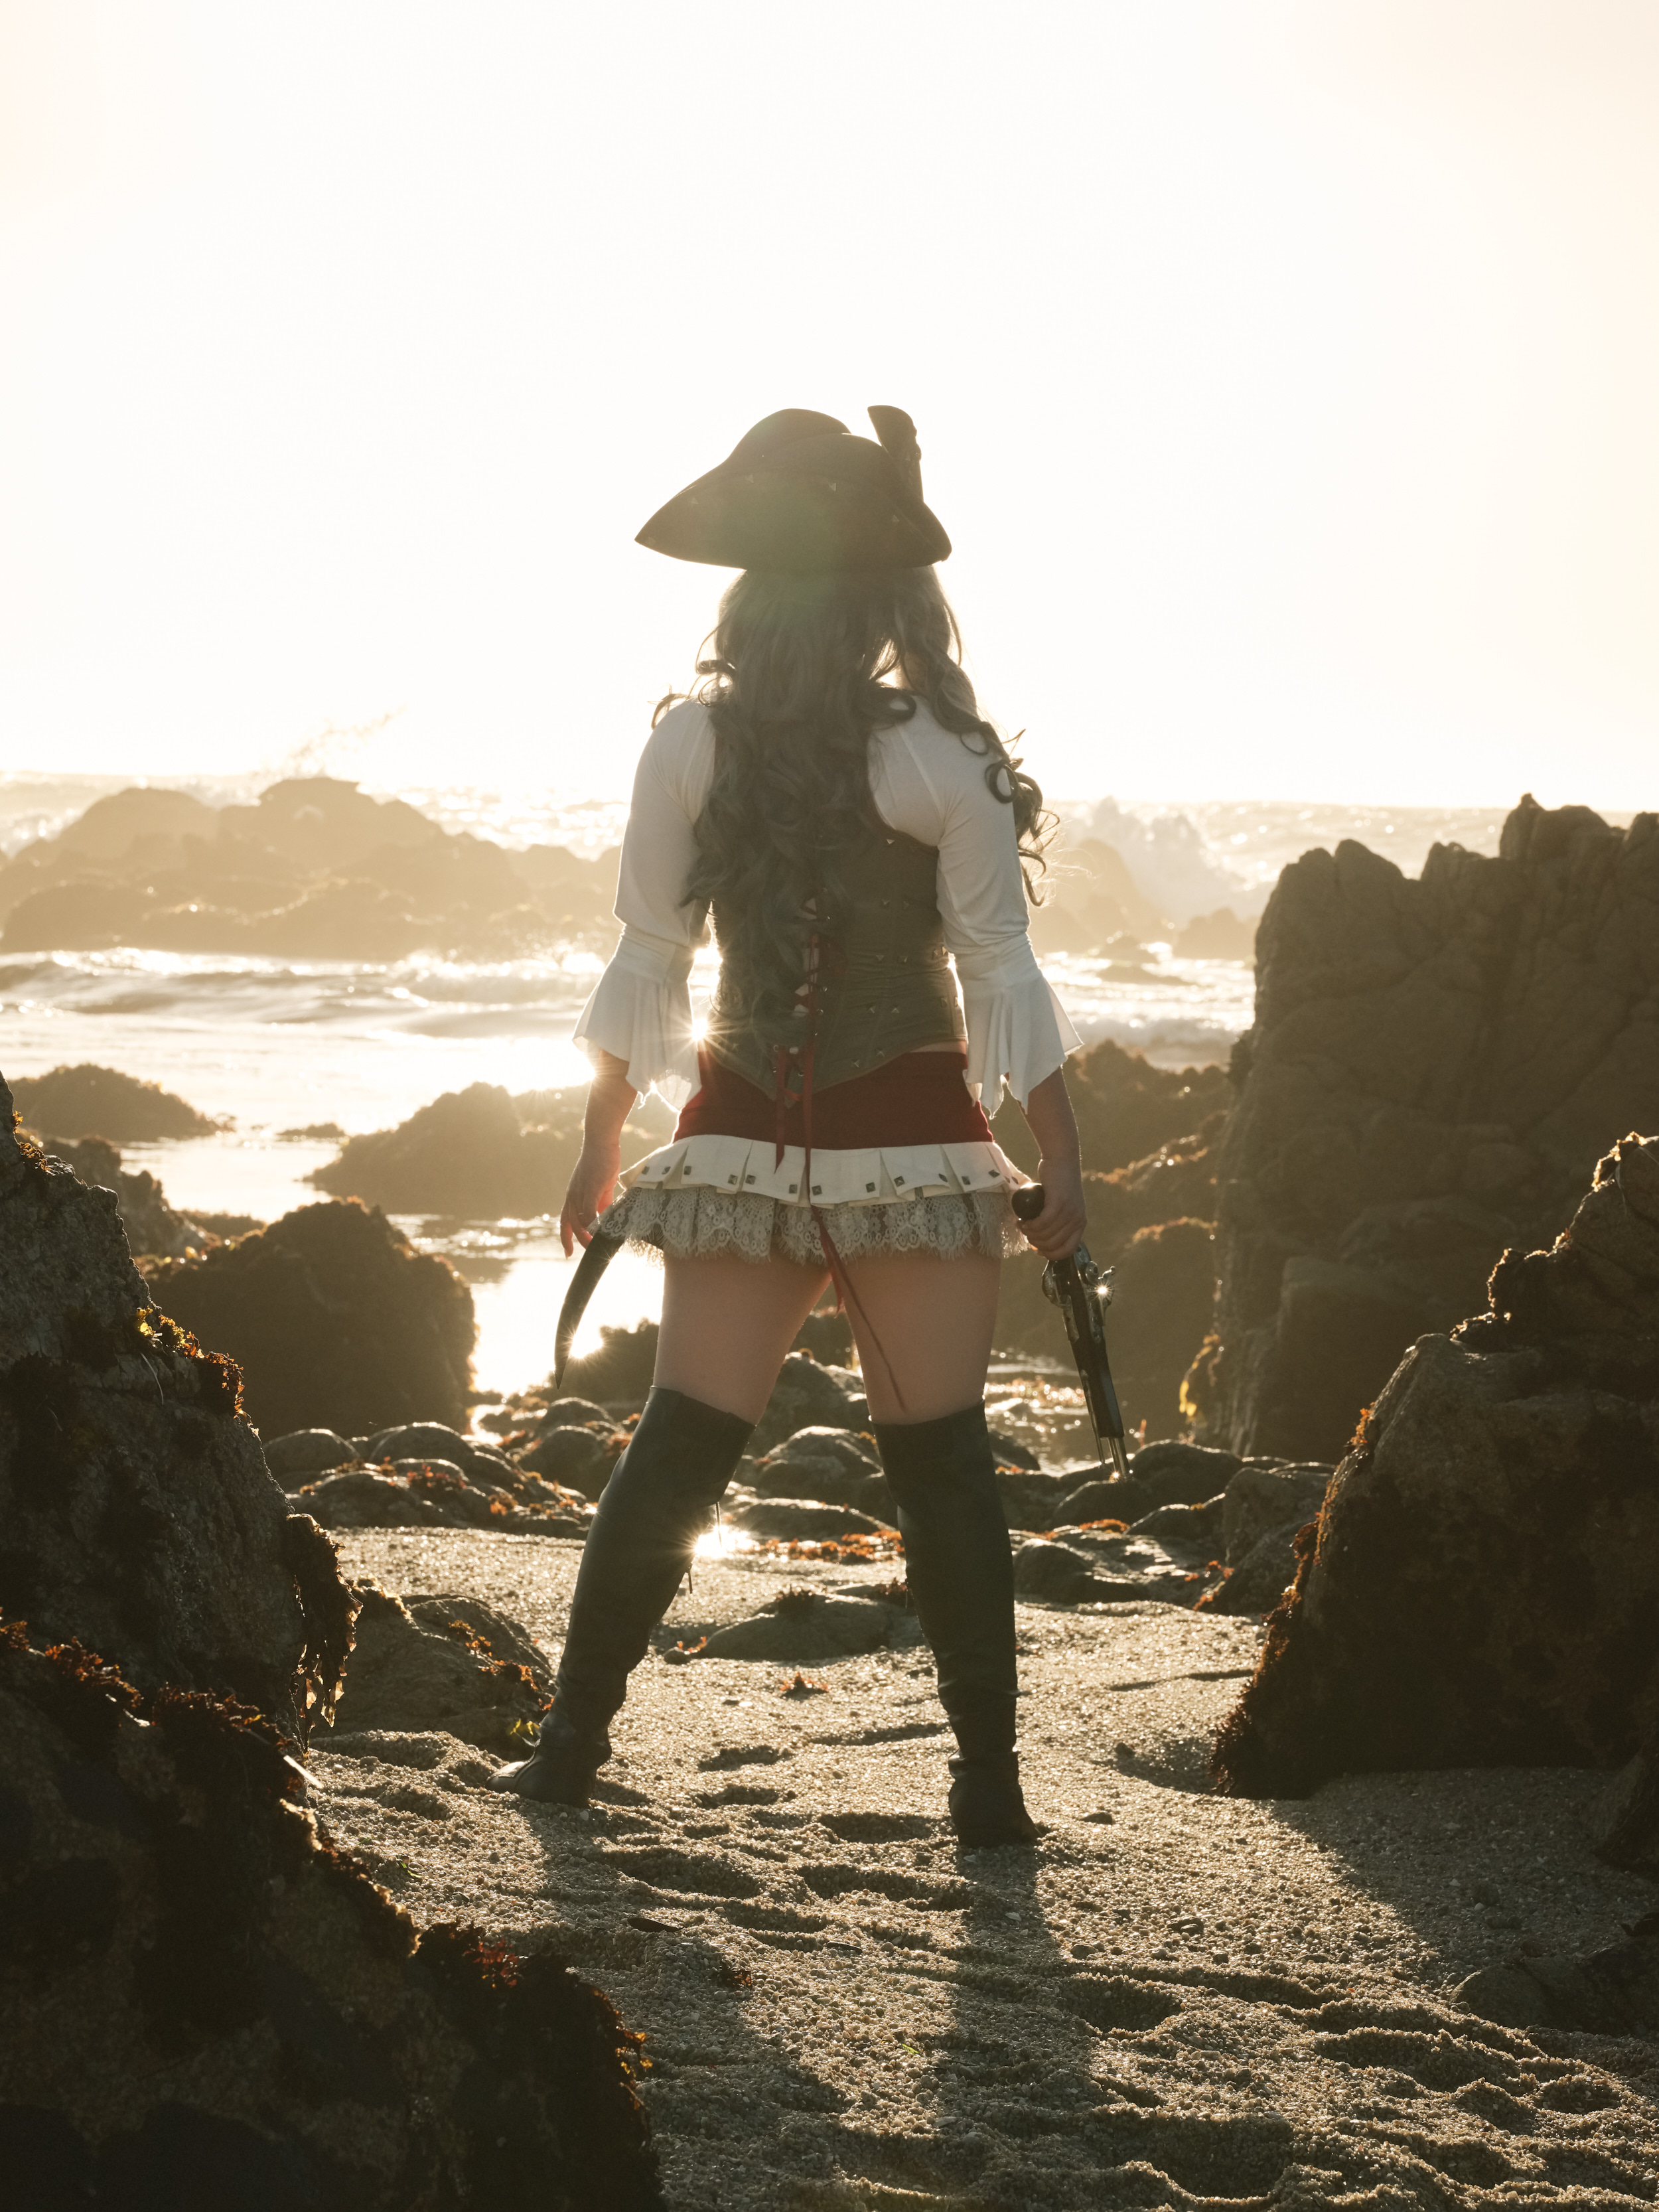
At this point, I gave up on the idea of having a boat. I shifted my concept from being on a boat to being on a rocky shore. Something dramatic; with waves crashing violently on the rocks just behind the model. Maybe gloomy weather too since we were at the tail end of Fall.
For the first rocky location, we decided to scout the rocky outcropping into the Pacific near Pacifica State Beach. Half way there we were summarily greeted with failure. Aside from being fenced off, because that has never really stopped me before, getting down to the location was a very steep and narrow path. This prevented not only me from bringing down the light, it also made it near impossible for the model to get down without getting dirty or falling (because of heeled boots). Well as they say, it's better to fail fast.
We continued our tour of the Pacific coastline looking for interesting rocky formations and the like. Eventually we ended up at Asilomar State Beach in Pacific Grove, CA. It had rocks and crashing waves! Yes! This will work! We trekked around looking for the perfect spots to shoot; specifically lots of rocks, a nice patch of beach, and not in the direct path of the sun.
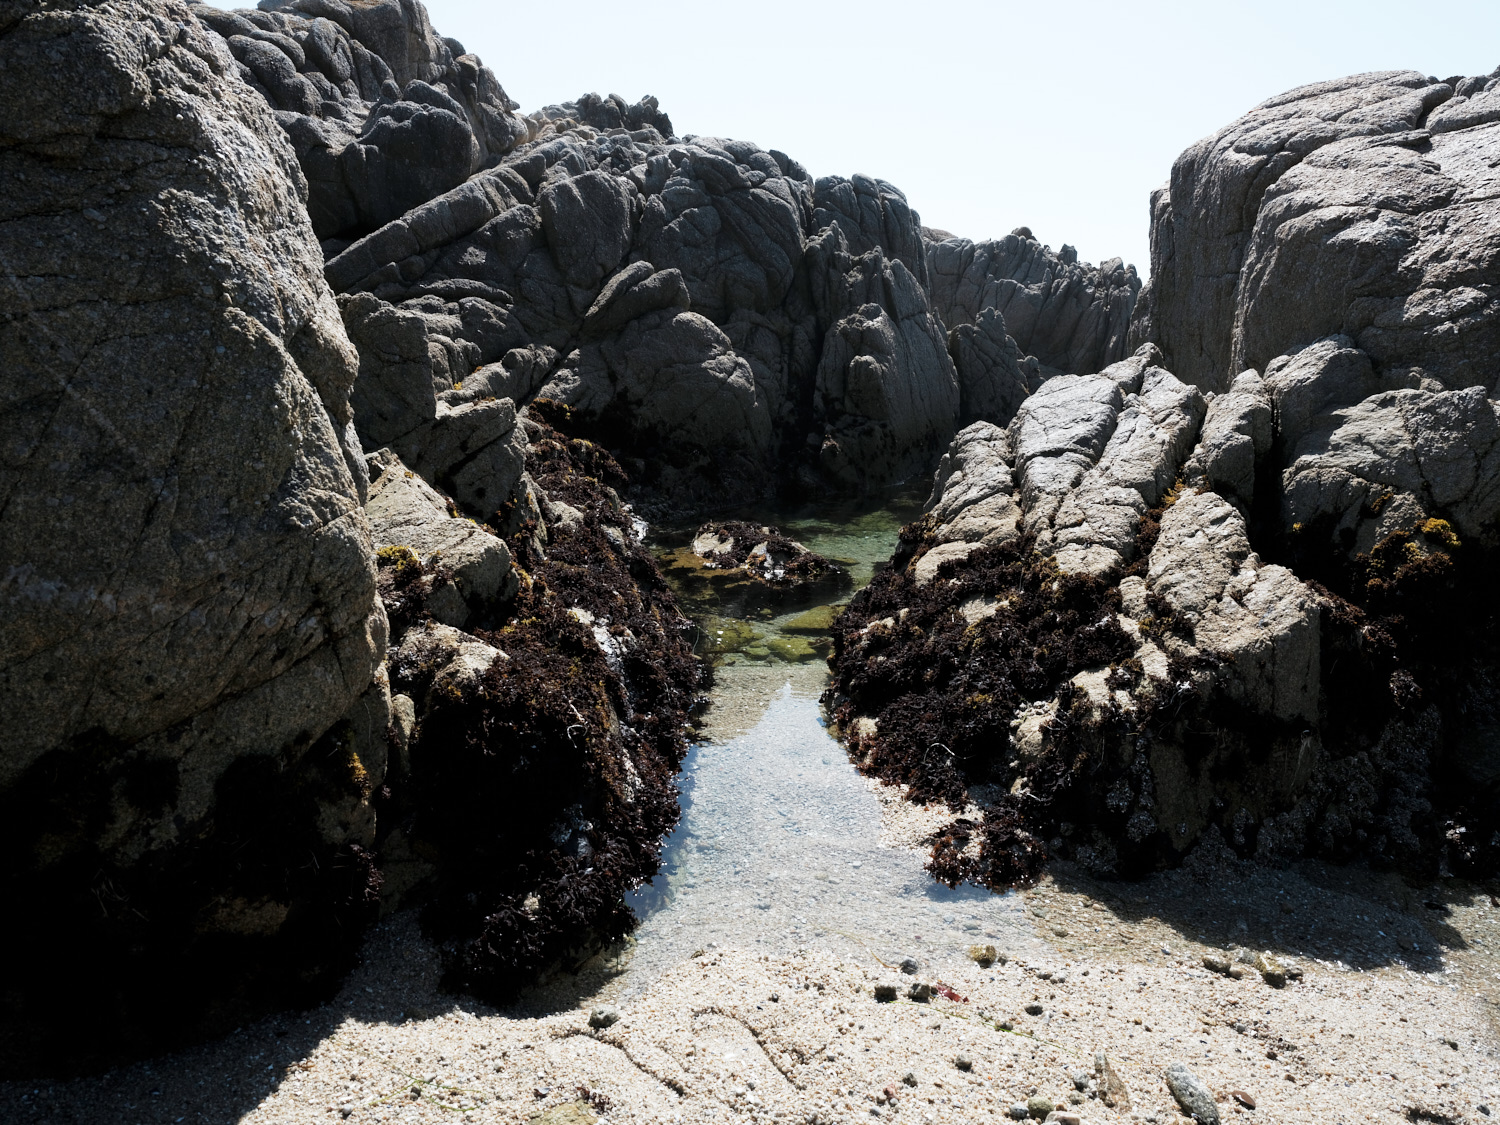

Since we found a workable spot, I wanted to stick around to see how the landscape changed as the sun went down. The spots that looked great earlier in the afternoon were completely submerged by the time golden hour rolled around.
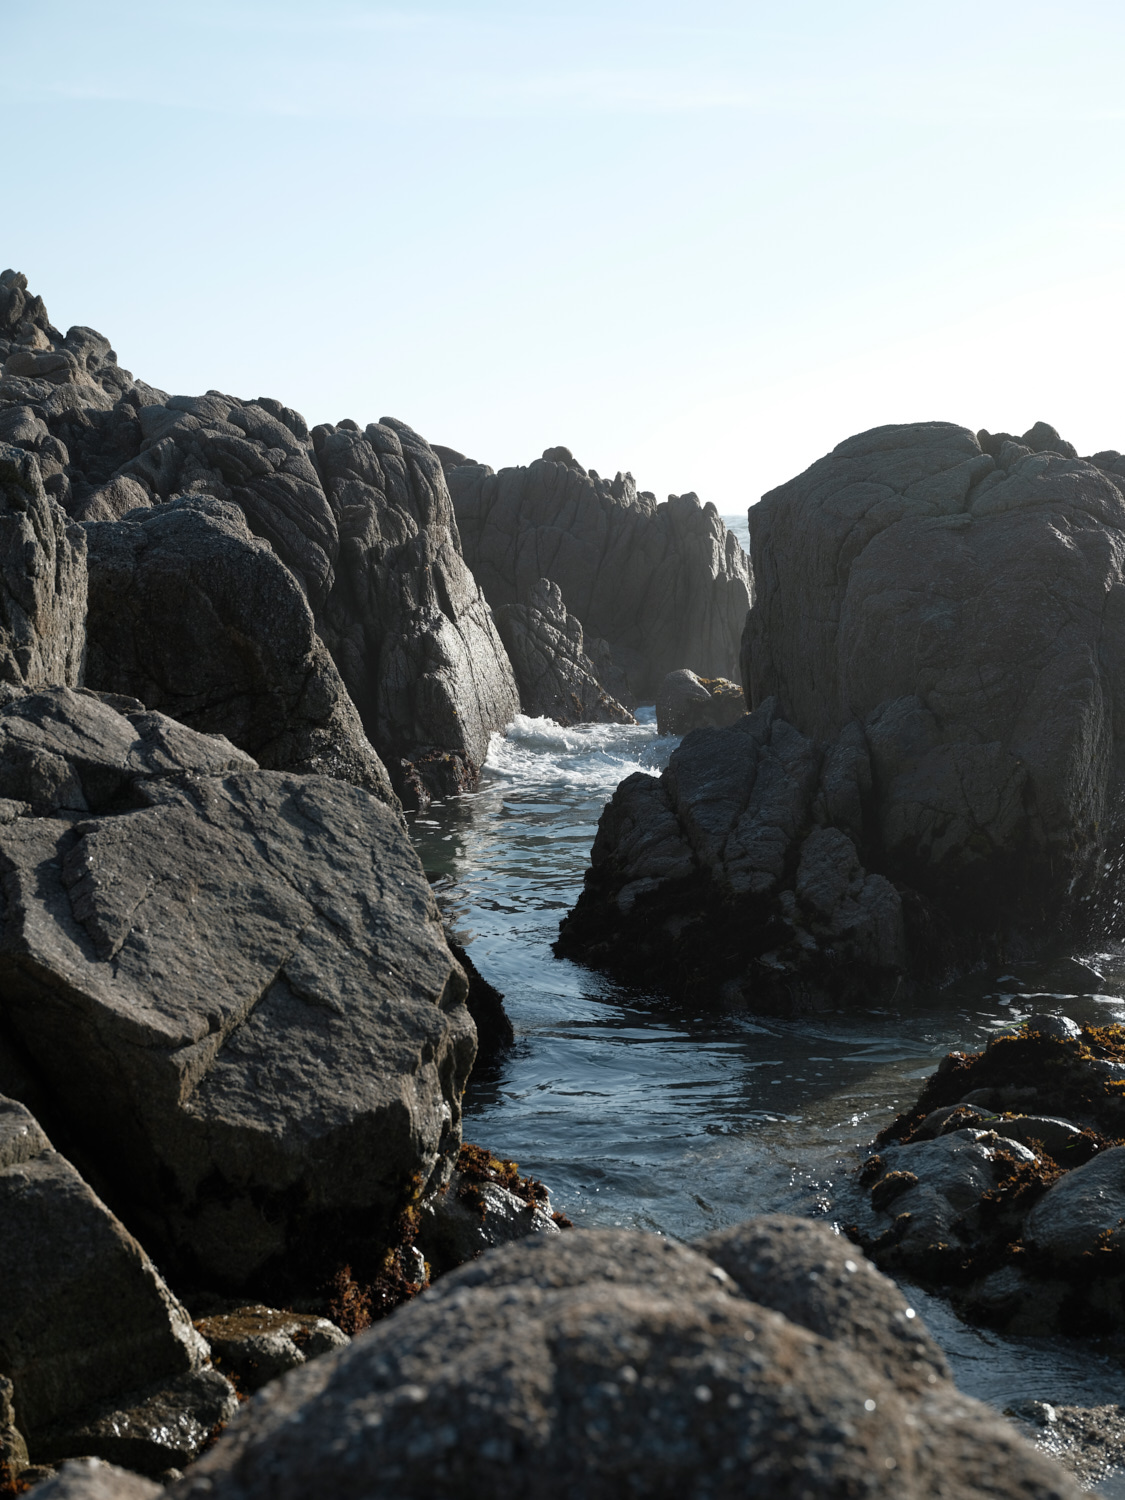
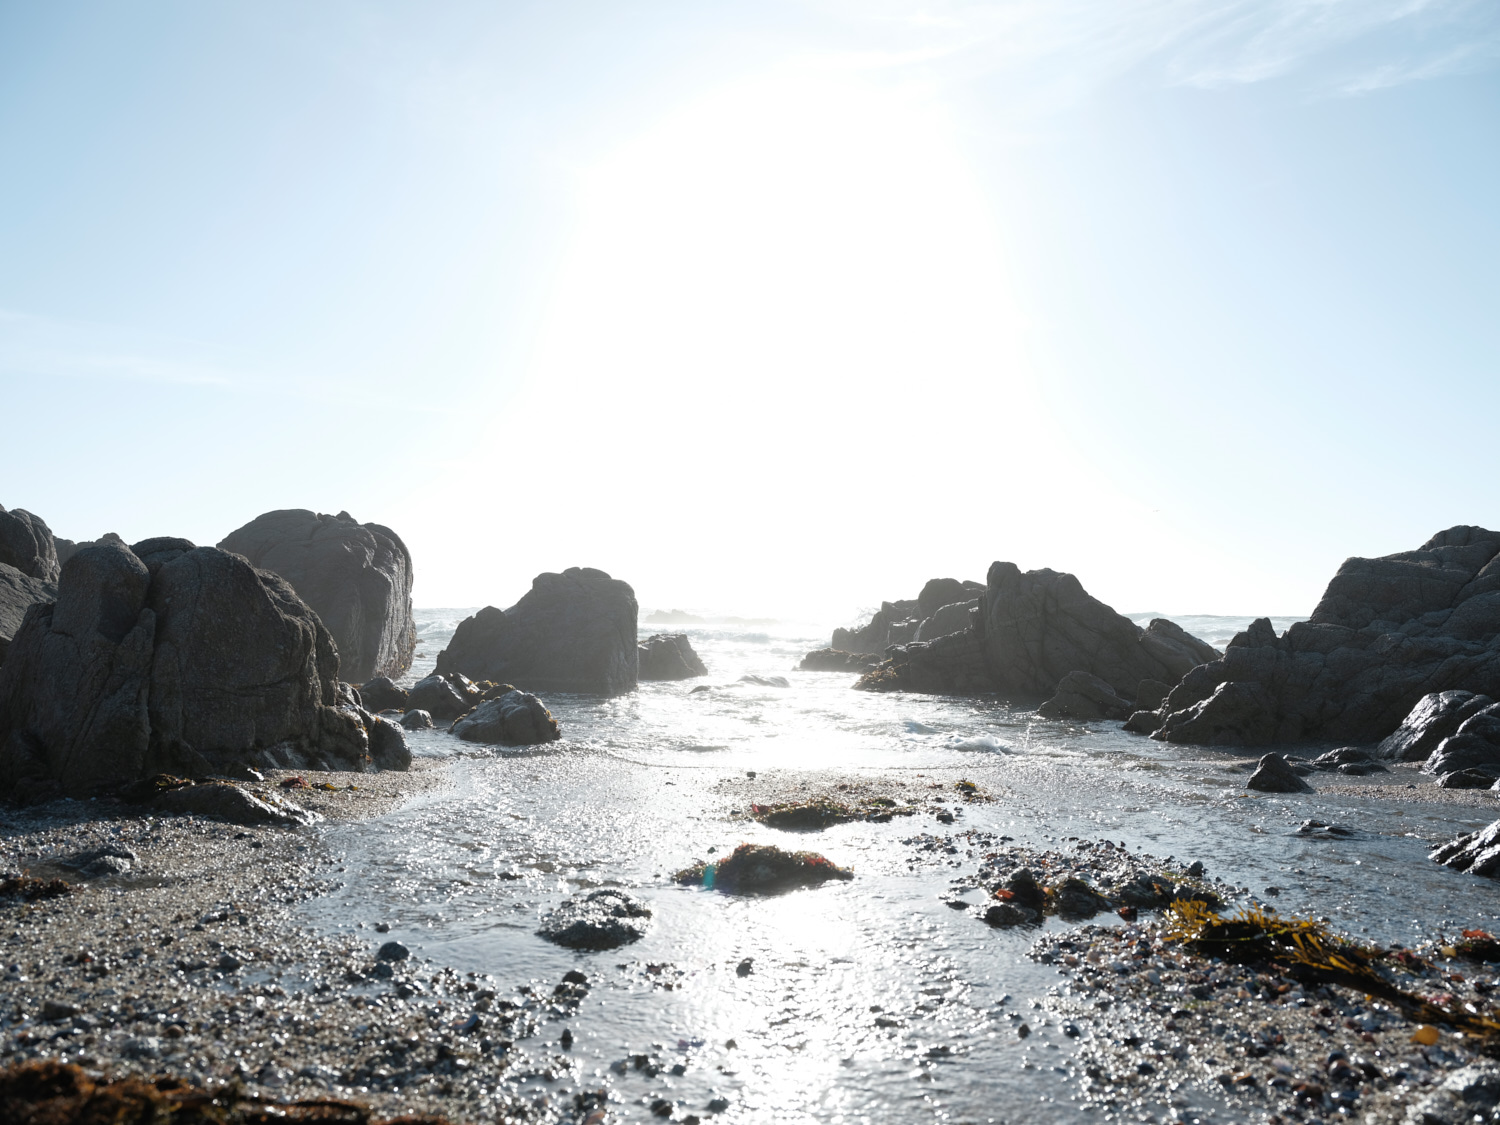
The locations still looked great, but they had a different feel for them. As for the crashing waves, we simply couldn't get to the furthest rocks without a boat. Oh well, I'll concede that point.
With a final shoot location set, we were ready to go. While this location scouting journey was fraught with failures, it was a good reminder to always stay flexible and adapt the concept to what can be done.
On Location
For the day of the shoot, we enlisted the help of our friends Dan and Jon as assistants. One of them would hold the light to make sure it was pointing in the direction of the model and to keep the power cord and battery pack out of the water. Many thanks to both for assisting!
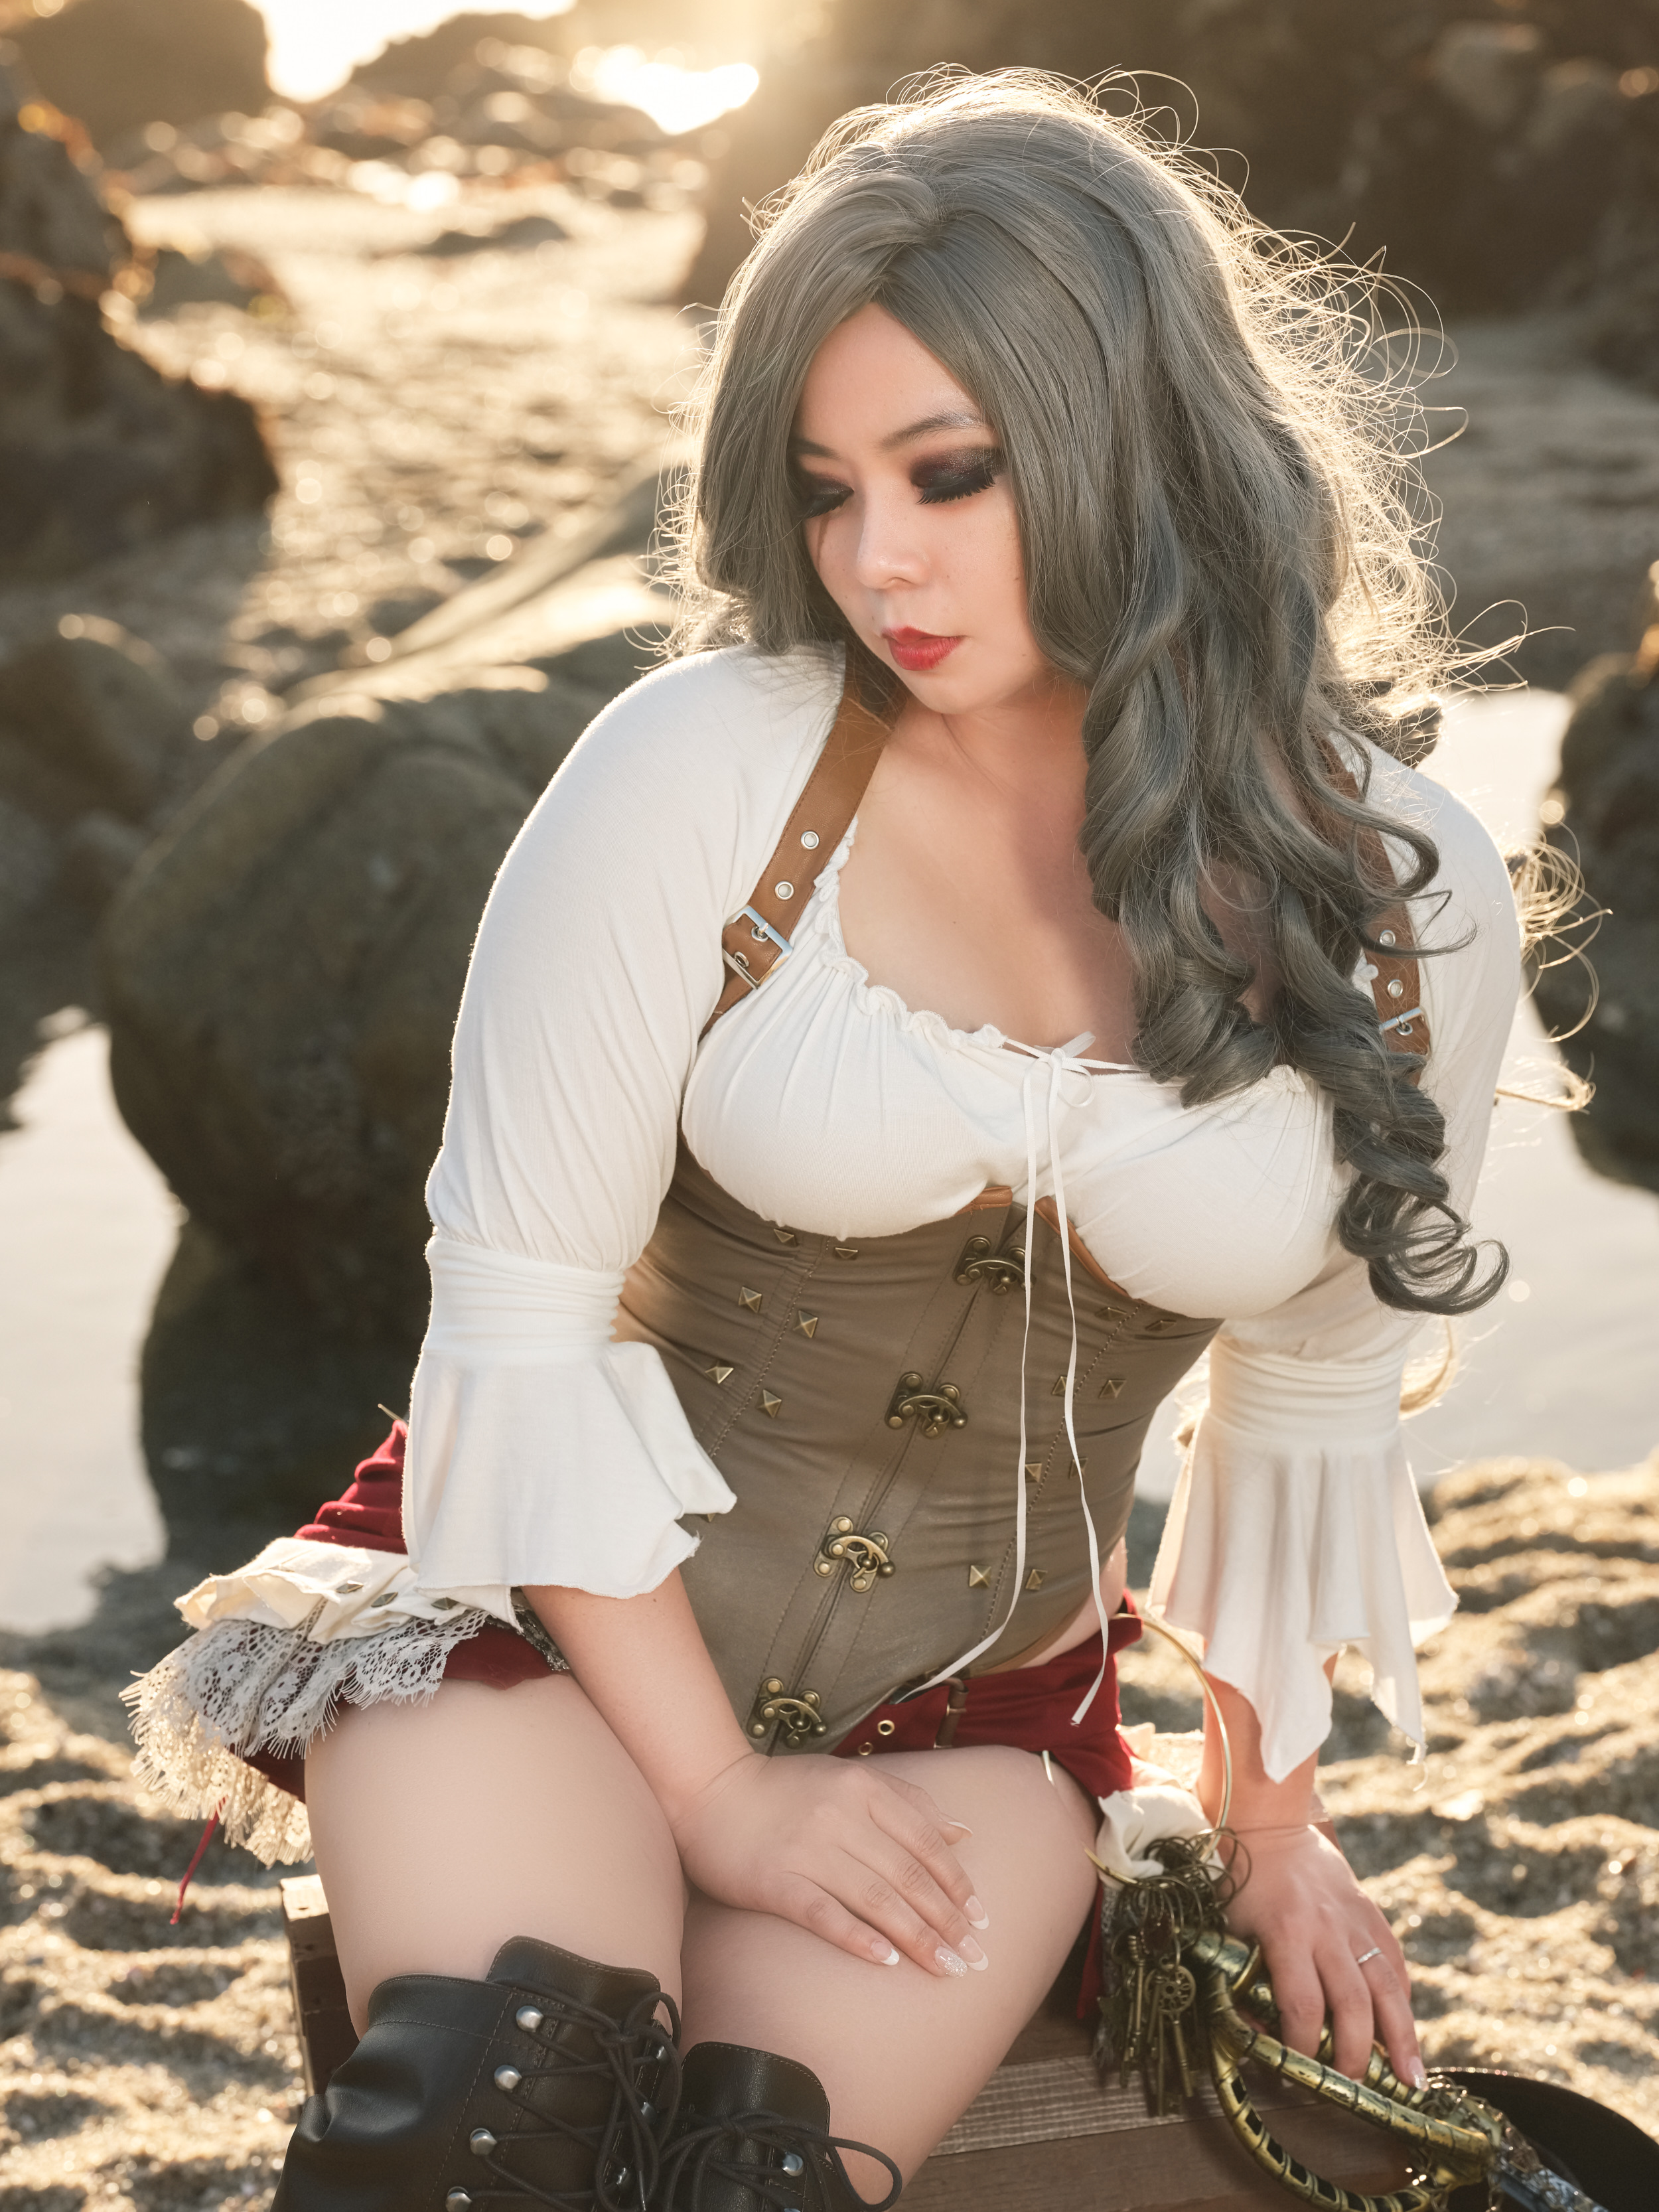
We arrived just before 5:00pm, which was about 30 minutes before golden hour started. Luckily it was low tide at the time we arrived, so the original shooting plan was followed. There was a 2 hour shooting window that I could use before the sun set below the horizon. Conditions were clear, and the model and assistants were ready. It was time to shoot!
The lighting setup was pretty simple: a single Paul C Buff Einstein E640 strobe with Kacey dish attached. I opted for a beauty dish instead of an umbrella or softbox for durability's sake. The Kacey dish is plastic; so it can handle wind, sand, rocks, and water just fine. No worries about it turning into a sail or breaking on location.

Since the sun will set behind the model, I positioned the light on the opposite side to form a clamshell type of lighting effect.


After an hour of shooting, an orange color correction gel was added to the beauty dish to compensate for the warmer color of the setting sun.
Wrap Up
In the end, two hours flew right by. As it was getting darker and colder, we called it a day. Overall the shoot went extremely smoothly thanks to a lot of preparation and a good crew.
Thanks for reading!