In my last post, I came to conclusion that any Capture One workflow that converts the raw files into TIFF for import isn't a viable option. Not only are the TIFF files significantly larger in size than the compressed raws, they are also far less malleable in post processing to the point of being unusable. In addition, Capture One's latest version of 10.1 still does not include Fujifilm GFX 50S support despite adding support for compressed RAF and PSD files. So much for that.
With the likelihood of official Capture One support practically zero at this point, I wanted to continue exploring alternate workflows for the GFX and Capture One. In particular, I explored the DNG conversion workflow in more depth.
Capture One Workflow Using DNG
Converting the RAF into a DNG can be accomplished via various programs, such as Irident X-Transformer or Adobe Lightroom. In my informal testing, I couldn't discern any difference in the outputted DNG files between X-Transformer and Lightroom (or more appropriately Camera Raw).
Since I am already paying for Lightroom and Photoshop CC via the Creative Cloud Photography Plan, I decided to go with Adobe for the raw conversion. However, rather than going through Lightroom, Photoshop, or Bridge, I am using Adobe DNG Converter. It functions pretty much the same as Irident X-Transformer in that it is a stand alone application dedicated to converting raws into DNG files.
In addition to the DNG Converter, EXIFTool is also needed to change the Make field of the EXIF from Fujifilm to Fujifilm_. This is to circumvent Capture One 10's software block on importing Fujifilm GFX 50S tagged files. EXIFTool can be found here with installation instructions here.
The workflow using Adobe DNG Converter is:
Select the input folder containing the compressed RAF files
Change preferences if desired (you'll only need to do this once)
Hit the Convert button
In Terminal, navigate to the output folder and run the command: exiftool -Make=”FUJIFILM_” *.dng
Import the modified DNG files into Capture One
The generated DNG files are approximately the same size as the original compressed RAF files which is very good. DNG conversion takes about 2.5 seconds per file which is acceptable. The only issue is the color. A comment by EBA made in my previous post really clued me in on where to focus my attention next: color correction.
Color: Dull
Average File Size: 52 MB
Average Time to Convert RAF to DNG: 2.5 seconds / photo
Color Correction in Capture One
One of the obvious problems with importing the GFX 50S DNG files is that they do not have the correct color profile, resulting dark and dull images. Rather than just use one of the existing color profiles, I decided to make a proper color profile for the GFX.
In my search for software to create ICC profiles, I came across DCamProf which is an open source color profiling tool. The tool itself is extremely powerful (and consequently extremely complex), but fortunately there was a section just for Capture One ICC profiles. Needless to say I followed the guide verbatim.
For my reference image, I did the following:
X-Rite ColorChecker Passport Photo mounted to a tripod
Shot the ColorChecker on a sunny patio at noon with clear skies
GFX 50S and 120mm f/4 macro lens at f/16, 1/250s, ISO 400
White balance set to 5000K
Color space set to Adobe RGB
I used a slightly different spline for the LUT curve and modified the Neutral+ look to use ProPhoto RGB color space to avoid color space compression.
This is the resulting GFX 50S ICC profile can be found on my GitHub project CaptureOneICCProfiles.
The profile was generated to be neutral and hopefully as close to real life as possible. I have noticed that it's not quite perfect, but it's close enough that a bit of editing couldn't solve. To my eye the magenta range is a bit more saturated than it should be, but I haven't figured out how to tweak that in the ICC profile yet.
Installing the ICC Profile
To install the ICC profile, copy it to the appropriate location depending on your OS.
MacOS
/Users/<username>/Library/Colorsync/ProfilesWindows
C:\Users\<username>\AppData\Local\CaptureOne\Color ProfilesAfter copying over the ICC profile, Capture One will need to be restarted. Once Capture One is loaded, the new GFX 50S profile can be found in the Other section of the ICC Profile dropdown box. You may have to click on the Show All option first to see it.
Examples
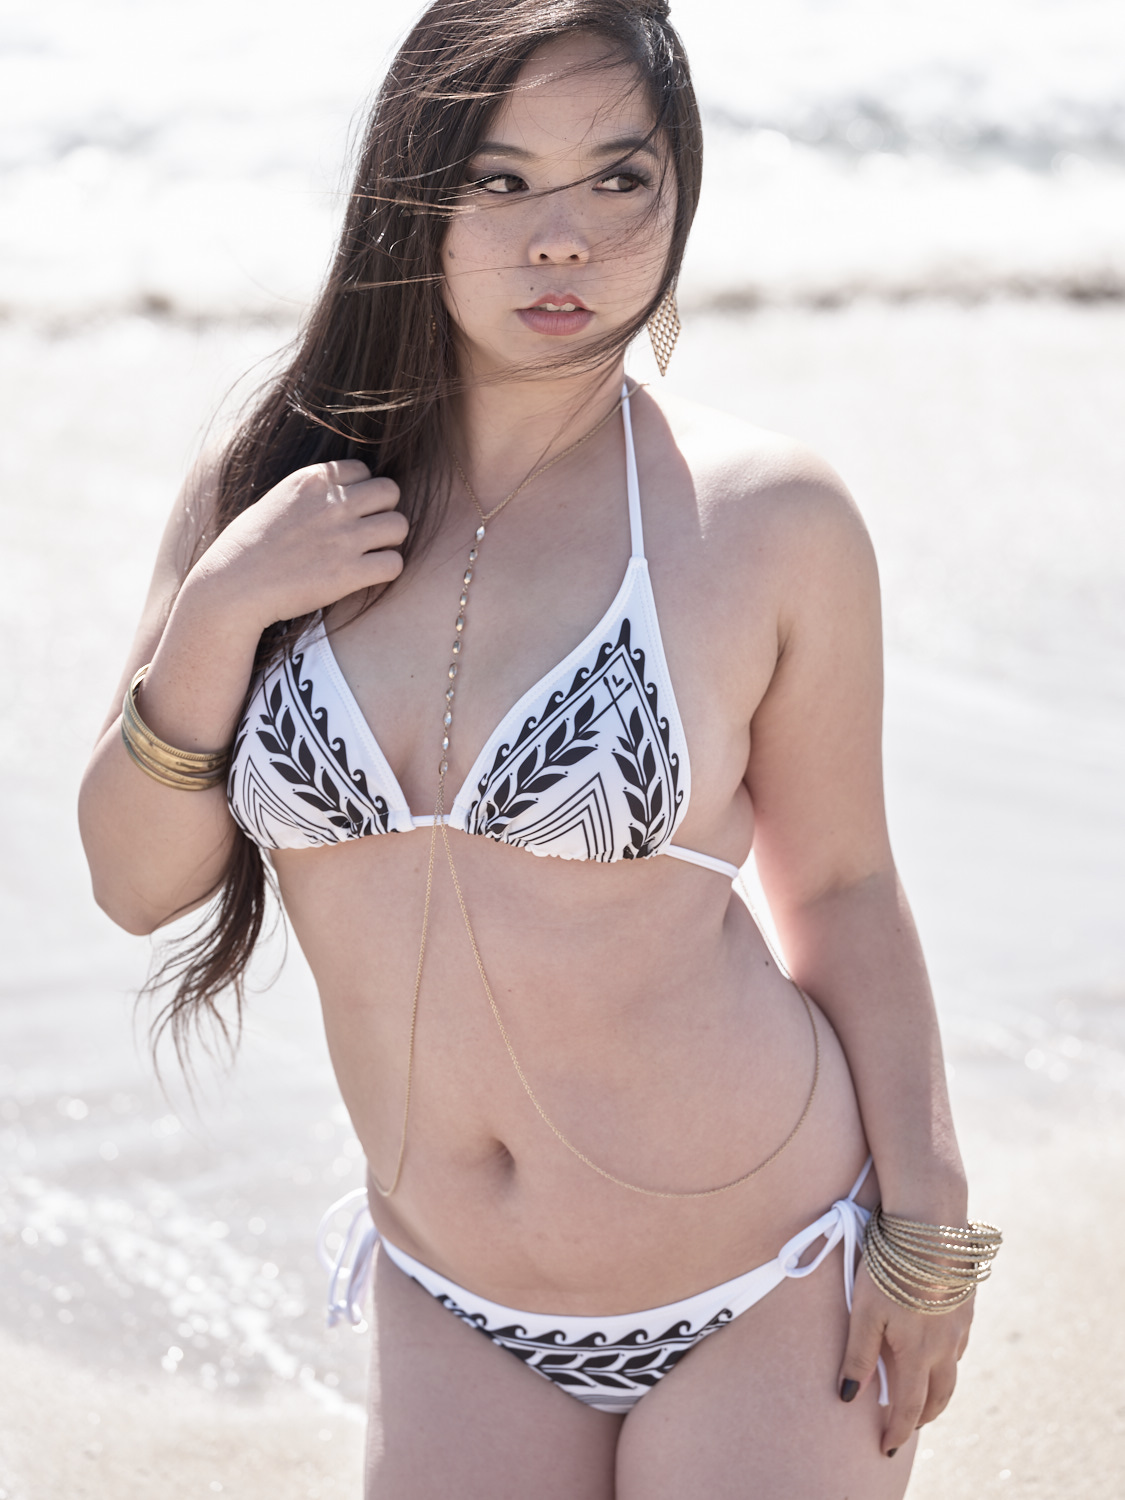
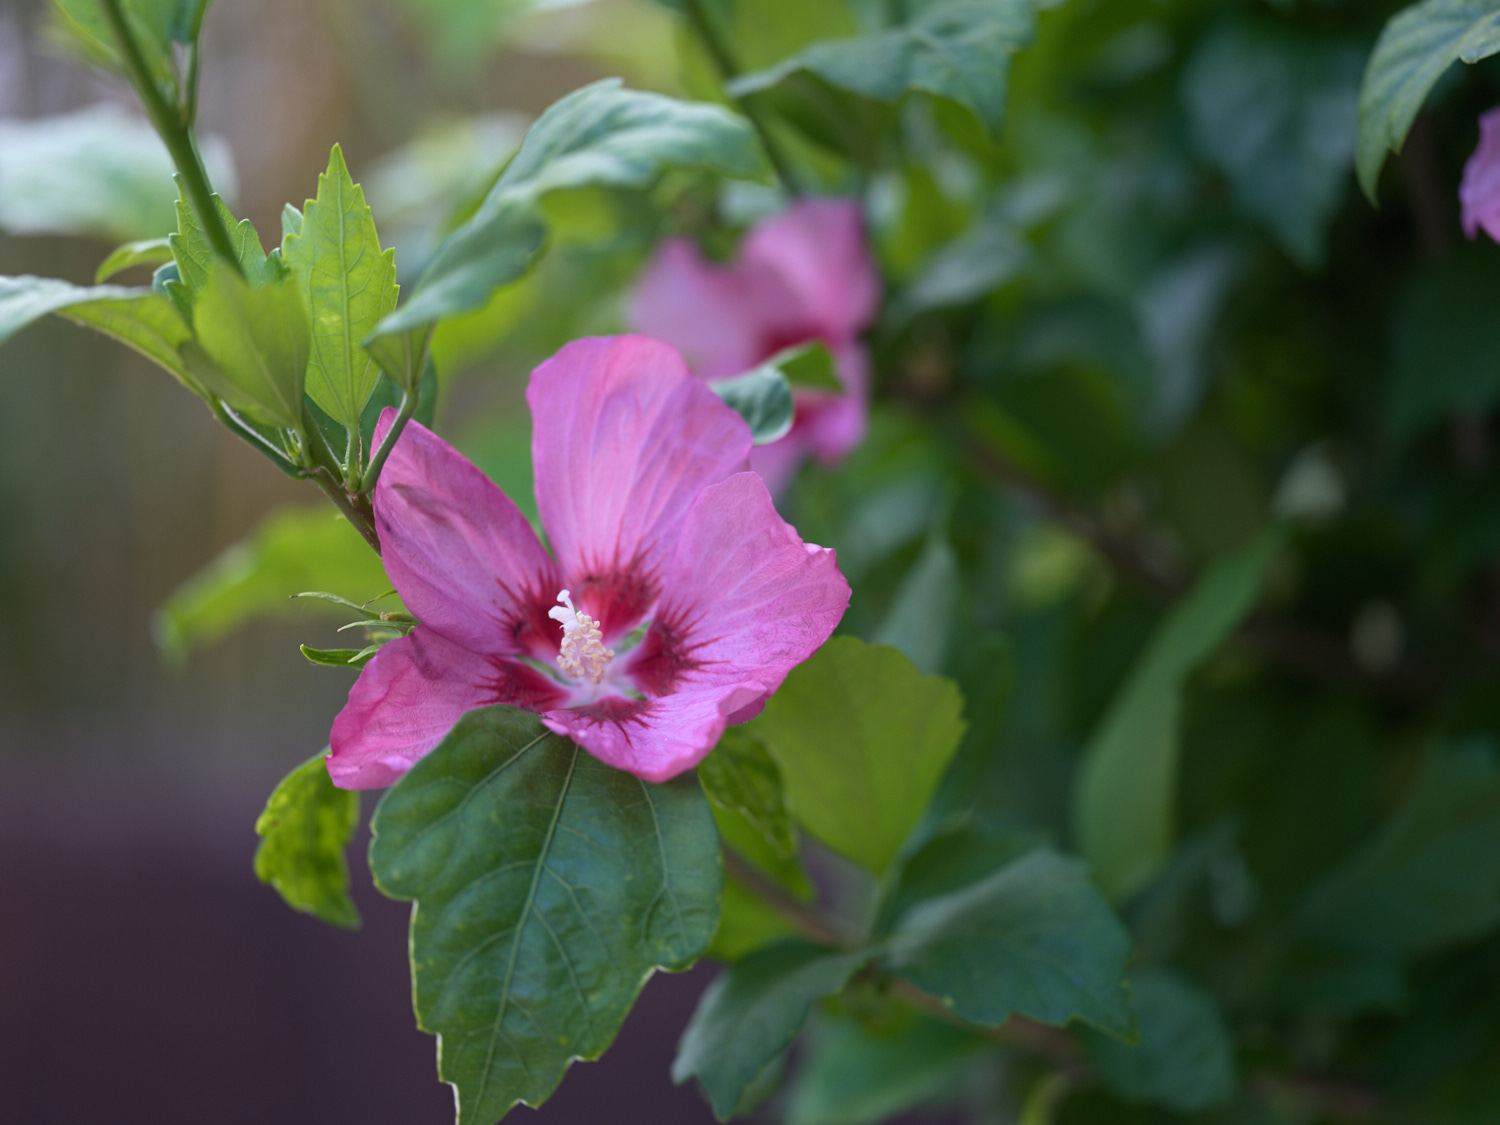
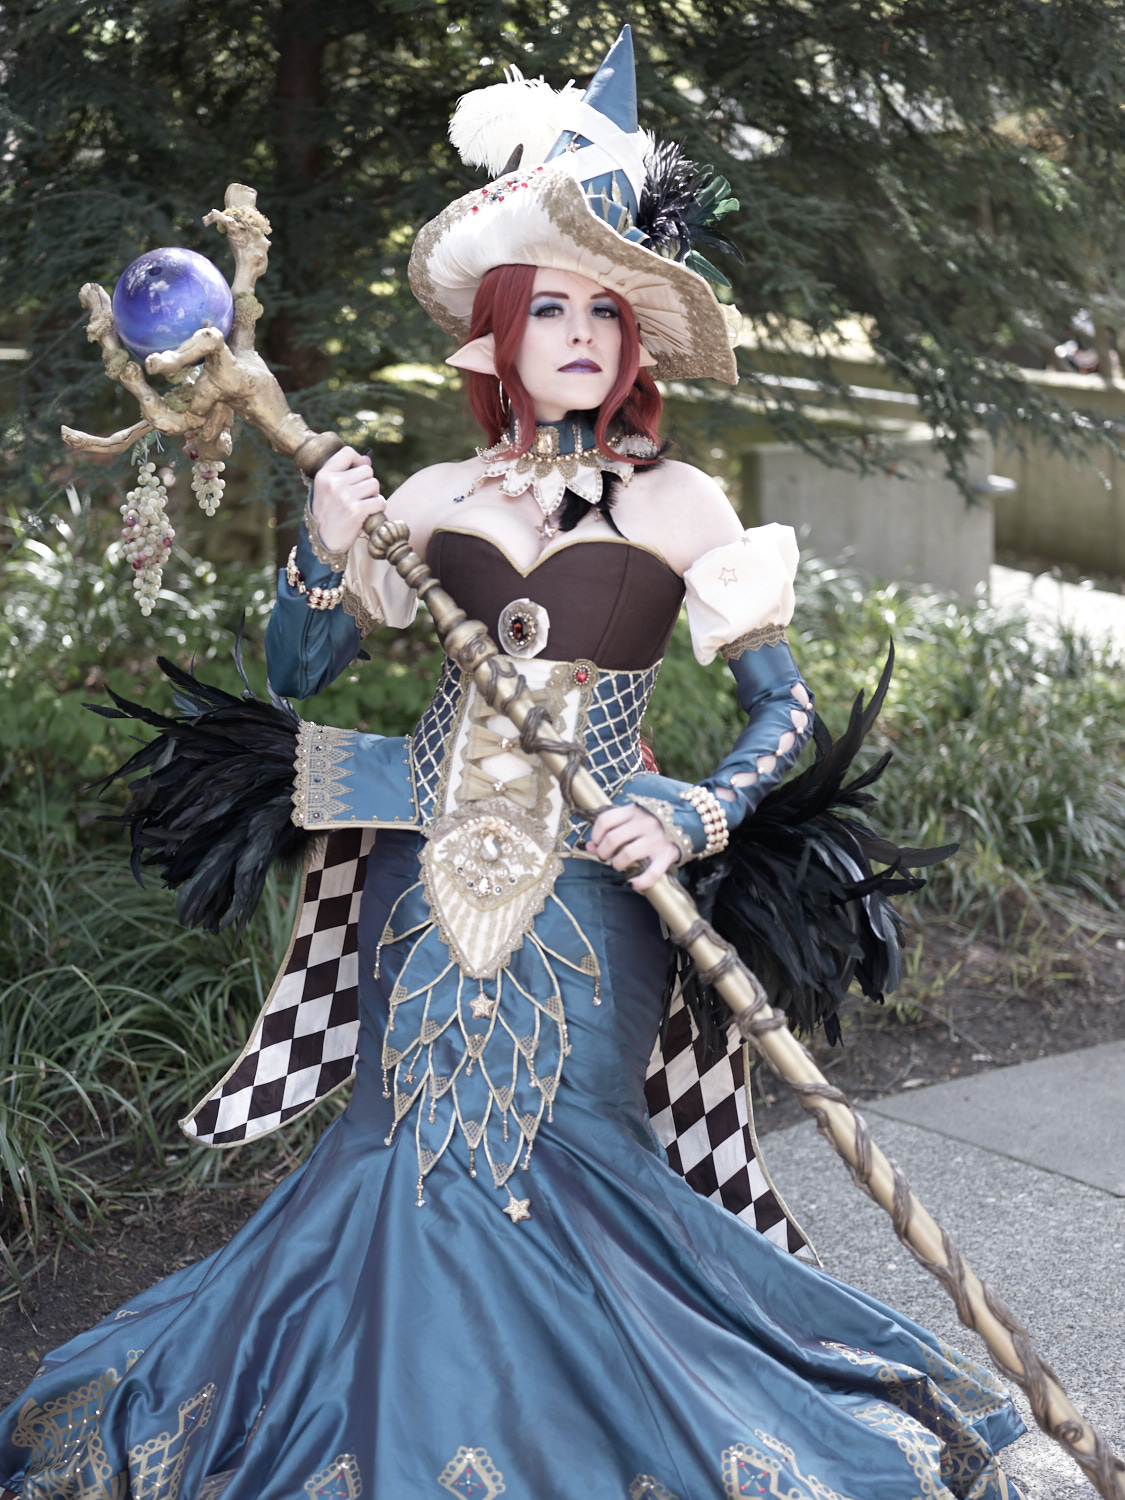
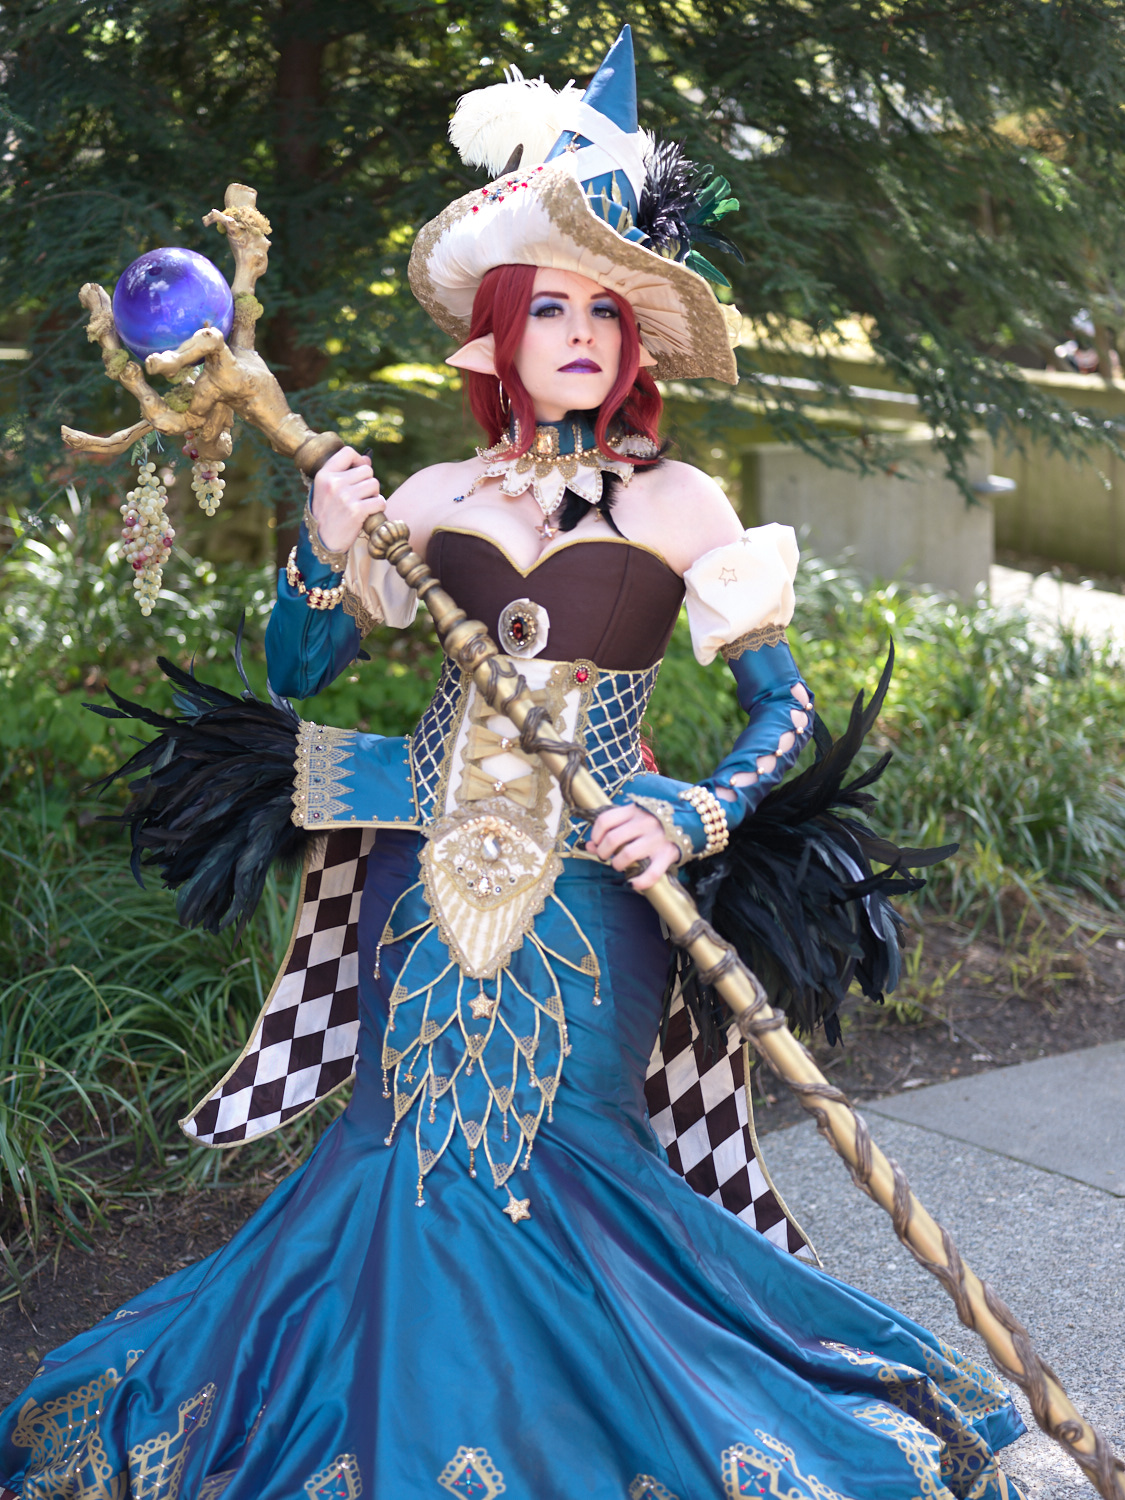
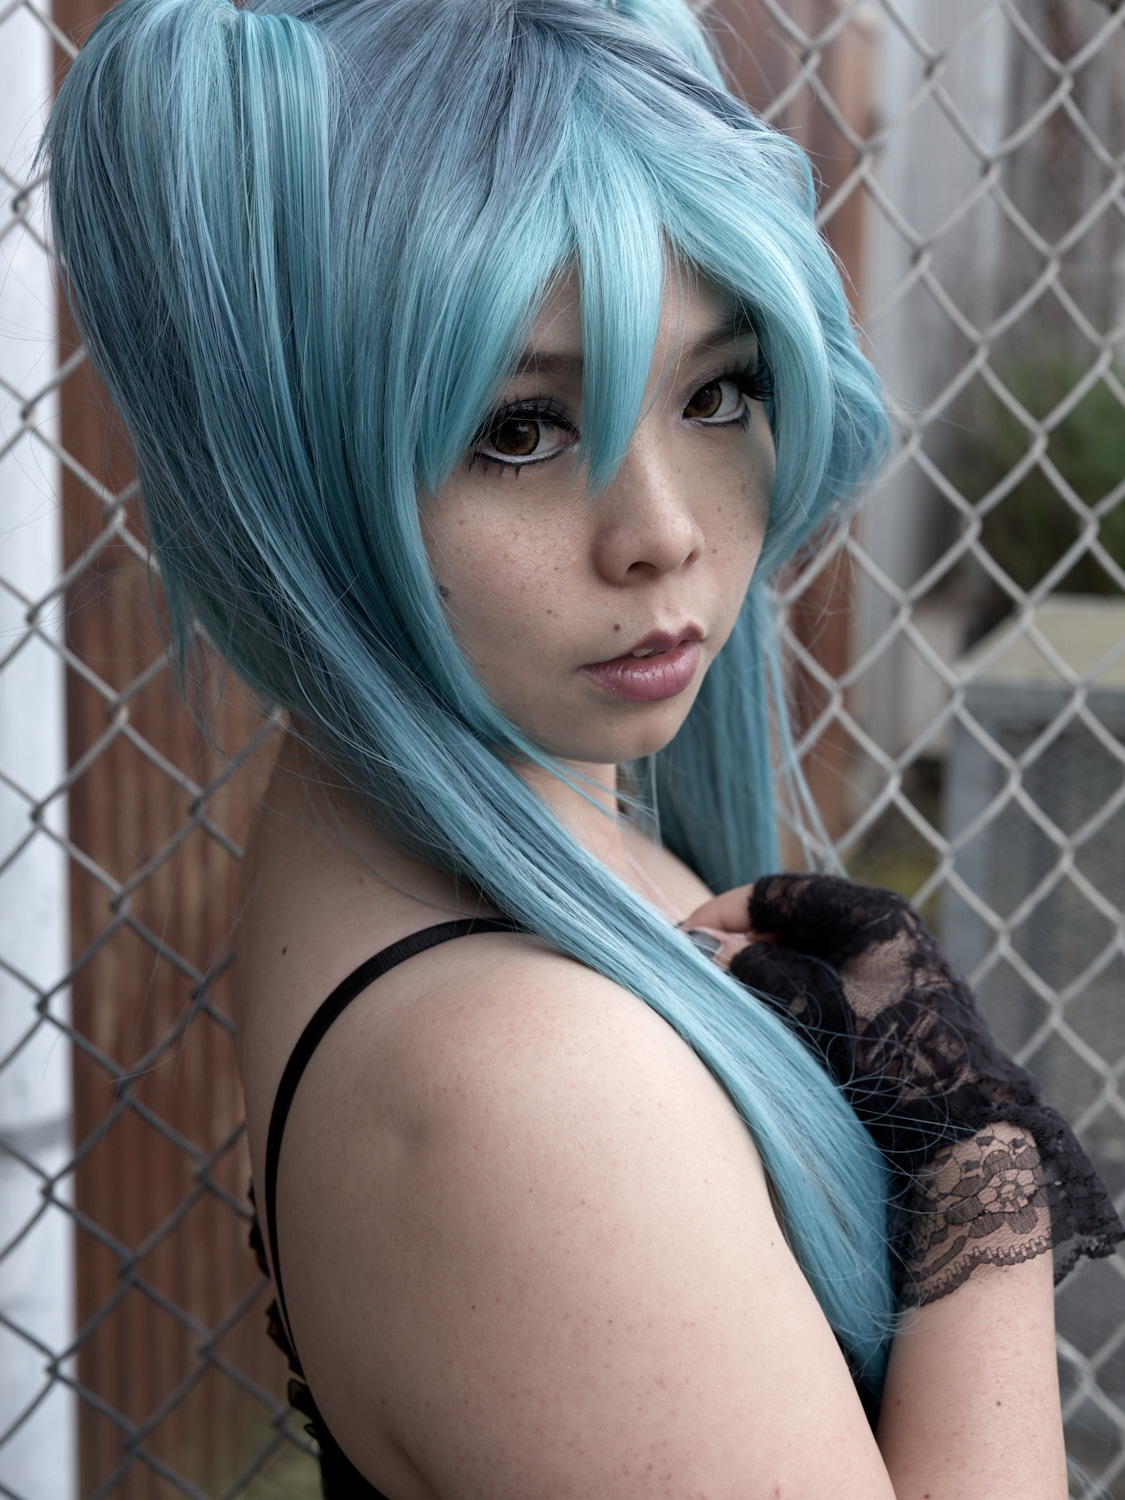
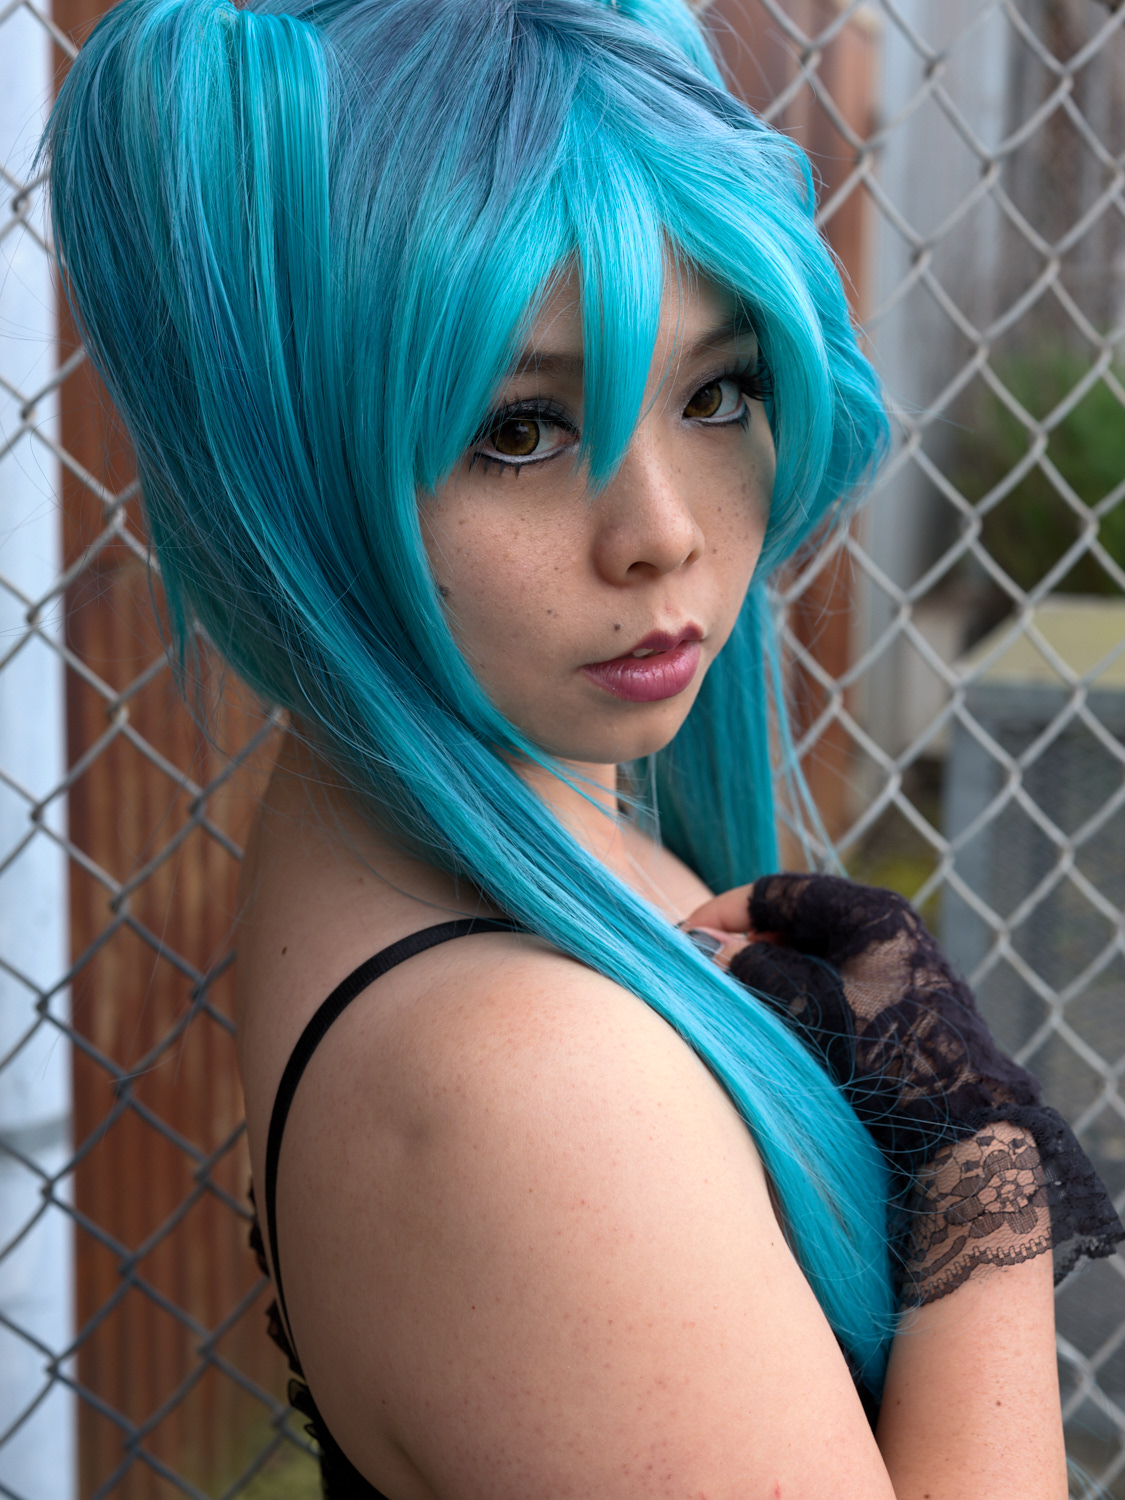
Here are some before and after examples of the GFX 50S ICC profile at work. For the images below, the only difference is using the GFX 50S ICC profile over the default DNG File Neutral profile.
Parting Thoughts
Using a custom ICC profile for the DNG files turned out a lot better than I expected! I still think that some colors could use some desaturation, specifically the skin tones, but at least that is easy to correct while editing. At this point I'm debating whether I should continue to refine the ICC profile or to create a couple of Capture One user styles that will automatically apply the corrections that I want. I'm leaning towards the latter since that I more straightforward.
I think that this workflow is something that I can live with.
I can continue to use Capture One with only a minor penalty to file size and initial import time. The biggest downside to this approach is the slight mangling of the DNG's EXIF data to get it into Capture One. Not a huge deal, but may make any EXIF-based searching or cataloging a pain.
So far I've only run one photo shoot through this workflow. We'll see how I feel about it after another 10. For now this is good enough.
Thanks for reading and I hope you found this helpful!


