Using a digital medium format camera to scan medium format film. What could go wrong?
After bringing home freshly developed 120 format film, I looked at my GFX 50S and wondered if it could produce higher quality scans than the Epson V800. So for the heck of it, I gave it a go.
The Setup
Nothing too fancy here (except the camera of course). Here's what I used:
Manfrotto BeFree tripod
LED light pad from Amazon
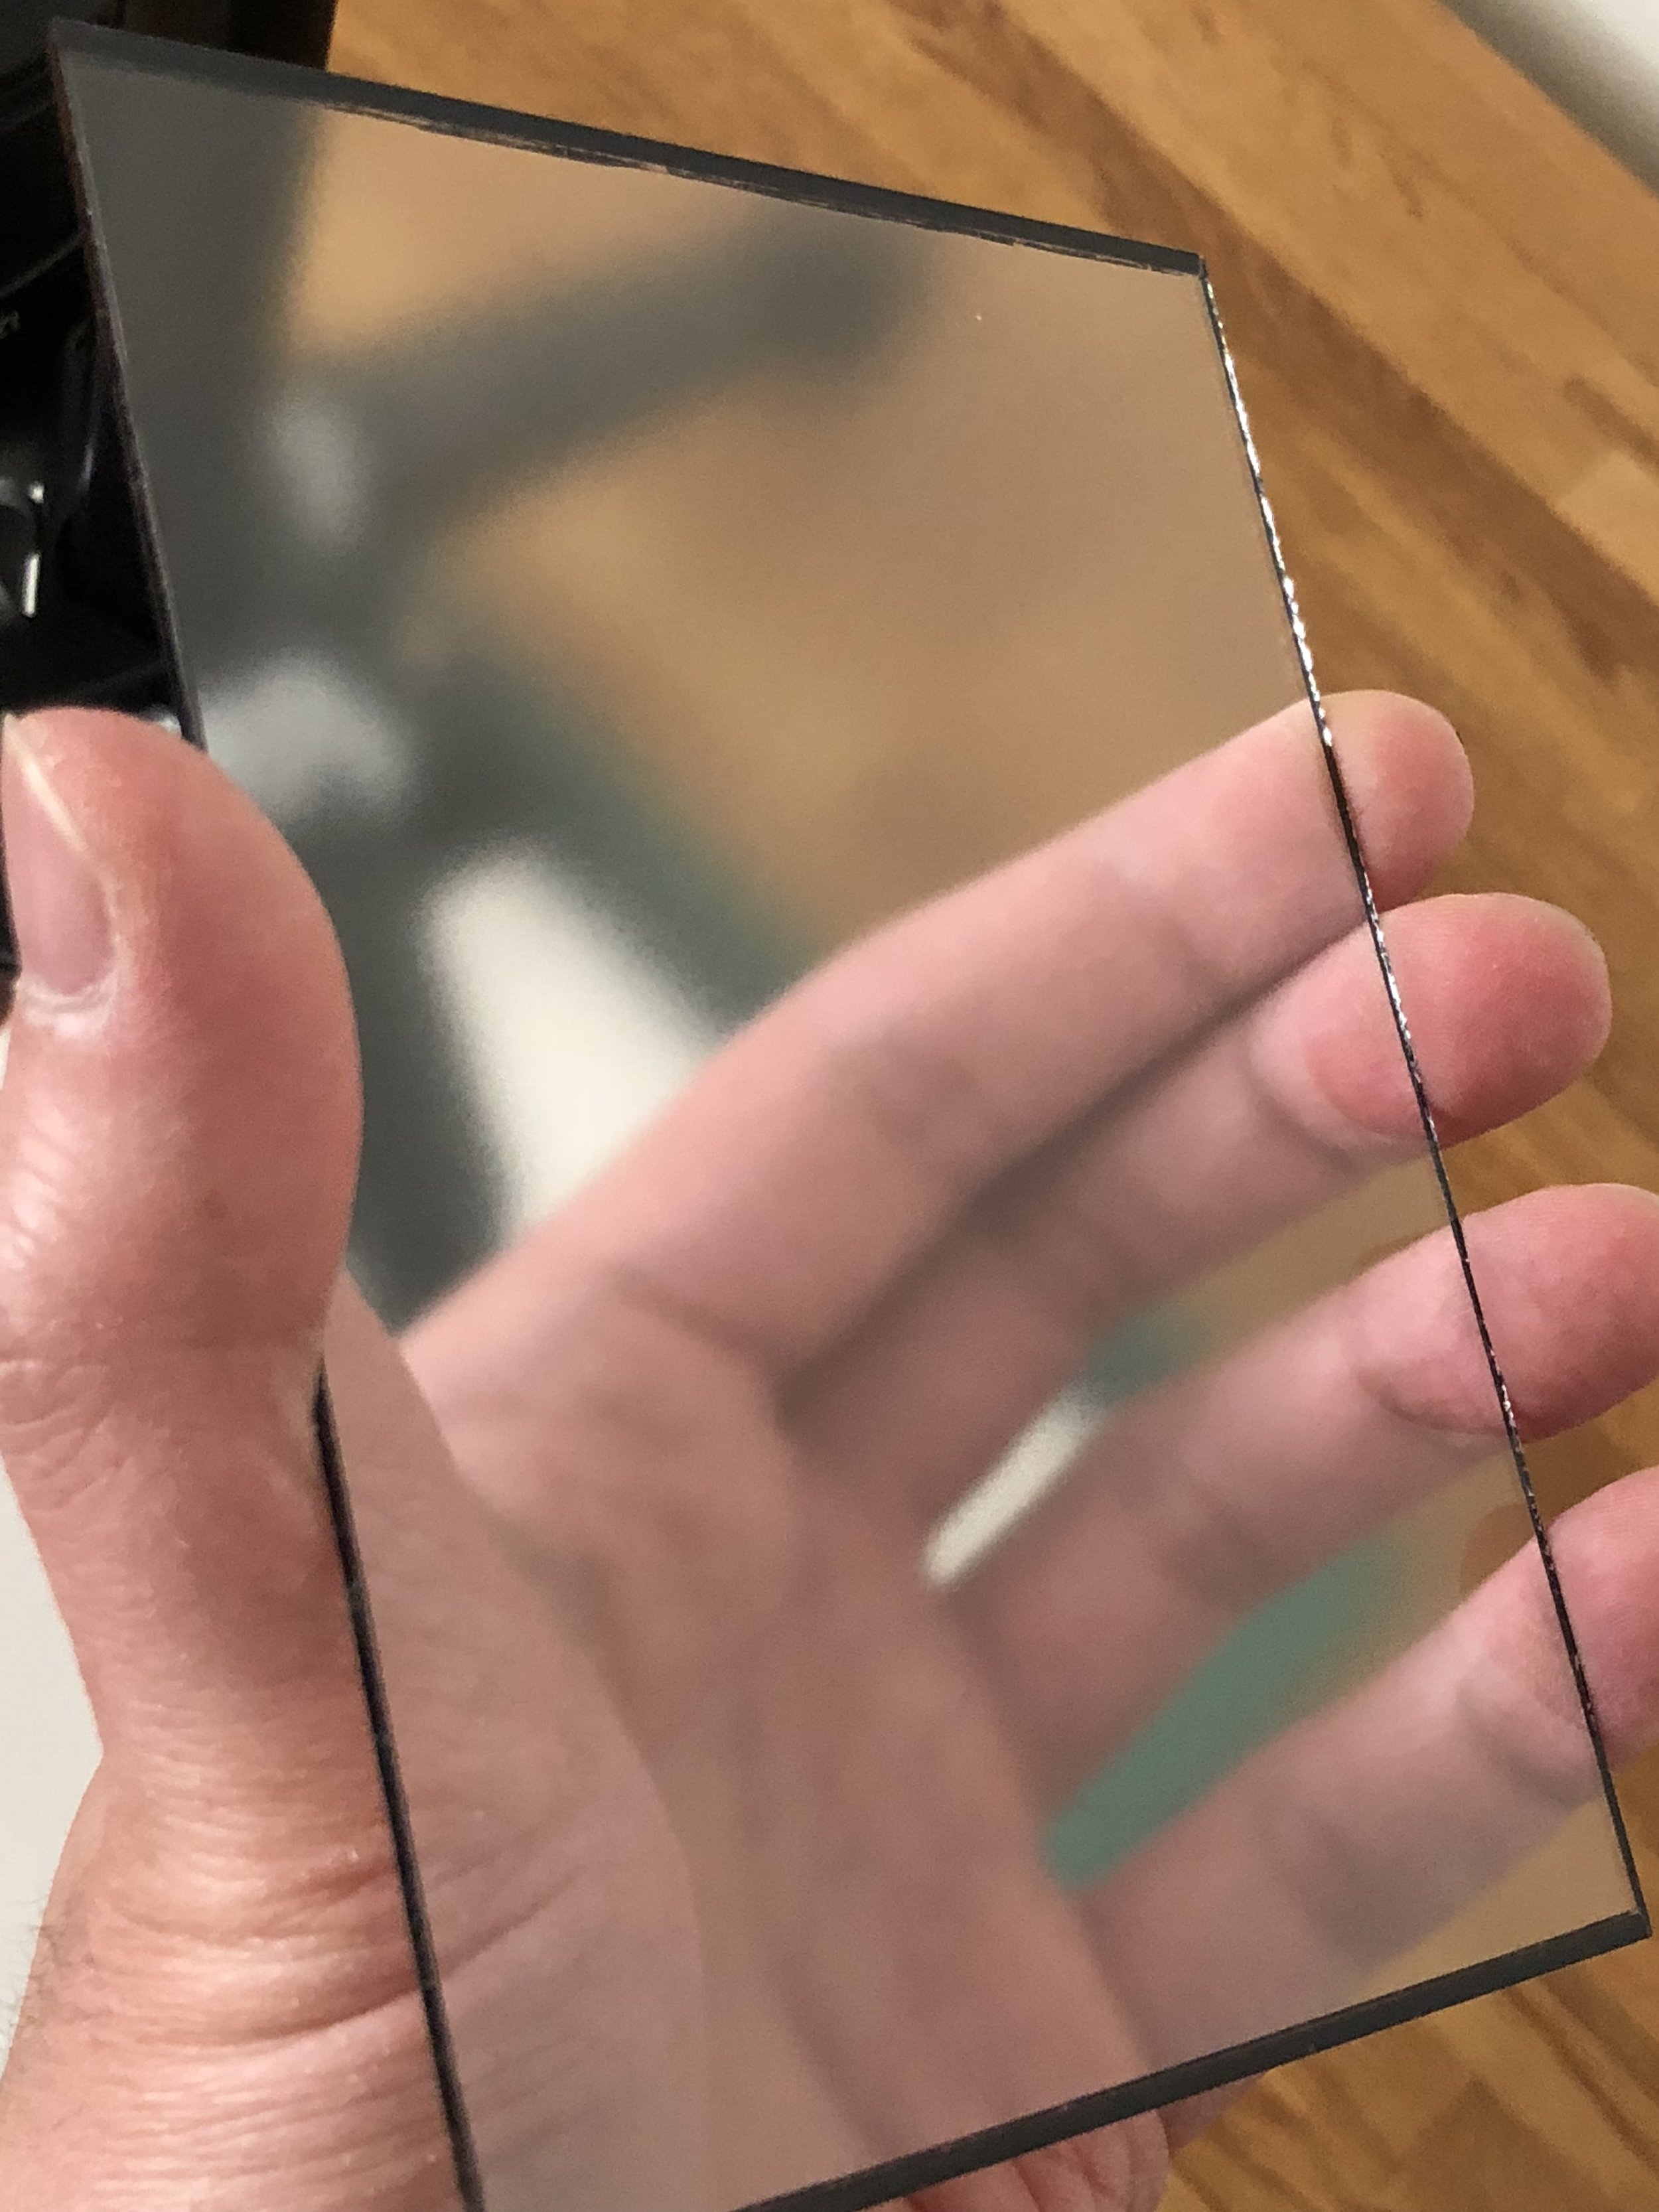
Beseler Anti-Newton Glass from eBay
Fujifilm GFX 50S
Fujinon GF120mmF4 Macro Lens with hood attached

The film was placed directly onto the light pad (emulsion side down) with the anti-newton glass on top to keep it from curling. If you already own the Better Scanning 120 ANR glass, that will work the same. I then mounted the camera to the tripod and pointed it directly down at the film as low as I could. Since the 120mm macro lens is only a 1:2 magnification, I was not able to position the lens all the way down to the light pad.
Camera Settings
I put the GFX 50S into manual focus single shot mode with a 2 second self timer. This was to make sure that I didn't introduce any camera shake from pressing the shutter button. The other camera settings were:
ISO 400
Aperture set to f/16
Shutter speed set auto
White balance set to grey card
The Experience
At first, I tried to shoot the film without the ANR glass, but that proved too frustrating just to keep the film down and it was too time consuming to boot. While I did own the Better Scanner ANR glass, I went with the Beseler ANR glass meant for enlargers because it had more surface area. This allowed me to be sloppier with the placement of the glass.
One thing I noticed was that the ANR glass should be placed reflectiveside up. If not, there will be strange blotchiness along straight edges in the shots.

On the plus side, scanning an entire roll of 120 film is pretty fast. I didn't cut the film so it was simply a matter of moving the film underneath to the next frame and taking a shot. At f/16 in manual focus mode pre-focused at the correct distance, there is sufficient depth of field in case the camera is not completely on axis.
However, not being on axis is one of the largest problems with this current setup. I found it extremely difficult to align the camera such that the entire frame is level with the film. A lot of my shots had some kind of skew. It's not the end of the world, but it's also not ideal.
Since the 120mm macro lens isn't 1:1, each frame will need to be cropped of the excess dead space. For the 6x8 frames I shot, the crops were still 8000 x 6000 pixels, which is more than sufficient. Editing the scans is still the same as with the scanner; run the image through Color Perfect and tweak as needed.
Probably the only strange side effect is that the EXIF data will correctly label the image as coming from the GFX 50S as opposed to coming from a scanner. I suppose the EXIF data could be corrected afterwards, but that was more trouble than it was worth.
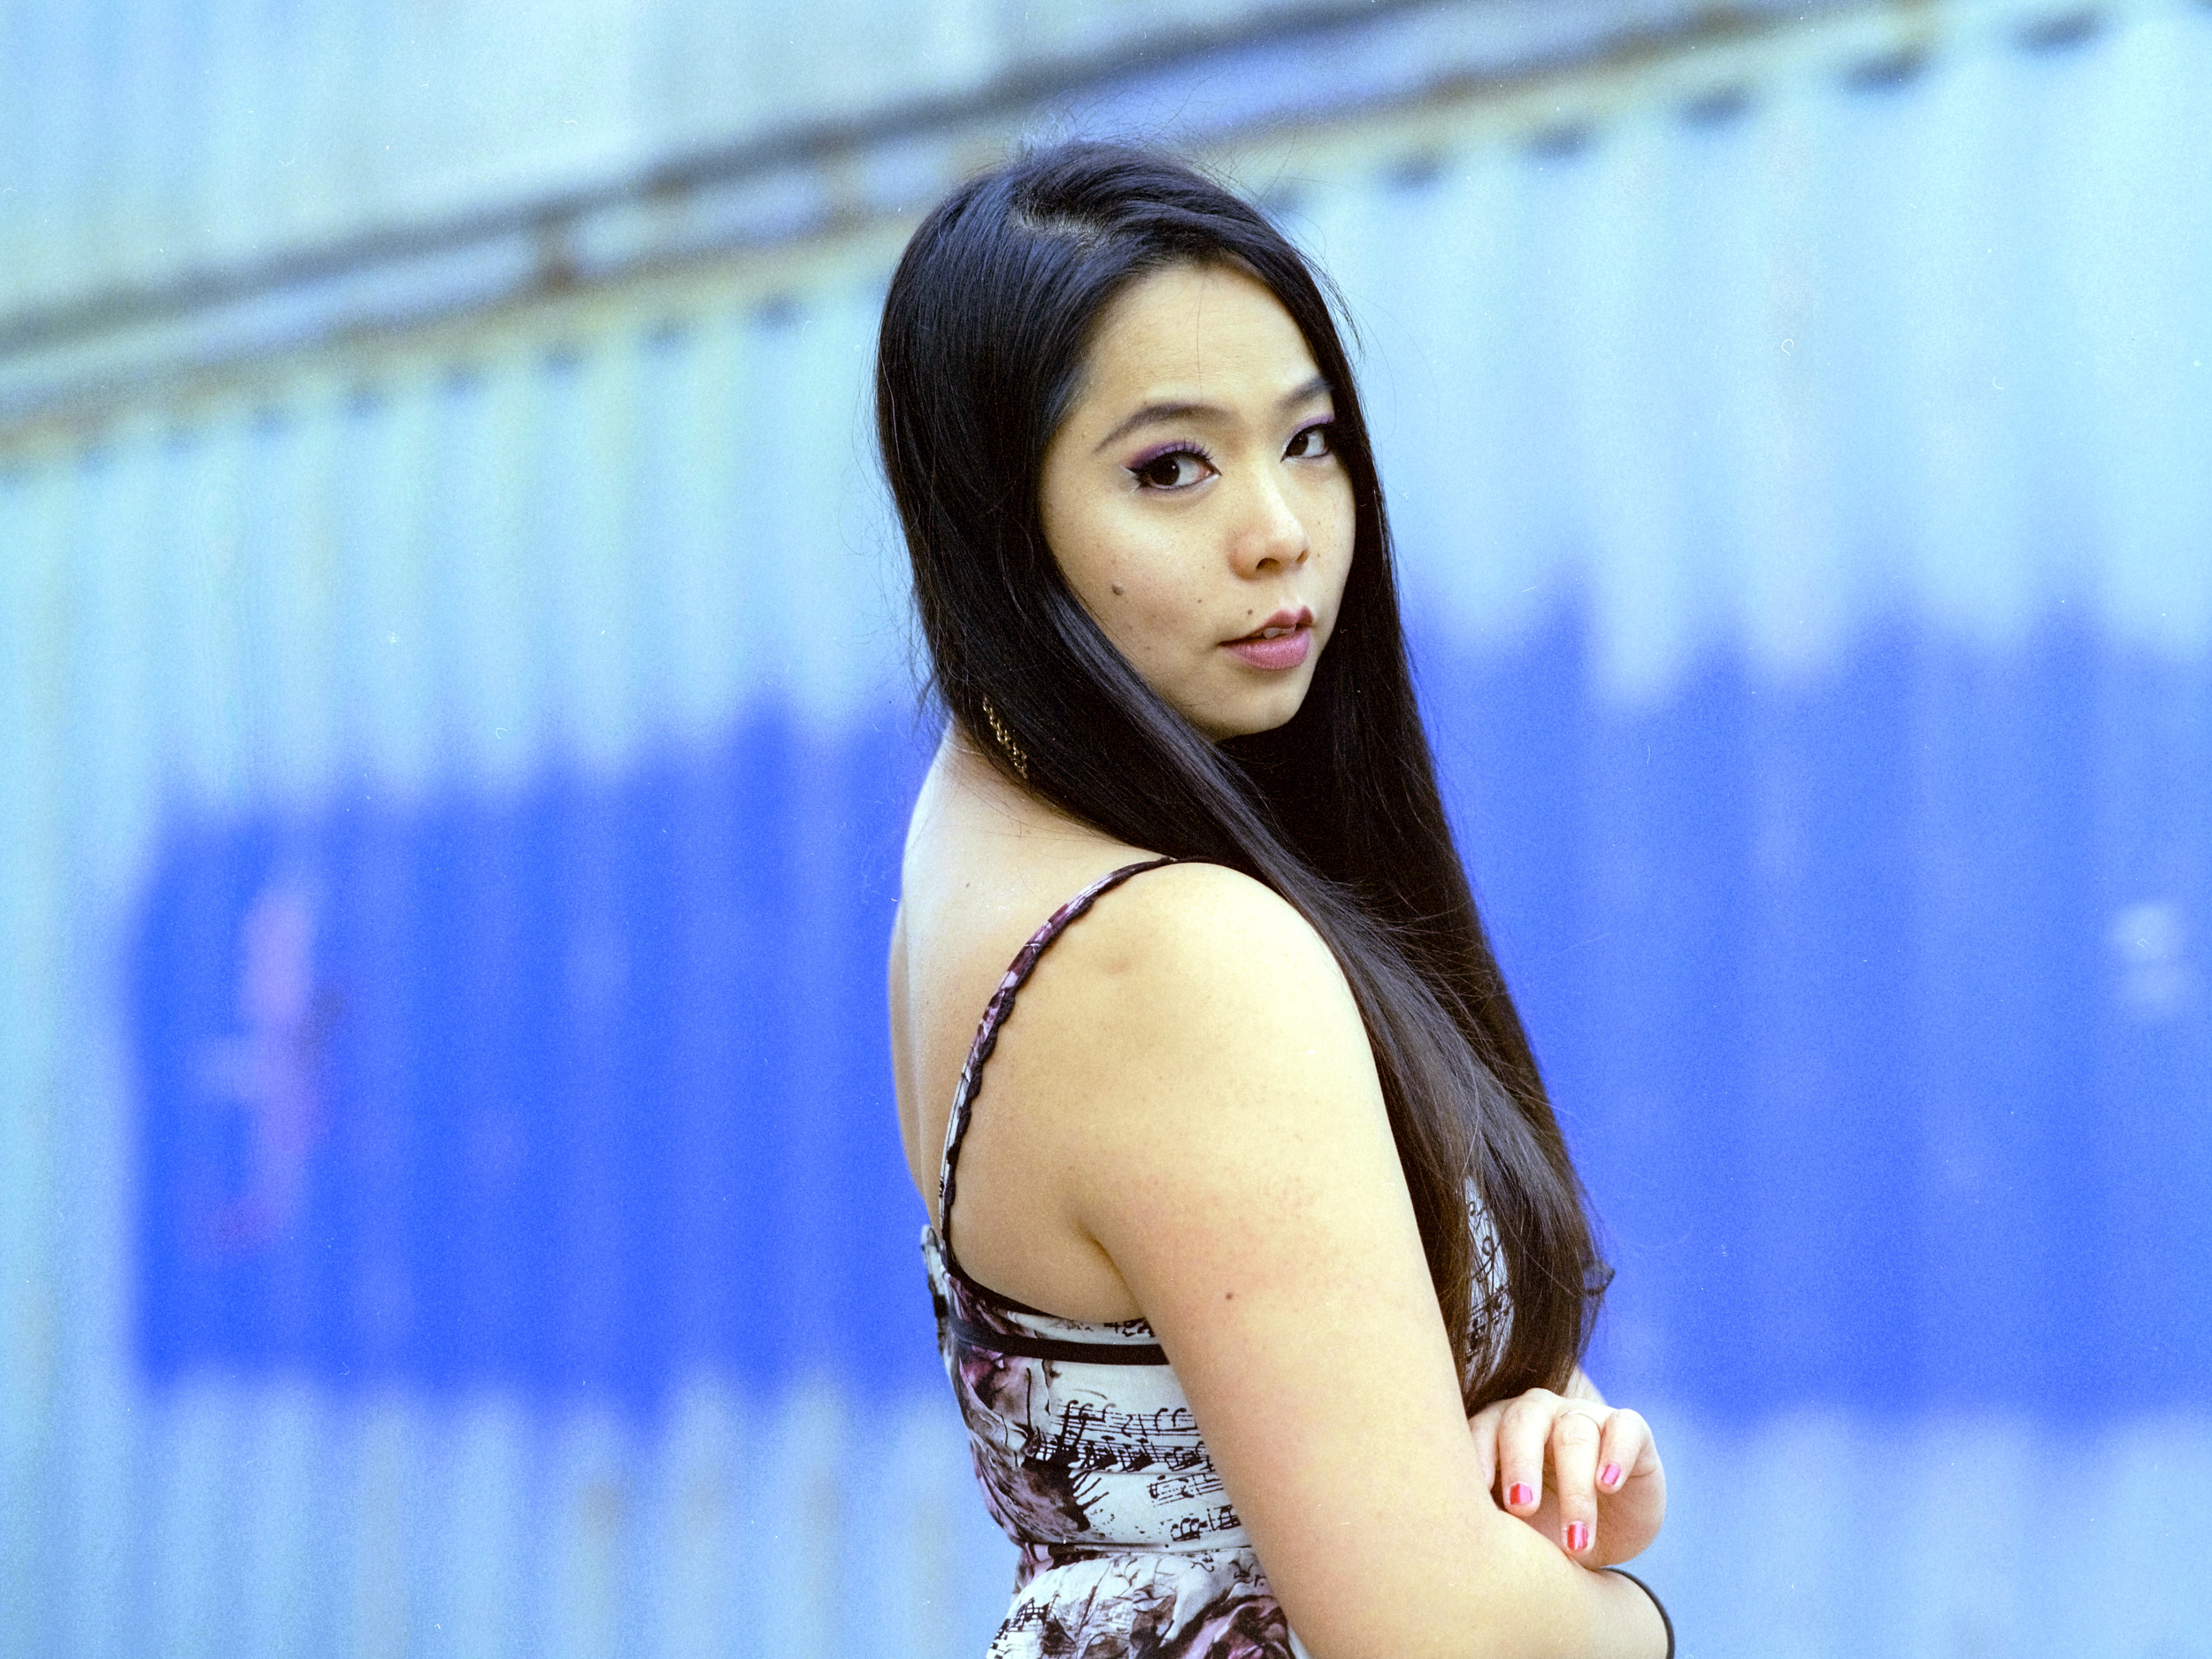
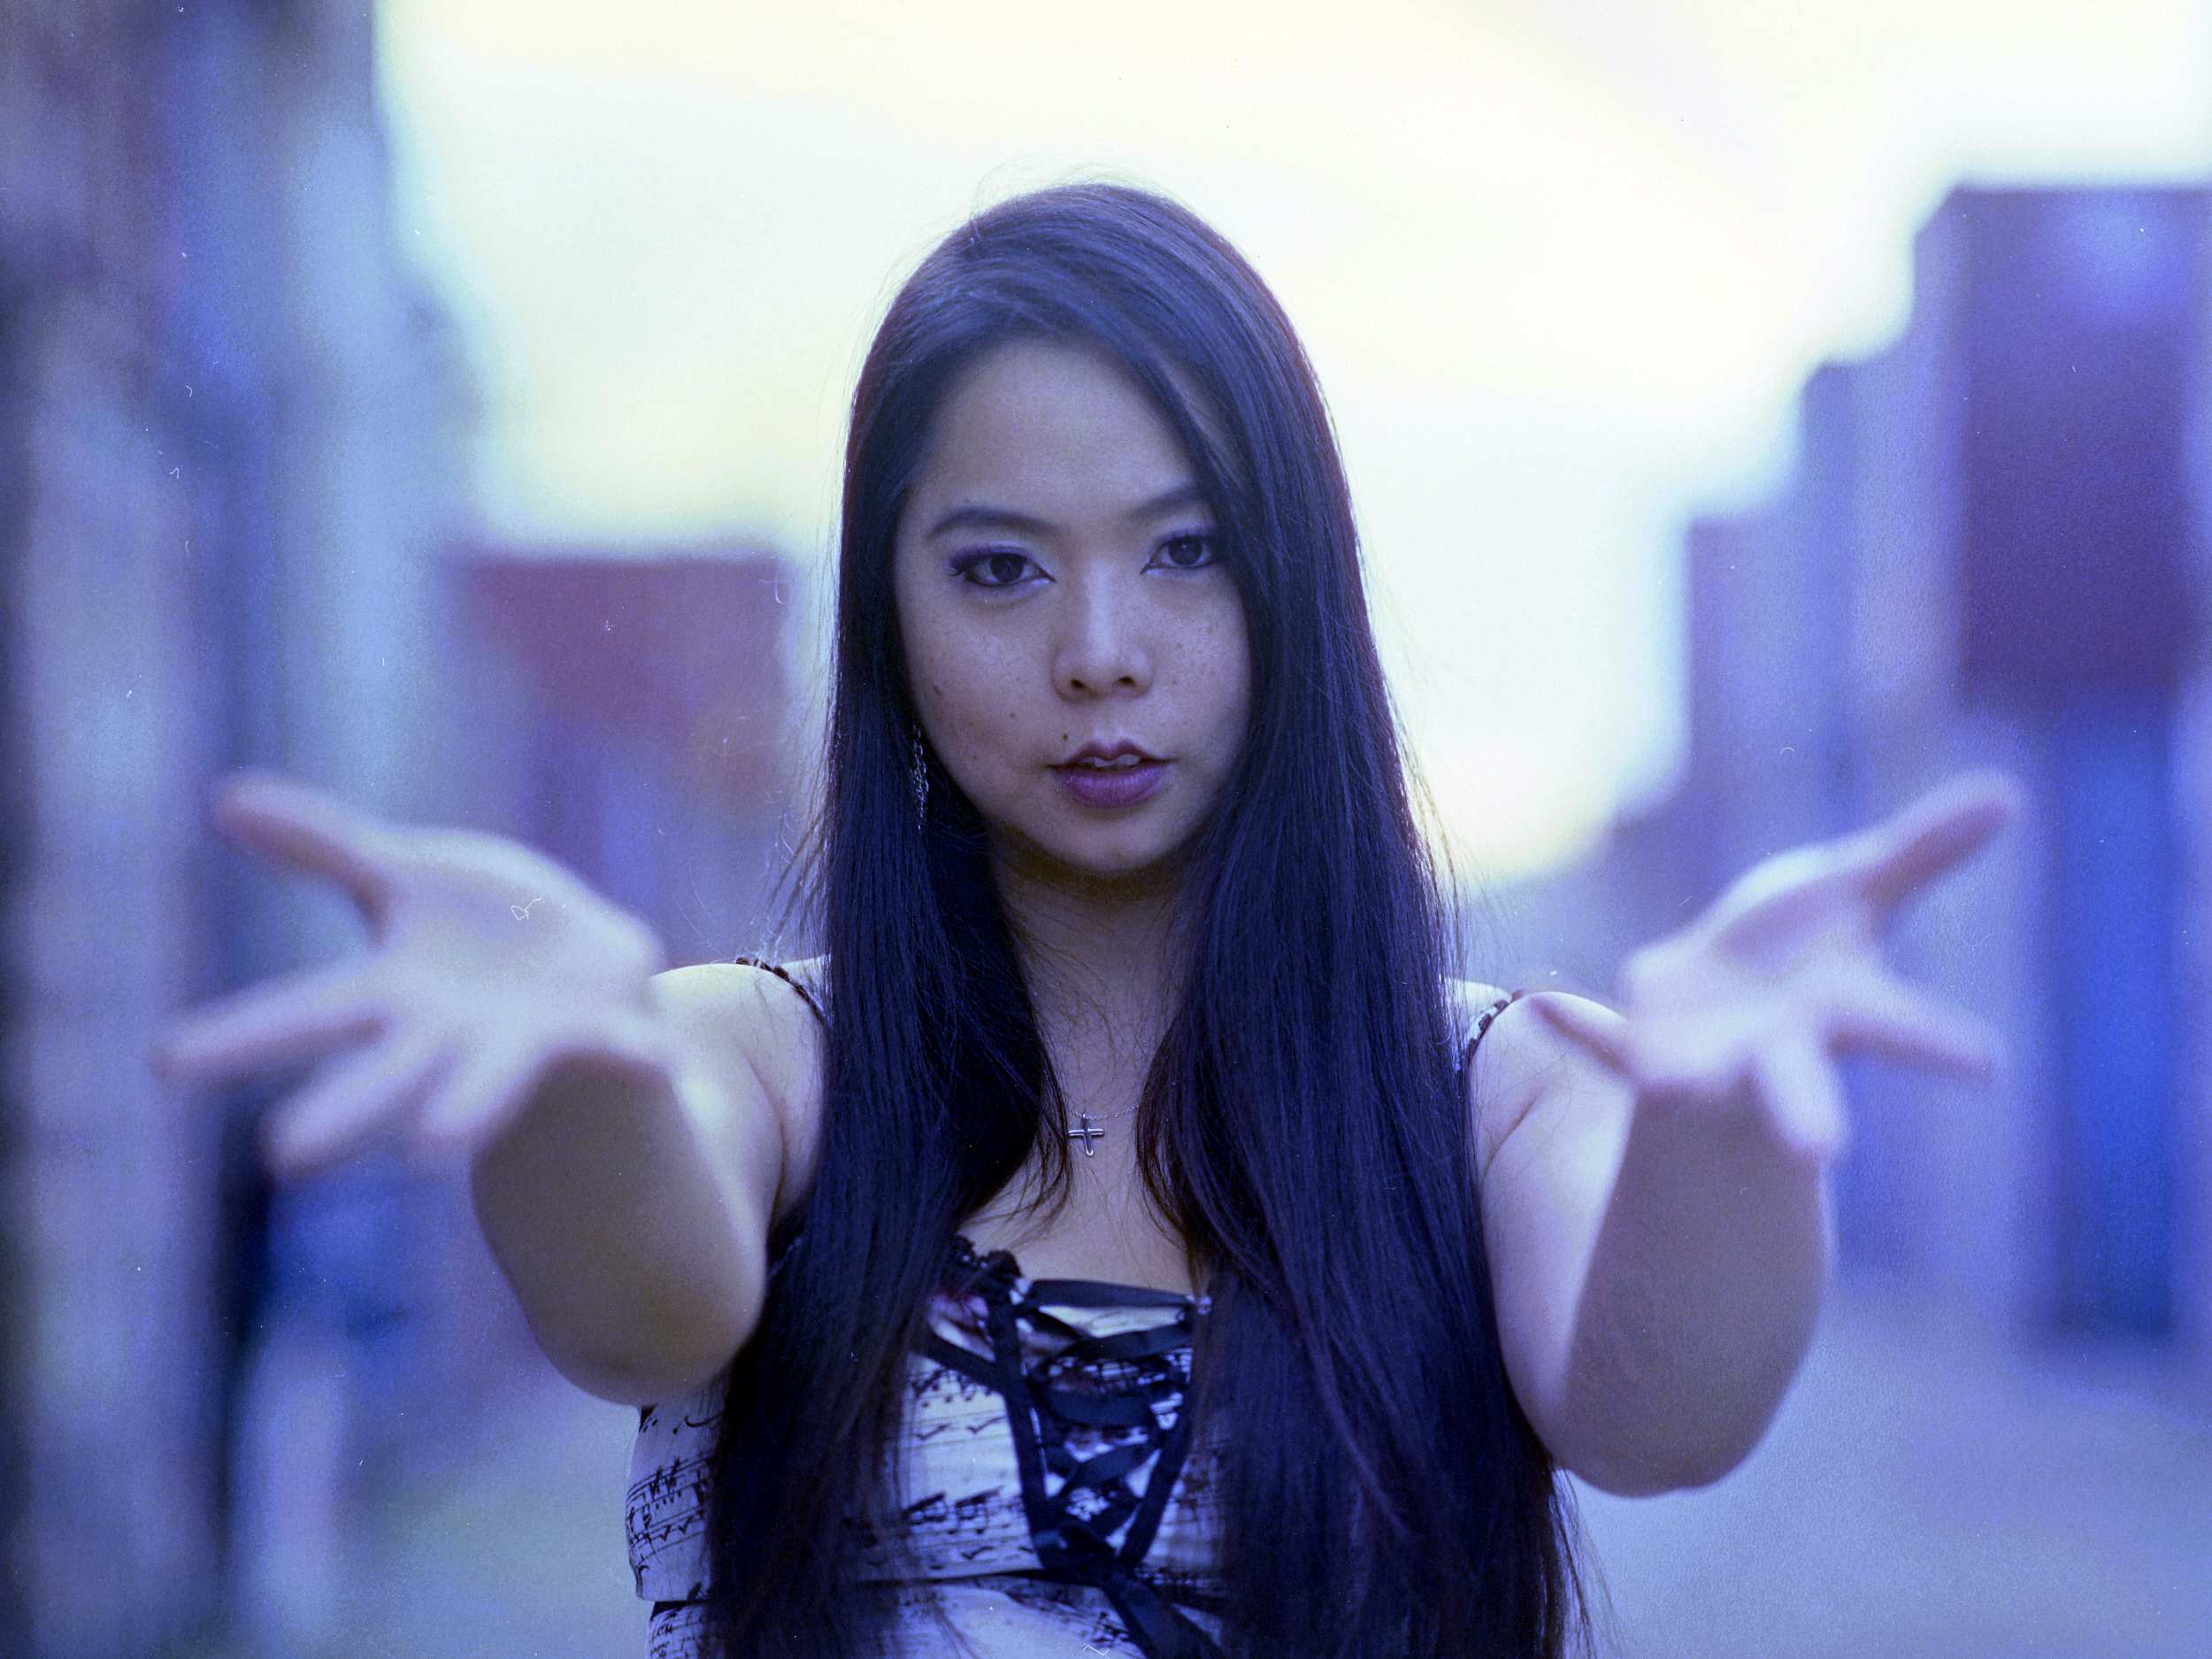
Results
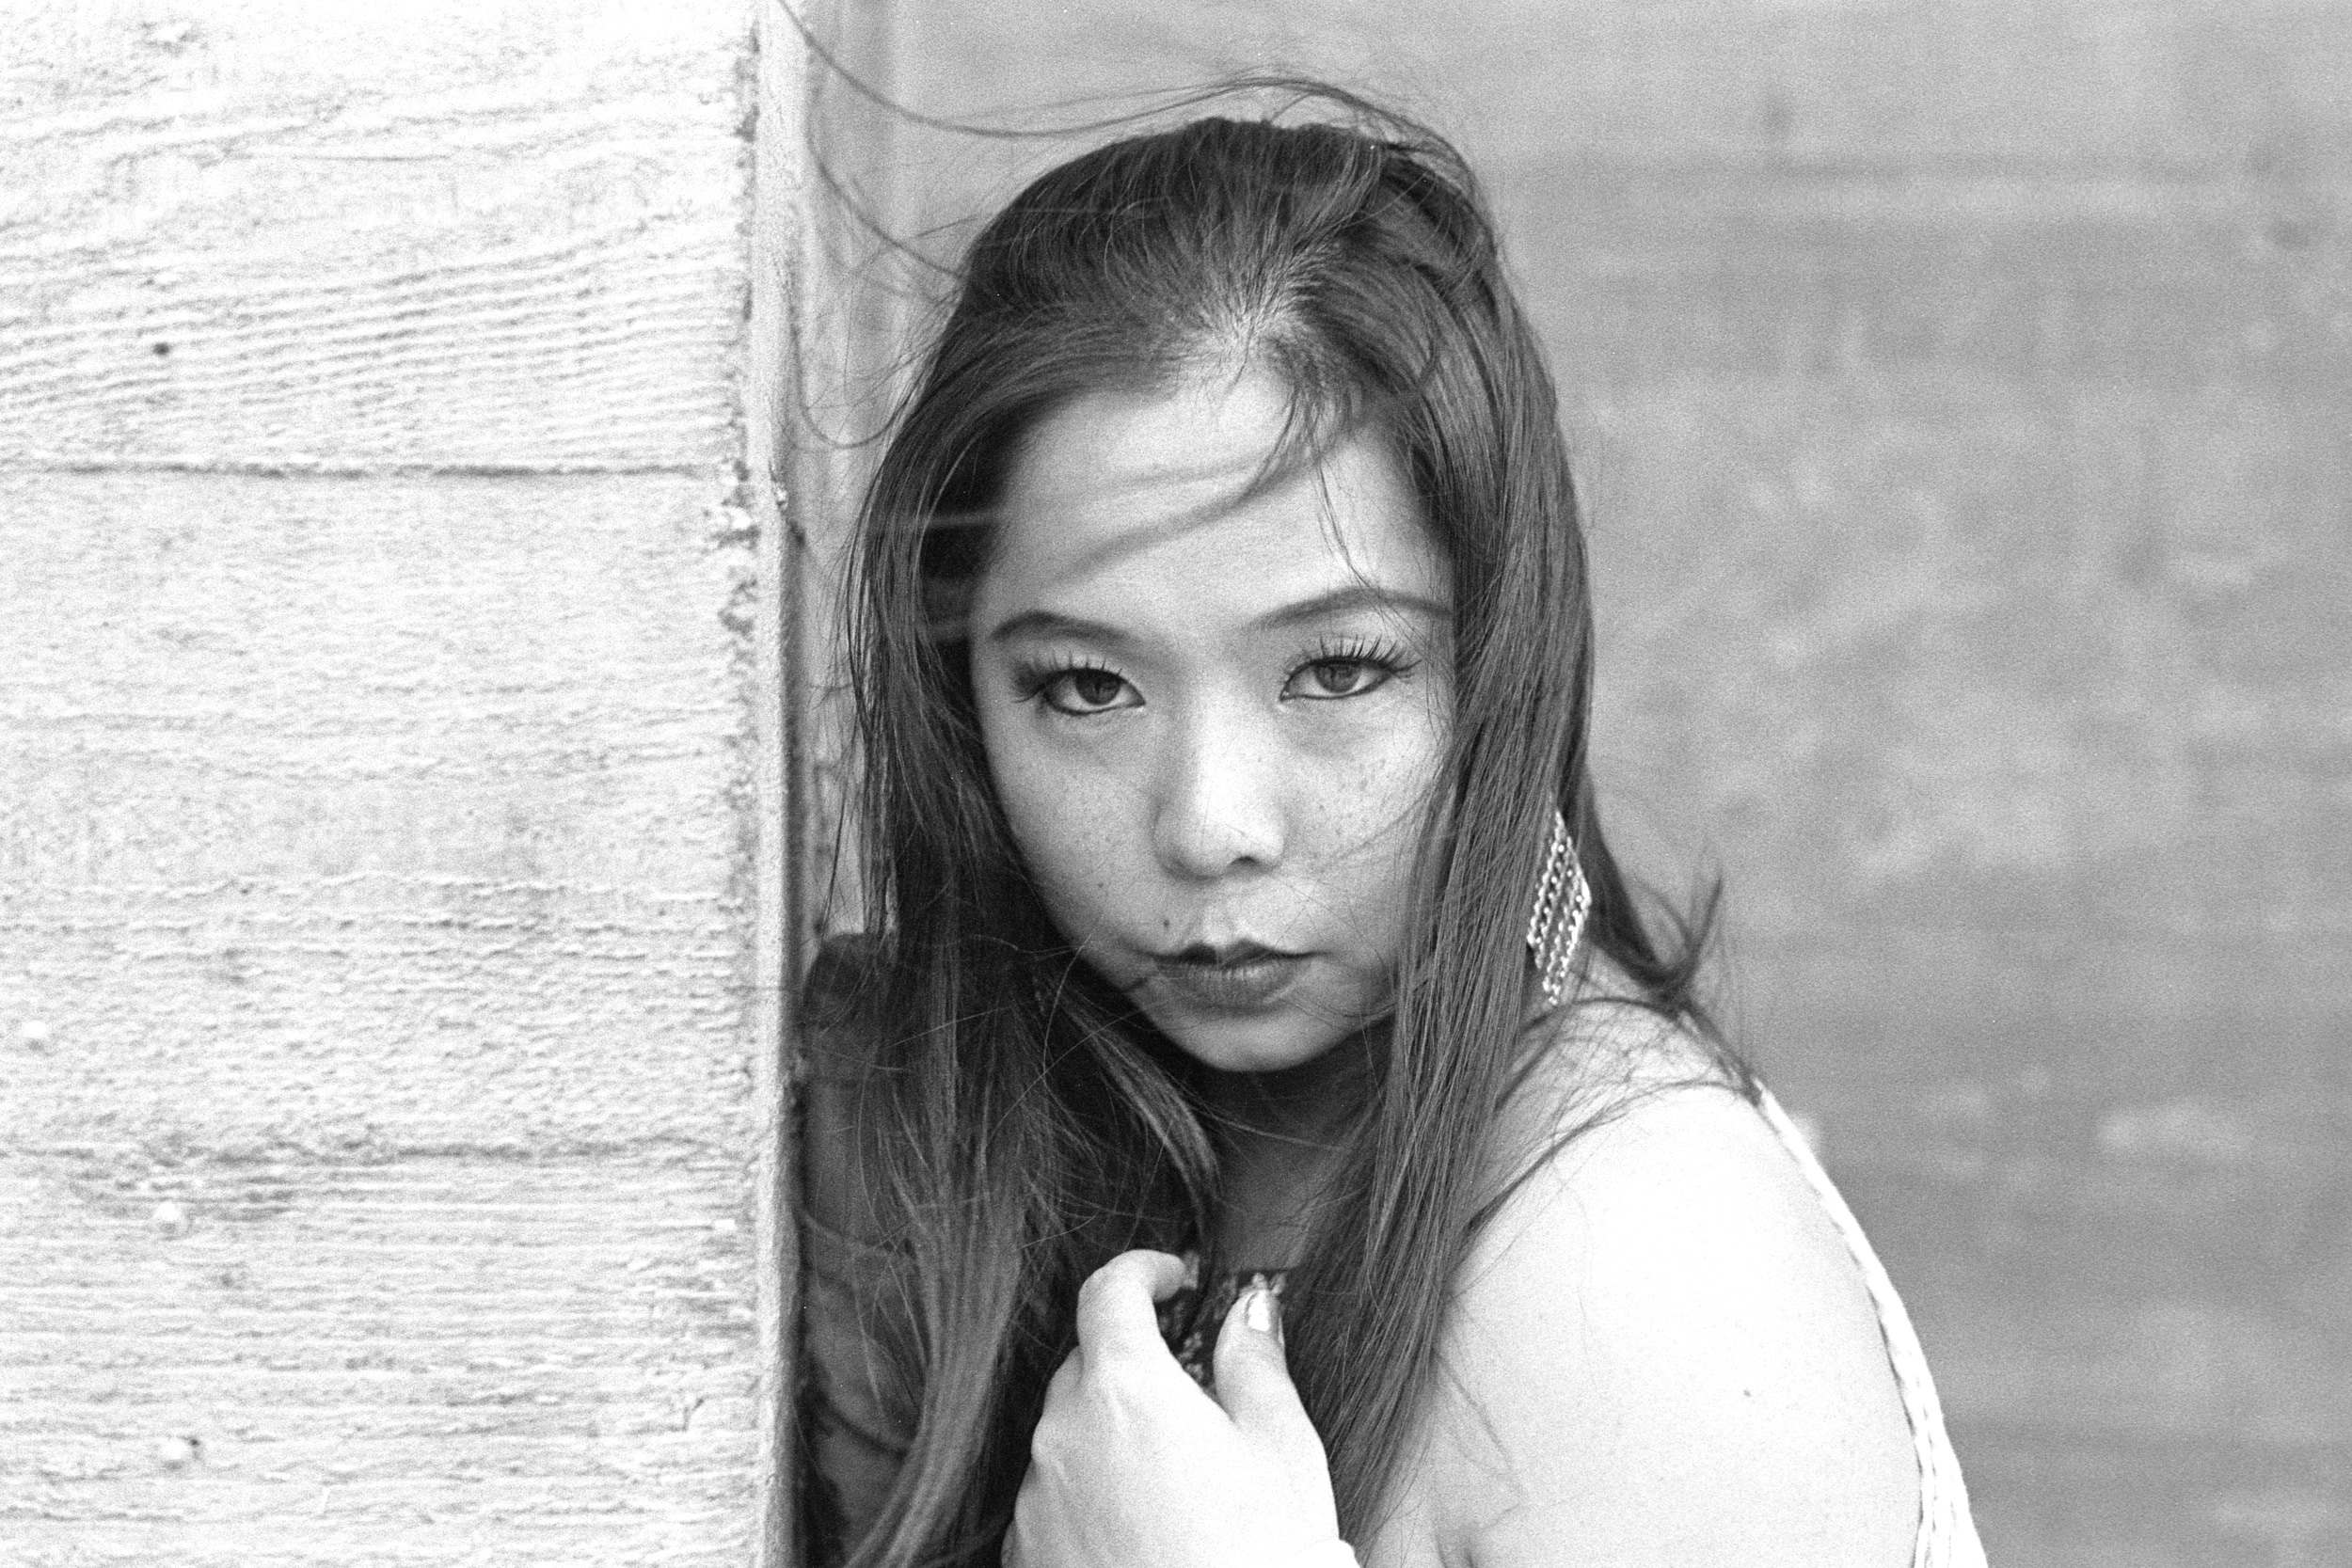
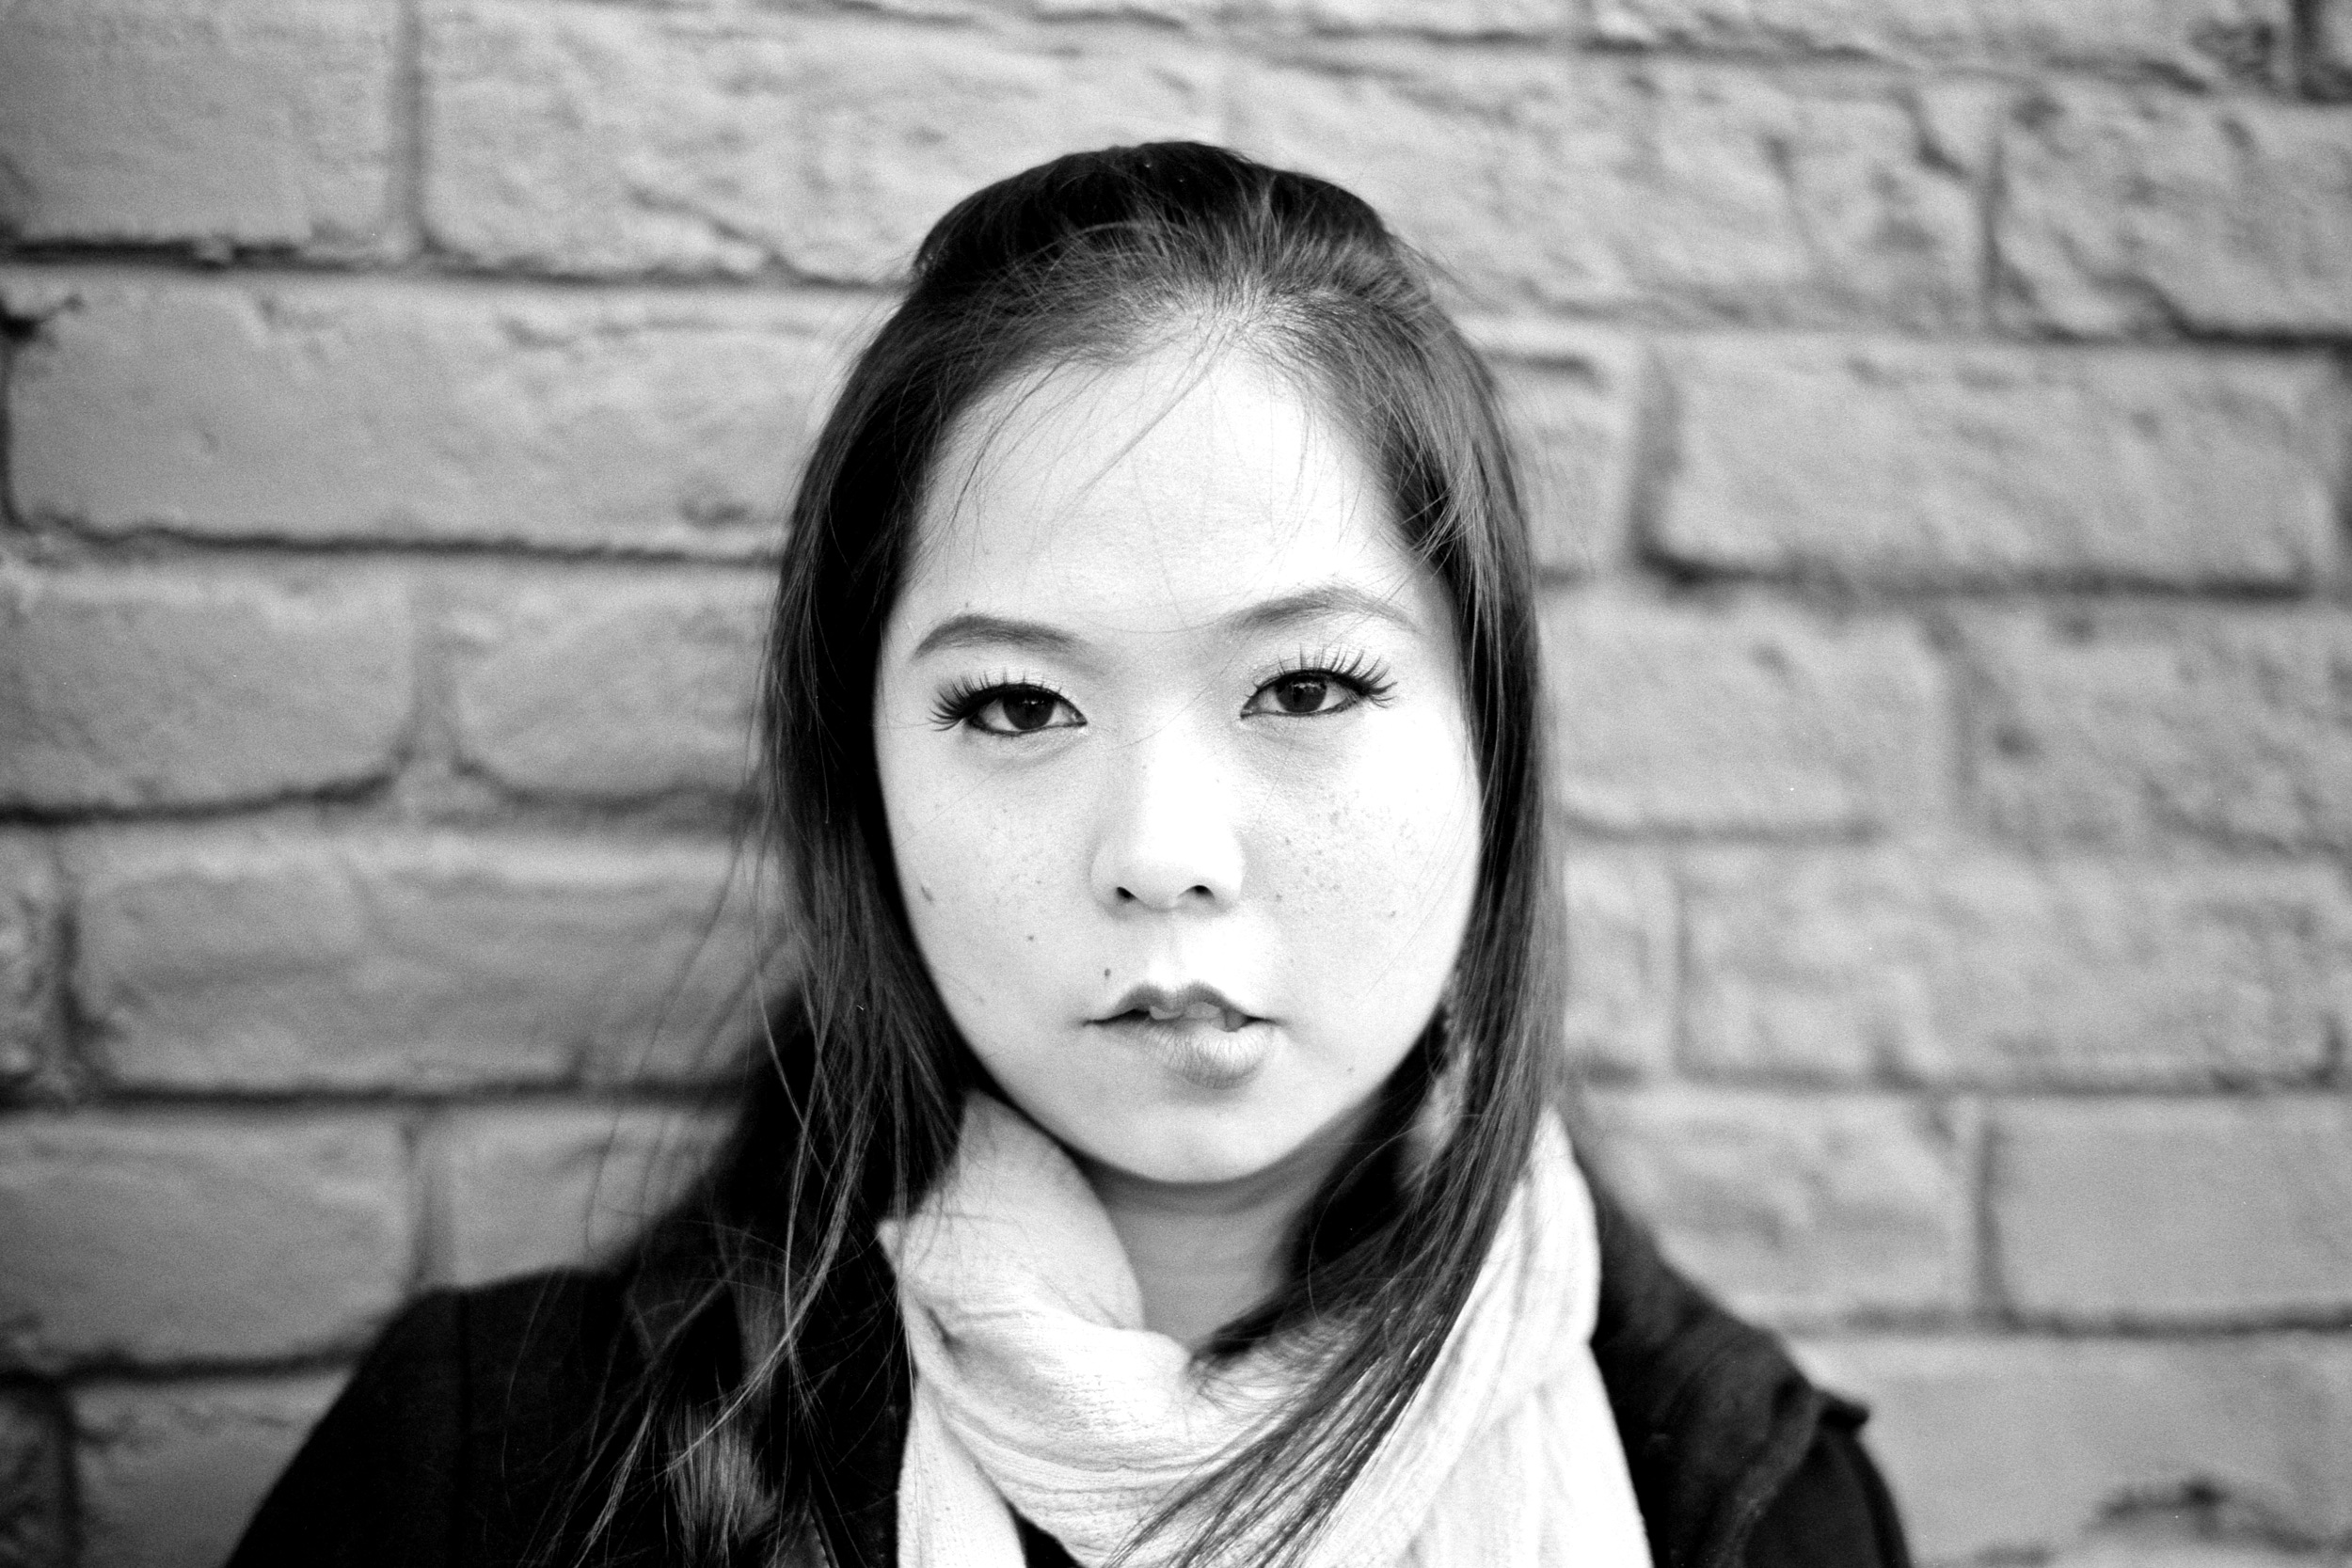
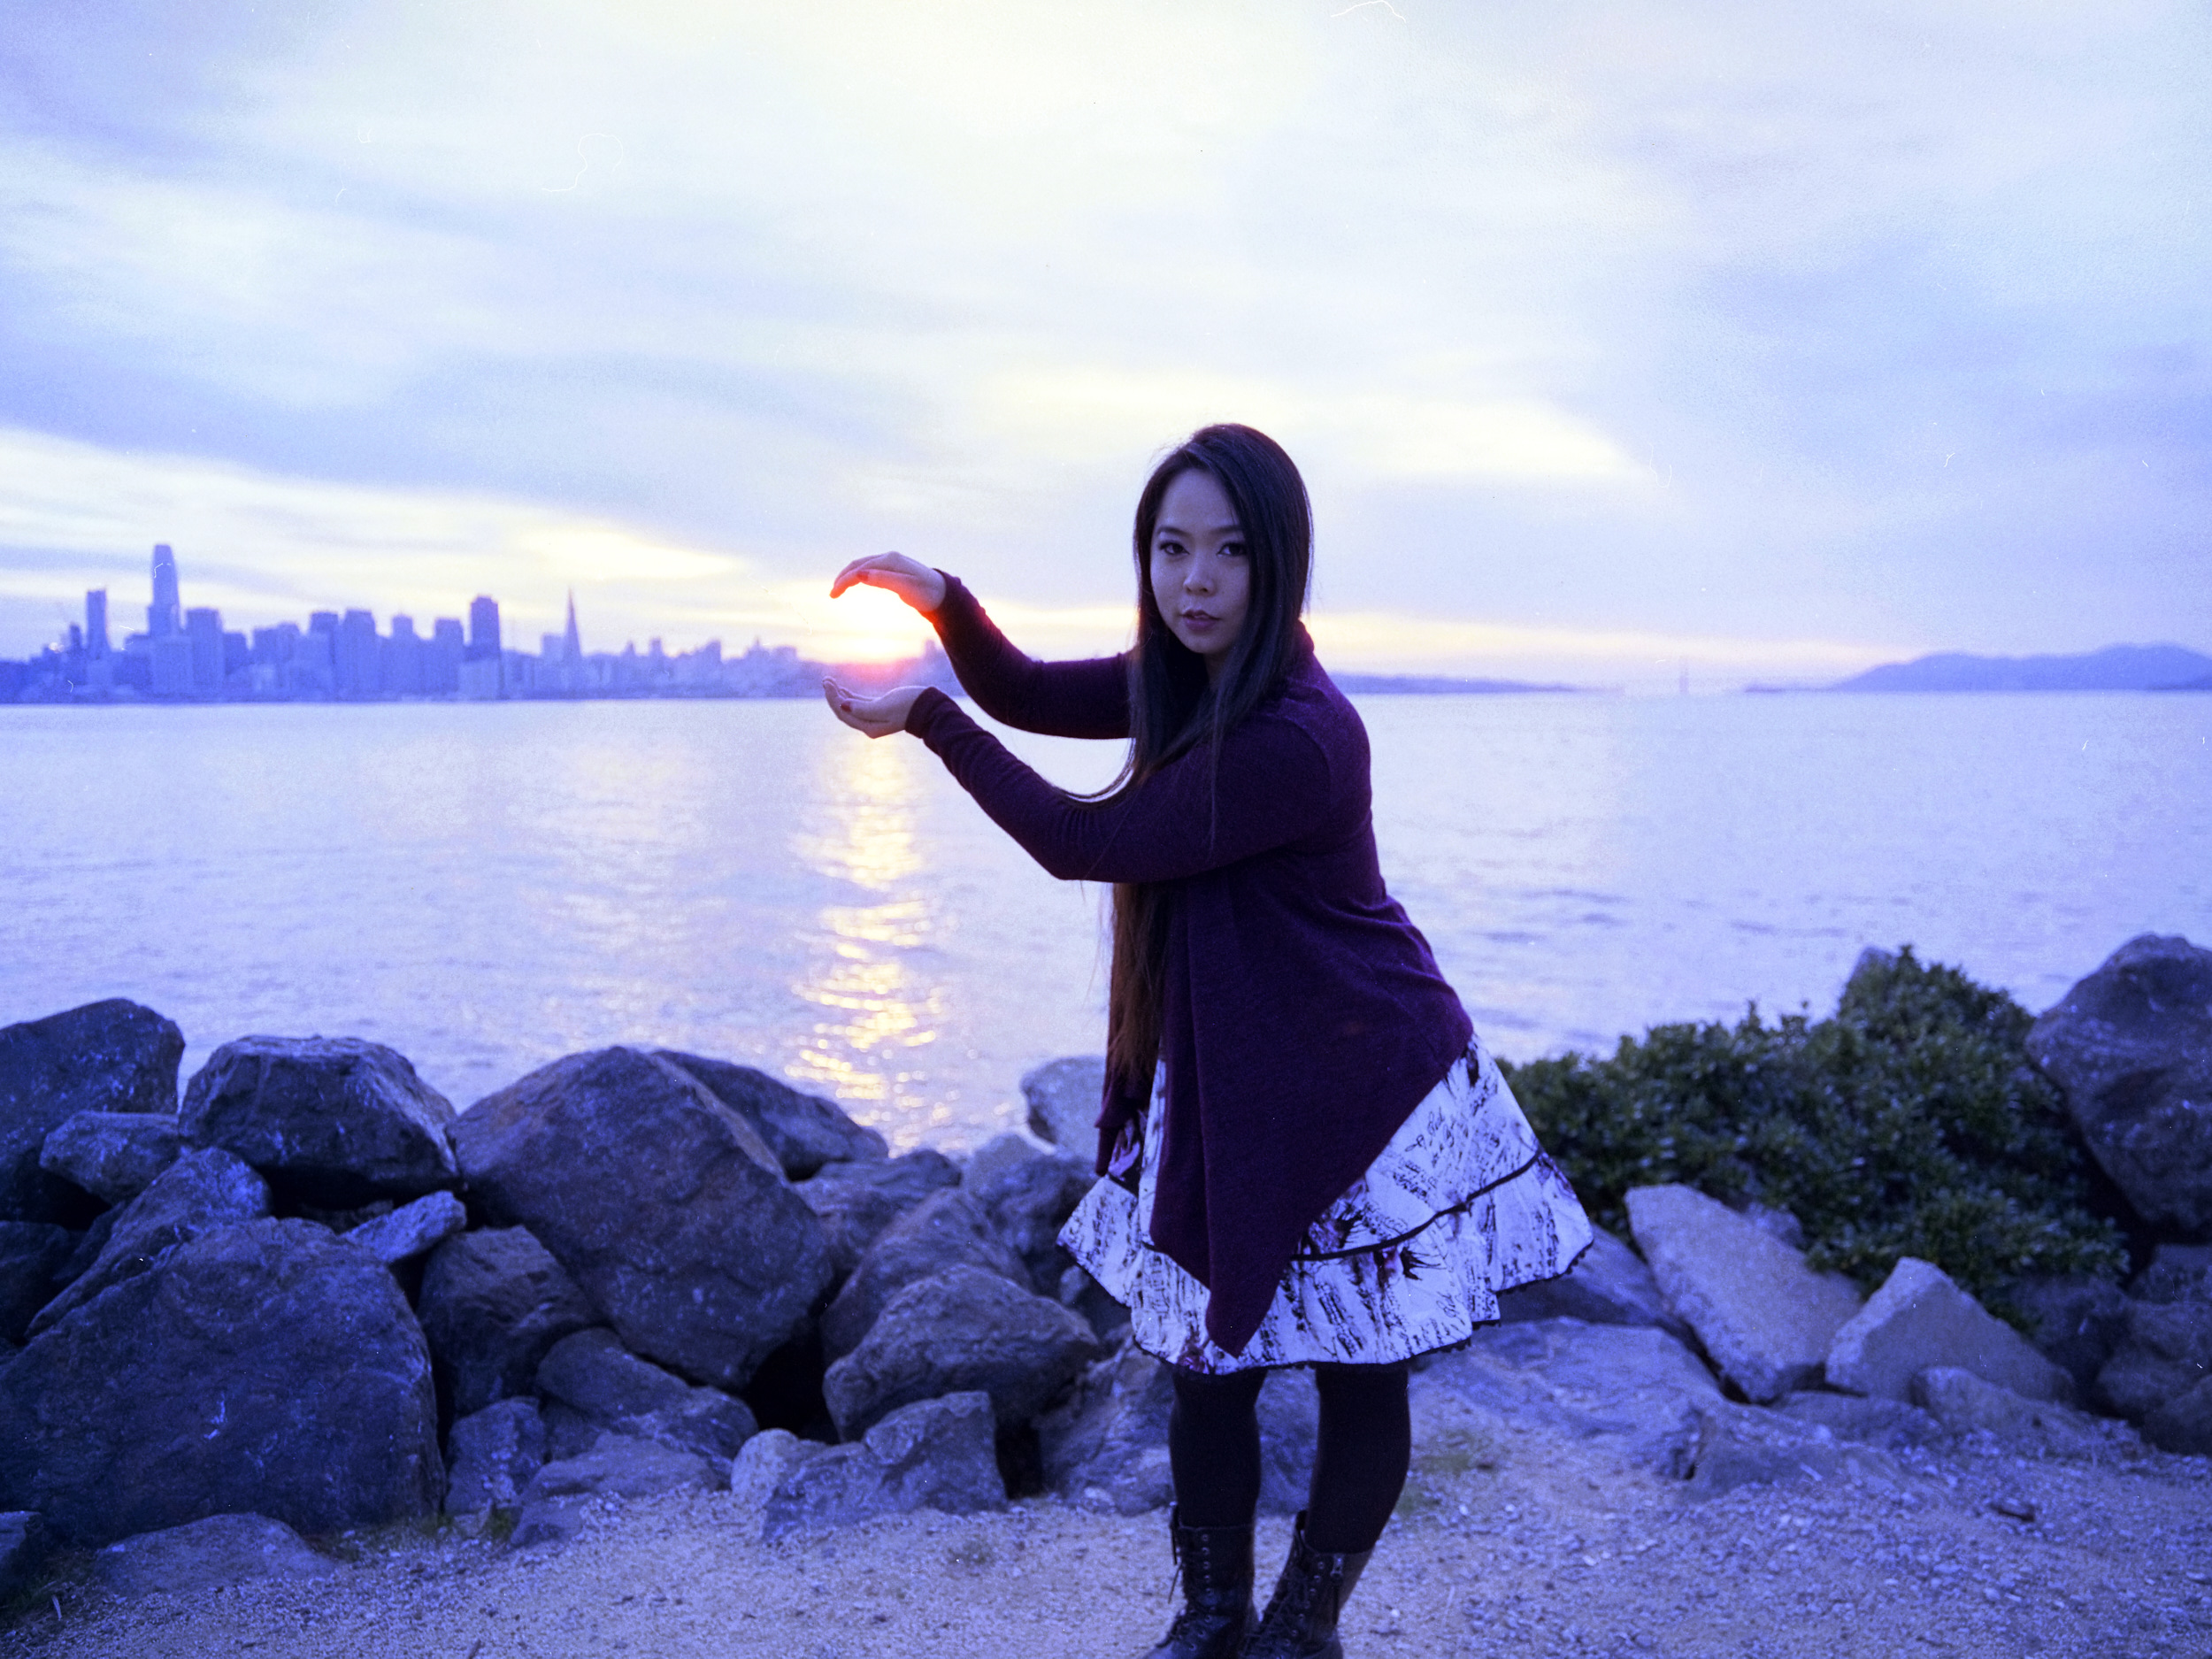
Here are some of the color corrected shots using this setup:

Here is a side-by-side comparison of the GFX 50S scan on the left vs the Epson V800 scan on the right. The processes are very different, and it clearly shows in the end results.


Parting Thoughts
At this point in time, I'm not entirely convinced that using this setup yields better results than the Epson V800. As far as convenience, it's neither more or less convenient than the scanner; it's just trade offs. Do I want to have a faster scanning workflow at the expense of spending more time setting up and tearing down the rig? Hard to say.
The ANR glass is likely causing some image degradation as well.
I'll probably come back to this setup once I find a nice (and preferably cheap!!) 1:1 macro lens, and figure out some cost effective way of keeping the camera perfectly aligned with the film plane.
I hope that you found this useful!